
Choose a compact, sealed tumbler—like the 125‑liter Jora JK125s—and place it in a shaded corner away from heat. Start with a thin brown layer, then add greens (vegetable scraps, coffee grounds) in a 3:1 brown‑to‑green ratio, shredding pieces to 1–2 inches. Turn the drum every 2–3 days to aerate, and sprinkle a natural activator a few times a year if breakdown slows. Keep moisture at 40–60% and watch for a crumbly, earthy scent; the next sections will show you how to fine‑tune each step.
Pick a Small‑Footprint Indoor Compost Tumbler for Apartments
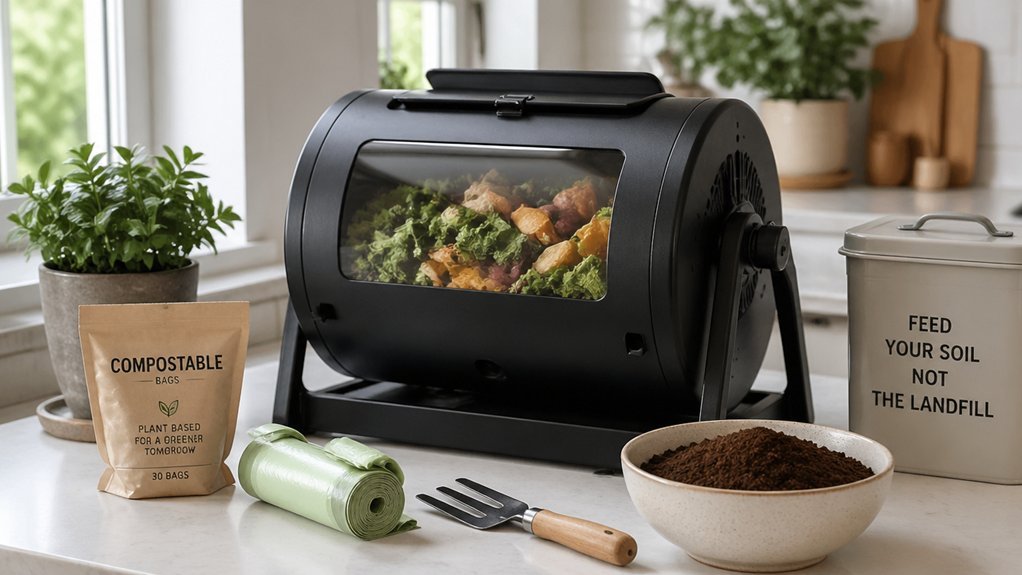
Looking for a compact compost tumbler that fits your apartment? Choose a model with a small footprint and sealed lid to keep odor control tight while you practice apartment composting. A dual‑chamber design lets you add fresh scraps through easy feeding access while the other chamber breaks down, so you never pause the process. Opt for a rodent‑proof unit with insulated walls to protect against moisture and temperature swings; the Jora JK125s, a 125‑liter (≈33 gal) tumbler, exemplifies this balance of compact capacity and year‑round indoor use. Position it in a shaded corner, away from direct heat, and you’ll enjoy a tidy, low‑maintenance system that fits seamlessly into limited living spaces.
Layer Greens and Browns in Your Indoor Compost Tumbler
Layering browns and greens correctly keeps your indoor tumbler humming. Start with a thin carbon-rich layer—dry leaves, shredded junk mail, or unbleached paper—at the bottom of the compost tumbler. Add a green layer of vegetable scraps, coffee grounds, or shredded yard waste, then repeat. Aim for a 3:1 brown-to-green ratio to support indoor composting and keep odors in check. Shredding scraps to 1–2 inches speeds microbial activity and improves aeration.
Each new brown layer absorbs excess moisture, providing moisture control and preventing soggy clumps. By alternating greens and browns, you maintain balance odors and ensure the tumbling motion stays smooth, delivering an effective layering technique for healthy, odor-free compost. Ok compost HOME
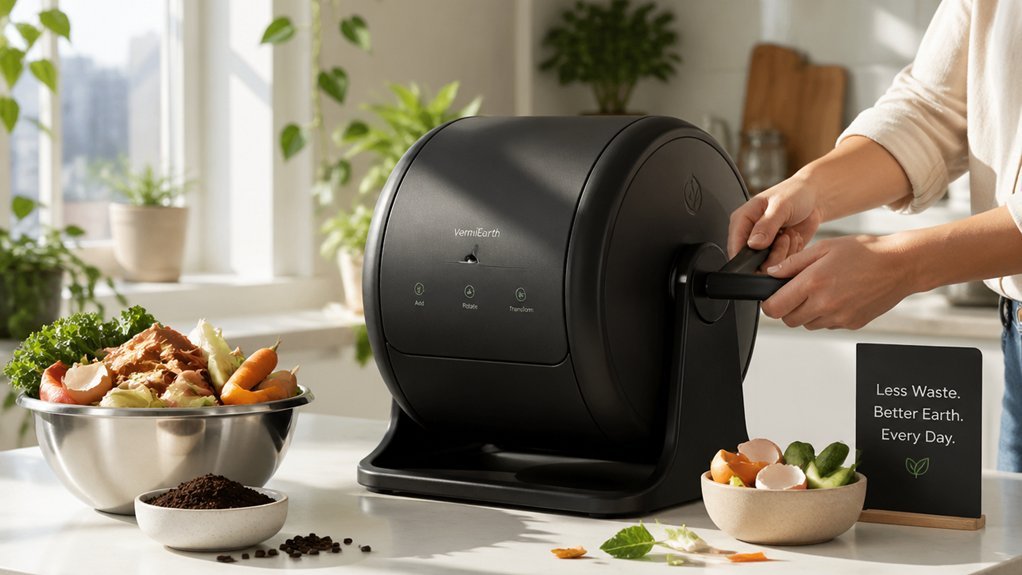
Turn the Drum of Your Indoor Compost Tumbler Every 2‑3 Days
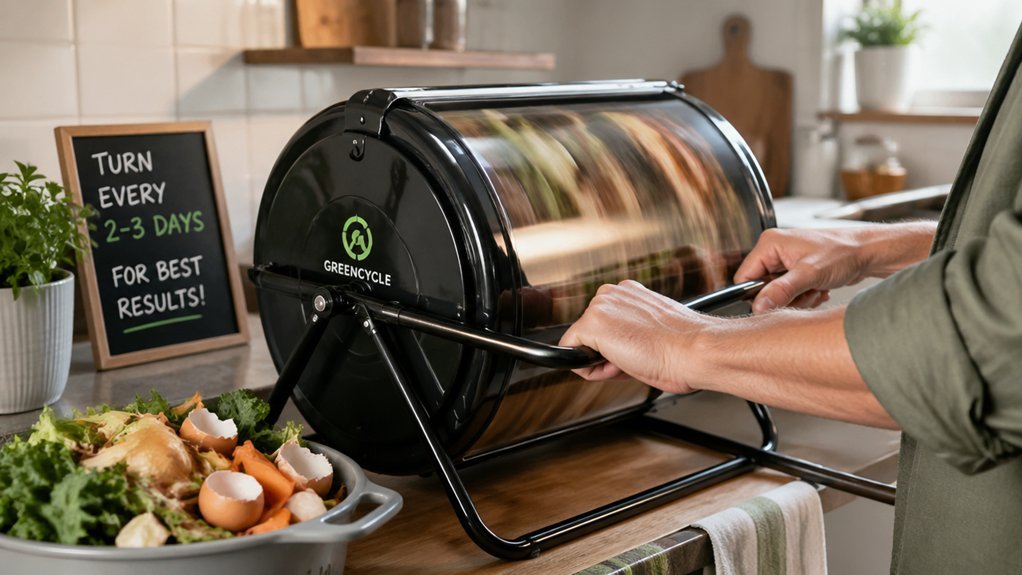
Ever wonder why your indoor tumbler seems sluggish? Turning the drum every 2–3 days injects fresh oxygen, spikes microbial activity, and keeps the mix moving toward finished compost. A steady turning schedule also balances moisture, curbs odor, and prevents clumps of green and brown waste. Including airtight lids and carbon filters can further minimize odor during the process odor control measures.
- Set a reminder – mark a 2–3‑day interval on your phone so you never miss a turn.
- Rotate fully – give the tumbler a complete spin, ensuring every layer gets aeration and moisture balance.
- Check the mix – after each turn, verify green and brown waste are still proportioned for optimal odor control and decomposition.
Boost Microbial Activity With a Natural Activator When Needed
Keeping the drum turning every few days gives your compost a steady oxygen flow, but when the breakdown slows, a natural activator can give the microbes the extra boost they need. Add a compost activator 2–3 times a year or whenever you notice the pile stalling. Sprinkle it over fresh kitchen scraps and then layer green and brown inputs, keeping moisture at 40–60 % for optimal microbial activity. Good aeration from regular tumbler turning helps the activator work, while monitoring compost temperature prevents overheating. If you run out of commercial activator, use well‑decomposed material from a previous batch as a natural starter. Proper moisture management, balanced inputs, and consistent turning together raise composting efficiency and keep your indoor composting system thriving.
Monitor Texture and Aroma to Tell When Compost Is Ready
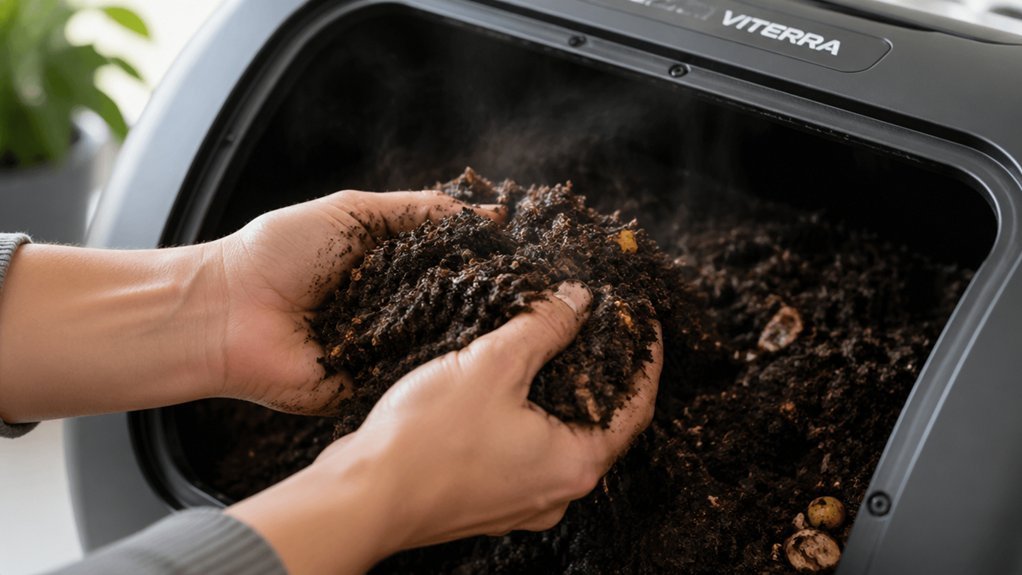
Wondering how to know when your indoor tumbler compost is truly finished? You’ll spot finished compost by its dark crumbly texture, earthy aroma, and lack of recognizable scraps. A quick readiness test lets you confirm before using it.
- Moisture check – Squeeze a handful; it should feel like a wrung‑out sponge, about 40–60% moisture.
- Aroma assessment – Smell the sample; a pleasant, earthy scent signals proper aeration and balanced browns and greens.
- Texture inspection – Feel the material; it should be crumbly, not clumpy, indicating consistent turning and good aeration.
These sensory indicators—moisture, aroma, texture—tell you when your tumbler has produced dark crumbly compost ready for the garden. Odor Control
Frequently Asked Questions
What Three Items Should Not Be Placed in a Compost Pile?
You shouldn’t put meat, dairy, or fish in the pile, avoid pet waste and bones, and keep any oily, greasy foods or large, fibrous items like corn cobs and thick twigs out.
How to Make the Best Compost in a Tumbler?
You’ll start by filling the tumbler three‑quarters full, then layer 1‑inch green scraps with brown material, keep it moist, turn it daily, and add a compost activator a few times yearly for faster, odor‑free decomposition.
What Are Common Composting Mistakes?
You often add oily foods or pet waste, overload the drum, ignore the 50/50 green‑to‑brown ratio, skip chopping, and neglect moisture or regular turning, which all cause odors, pests, and slow decomposition.
How Long Does a Compost Tumbler Take to Work?
You’ll see active material in about six months for the first batch, then roughly three months for each subsequent load if you turn regularly, keep moisture balanced, and maintain proper green‑to‑brown ratios.
In Summary
By picking a compact tumbler, layering greens and browns, turning it every few days, adding a natural activator when needed, and watching the texture and smell, you’ll keep your indoor compost thriving. Follow these steps, and you’ll turn kitchen scraps into rich, garden‑ready soil without hassle—perfect for apartments and any indoor space.


Leave a Reply