
Turn your tiny balcony into a low‑odor compost hub by stacking worm‑friendly trays or a sealed Bokashi bucket under a brick‑elevated bin, then layer thin greens with plenty of browns, keep the mix as damp as a wrung‑out sponge, and use a drip tray to catch leachate. Position the setup in a shaded spot, rotate layers weekly, and harvest dark, crumbly compost after a few months for your small‑space garden. Keep going to discover deeper tips on moisture, temperature, and pest control.
Pick the Best Balcony Composting Method for Your Space
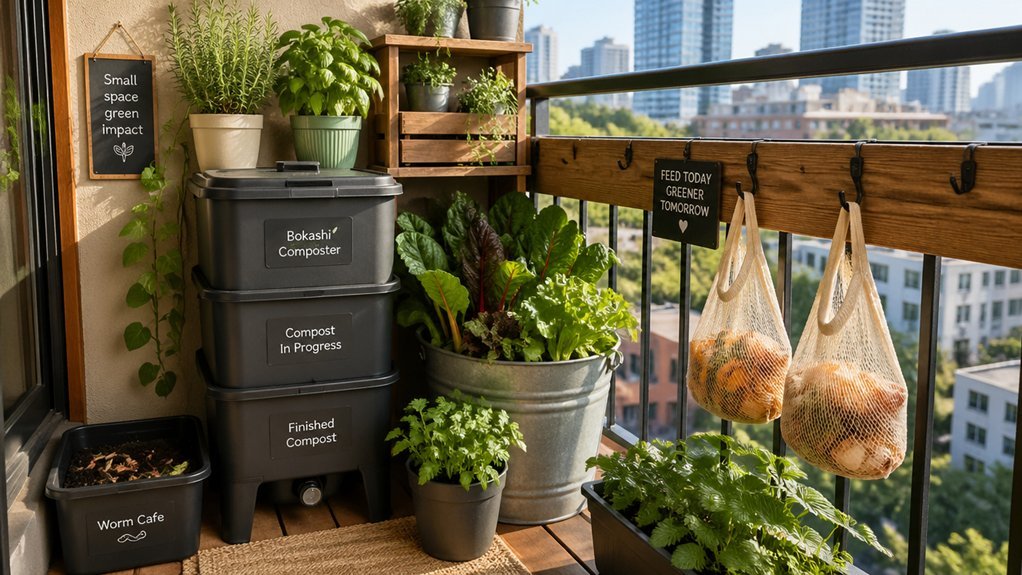
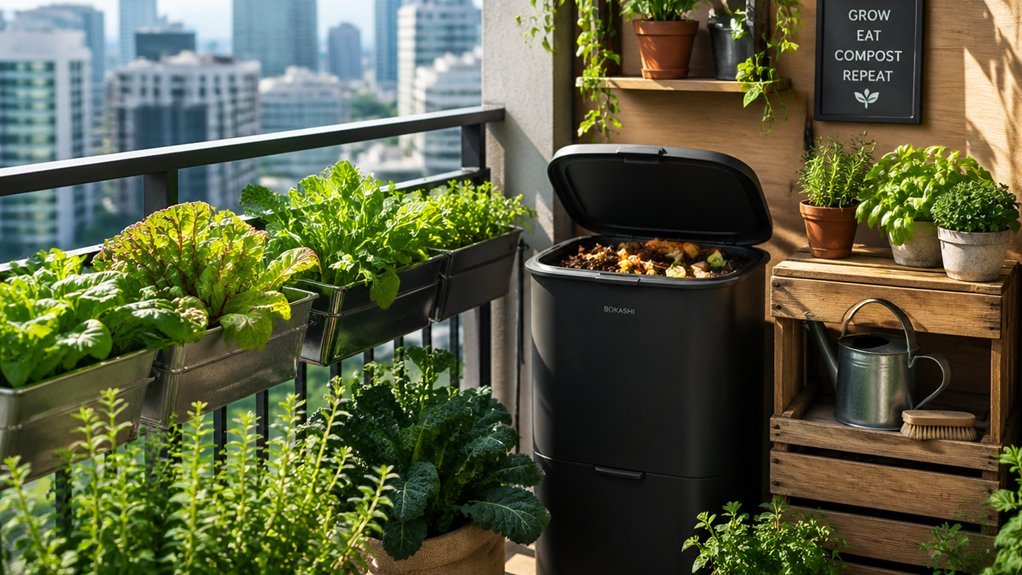
Which method fits your balcony’s size, sunlight, and lifestyle? If you have a tiny rail and want a truly space‑saving system, try vermicomposting. Worm bins—stacked‑tray hotels or the Hungry Bin on wheels—fit under a table or on a railing, stay odor‑free, and churn castings and nutrient‑rich tea. For ultra‑compact apartments, the Bokashi bucket offers airtight fermentation; you simply add scraps, seal, and let the mix sit 2–4 weeks before burying the material. The classic DIY balcony bin uses recycled pallets, layers greens and browns, and needs occasional turning, but it still fits a modest balcony footprint. All three options are urban‑friendly, letting you recycle kitchen waste without sacrificing precious outdoor space. Urban-friendly methods can also help minimize odors in tight balcony setups while maximizing usable compost byproducts.
Position Your Balcony Composting Bin for Light, Temperature, and Drainage
Where should you set your balcony compost bin to keep it thriving? Choose a spot that offers indirect light, steady temperature, and easy airflow. Avoid direct sun that heats the bin and dries out microbes. Elevate the container on bricks or wood blocks to create a gap for drainage and airflow/o2 circulation. Use a drip tray underneath to catch leachate and protect the balcony surface.
- Shaded, sheltered location – maximizes light exposure control and prevents temperature spikes.
- Elevated base – guarantees drainage and encourages airflow/o2 circulation.
- Vent holes – drilled in bottom and sides for oxygenation and moisture escape.
- Drip tray – collects excess liquid, preserving temperature stability and preventing mess.
Incorporating an aeration-focused approach can further enhance airflow and reduce odors by promoting more efficient gas exchange within the bin.
Build a Compact, Low‑Odor Balcony Composting Bin With Bricks & a Drip Tray

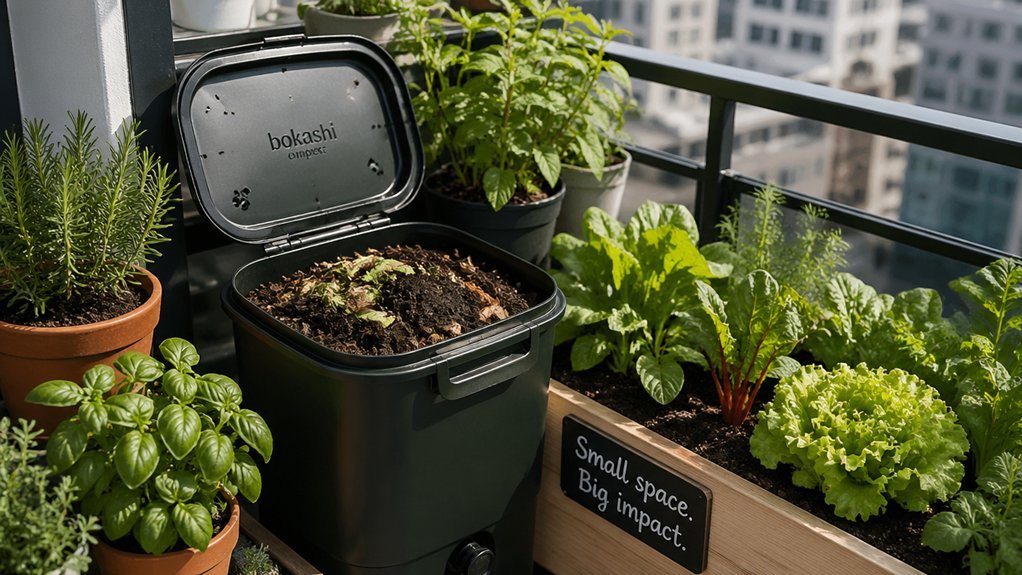
Looking to keep your balcony compost odor‑free while staying compact? You can build a small balcony composting system by placing a repurposed plastic balcony bin on bricks elevate, creating a sturdy platform that improves drainage and airflow. Drill a few holes in the bottom and sides of the balcony bin so excess liquid escapes and oxygen circulates. Set a drip tray beneath the bricks to catch leachate and protect the balcony surface from stains. The bricks elevate the bin just enough to allow air to flow underneath, preventing stagnant moisture that fuels smells. Keep the bin’s footprint modest, and the drip tray will handle any runoff, keeping the area tidy and the compost process odor‑free. Compact aeration supports better microbial activity and helps maintain healthy brewing conditions in small spaces.
Layer Greens and Browns to Balance Moisture and Prevent Pests
After setting up the elevated bin and drip tray, start layering your compost with a mix of greens and browns. By alternating fruit scraps, coffee grounds, and shredded paper or leaves, you achieve balancing greens browns that drives airflow and moisture management. Keep each green layer thin and cap it with a brown blanket to block insects and prevent soggy spots. If the mix feels wet, sprinkle more brown material and give it a gentle stir to restore porosity. Rotate the pile weekly so browns stay on top, reinforcing pest prevention and steady decomposition for balcony composting. Regular monitoring with a built-in thermometer or temperature cues helps maintain optimal microbial activity and consistent temperatures over the season. Temperature monitoring
Harvest and Apply Finished Balcony Compost in Small‑Space Gardens
You’ll want to blend the dark, crumbly compost with potting soil at roughly a 1‑to‑3 ratio before you plant, ensuring nutrients aren’t too concentrated.
Time the mix for early spring or after a light watering so the microbes stay active and the soil settles.
If you’re working on a balcony, scale the batch to fit your containers and keep the compost shaded to preserve its beneficial organisms. OK compost Home
Mixing Compost With Soil
A good mix starts with a 1:3 ratio of finished balcony compost to potting soil, giving your small‑space garden a balanced base. Blend the finished compost into the potting soil until the texture turns dark, crumbly, and earthy—your soil mix is now a potent soil amendment for balcony composting. Sprinkle worm castings on the surface for slow‑release nutrients and microbial vigor. Let the blend rest a few days so the amendment integrates fully before planting.
Measure one part finished compost, three parts potting soil.
Combine thoroughly; aim for a uniform, crumbly texture.
Add a thin layer of worm castings on top.
Allow 1–2 weeks for Bokashi pre‑compost to settle, ensuring even nutrient distribution. Improved Soil Health
Timing for Planting
When should you plant? applying your harvested balcony compost? Your compost harvesting timeline dictates that you aim for the start of the growing season or the gap between crop cycles.
Check soil readiness: the mix should feel dark, crumbly, and smell earthy, with no visible scraps.
For balcony composting, harvest finished compost after 2–6 months (worm castings in 2–3 months, Bokashi pre‑compost after 2–4 weeks plus 1–2 weeks integration).
Mix it with potting soil at a 1:3 ratio, then sprinkle castings on the surface for slow release.
Align this finished compost application with your planting schedule so each container receives fresh nutrients right before seeds or seedlings go in, maximizing growth in small‑space gardens.
To further enhance odor control during storage and handling, consider using activated charcoal filters odor control in your composting setup.
Scaling for Balcony Gardens
Ever wondered how to turn a modest balcony into a thriving micro‑garden? You can scale balcony composting for small‑space gardens by harvesting finished balcony compost and blending it into a balanced soil mix. Follow a simple soil mix ratio of 1 part compost to 3 parts potting soil, then sprinkle worm bin castings on the surface for slow‑release nutrition. After a brief 1‑2‑week burial of bokashi pre‑compost, your planters will thrive without nutrient shock.
1⃣ Harvest mature compost after 3‑6 months, ensuring it’s dark, crumbly, and earthy.
2⃣ Combine with topsoil at the 1:3 soil mix ratio.
3⃣ Layer worm bin castings on top for extra fertility.
4⃣ Evenly spread the blend in each container, watering gently to settle the mix.
Troubleshoot Common Balcony Composting Issues: Odors, Moisture, and Temperature
You’ll notice odors when greens outpace browns, so start alternating them and keep oily foods out of the bin.
If the mix feels soggy, add dry browns like shredded paper and stir gently to restore airflow and achieve a wrung‑out‑sponge moisture level.
Finally, place your compost in a shaded, sheltered spot and check temperature regularly to keep microbes happy and prevent swings that cause smells.
Odor Control Tips
Why do odors suddenly appear in your balcony compost? Overwatering, lack of airflow, and improper feeding can turn your small balcony compost into a stinky mess. Master odor control by balancing moisture, adding carbon, and keeping the bin tidy.
- Add brown materials – Sprinkle dry leaves or shredded paper after each feeding; they absorb excess liquid and boost aeration.
- Worm bin maintenance – Bury scraps under bedding, keep the texture like a wrung‑out sponge, and rotate layers weekly to prevent slime and smells.
- Seal Bokashi – Ensure the lid stays airtight, drain the tea each week, and dilute it before use to avoid pungent vapors.
- Shade your bin – Place it in a sheltered balcony spot away from direct sun; extreme heat stresses microbes and releases odor.
Follow these steps, and your compost stays fresh, odor‑free, and productive.
Moisture Balance Strategies
Balcony compost can stay fresh when its moisture stays at the right level—neither soggy nor bone‑dry. Aim for a wrung‑out‑sponge feel: the material should be evenly damp, not pooling.
When you notice excess wetness, sprinkle more browns and greens, especially dry browns like shredded paper or leaves, to soak up liquid and restore moisture balance.
Layer greens and browns each turn, which boosts aeration and prevents anaerobic pockets.
Give your bin a drip tray or a secondary container to catch leachate, ensuring proper drainage and avoiding standing water.
Gently stir the pile weekly to distribute moisture and oxygen throughout.
For Bokashi, drain the tea each week and keep the lid sealed to maintain humidity without soggy odors.
This routine keeps balcony composting efficient and odor‑free.
Frequently Asked Questions
What Compost Is Best for Balcony Plants?
Use well‑aged worm castings or a balanced, fine‑textured compost mix. They’re light, nutrient‑rich, and low‑odor, perfect for balcony pots. Mix a thin layer into soil, then water gently.
How to Balcony Compost?
Start by picking a compact worm or Bokashi bin, add moist bedding, layer scraps, keep it shaded, and turn or aerate regularly; within weeks to months you’ll have ready compost for your balcony plants.
In Summary
Now you’ve got the right method, spot, and setup, your balcony compost will stay fresh, odor‑free, and productive. Keep the greens‑browns balanced, watch moisture, and harvest the dark, crumbly soil for your container garden. With a little attention to light, temperature, and drainage, you’ll turn waste into nutrient‑rich compost and enjoy greener, healthier plants right on your balcony.


Leave a Reply