
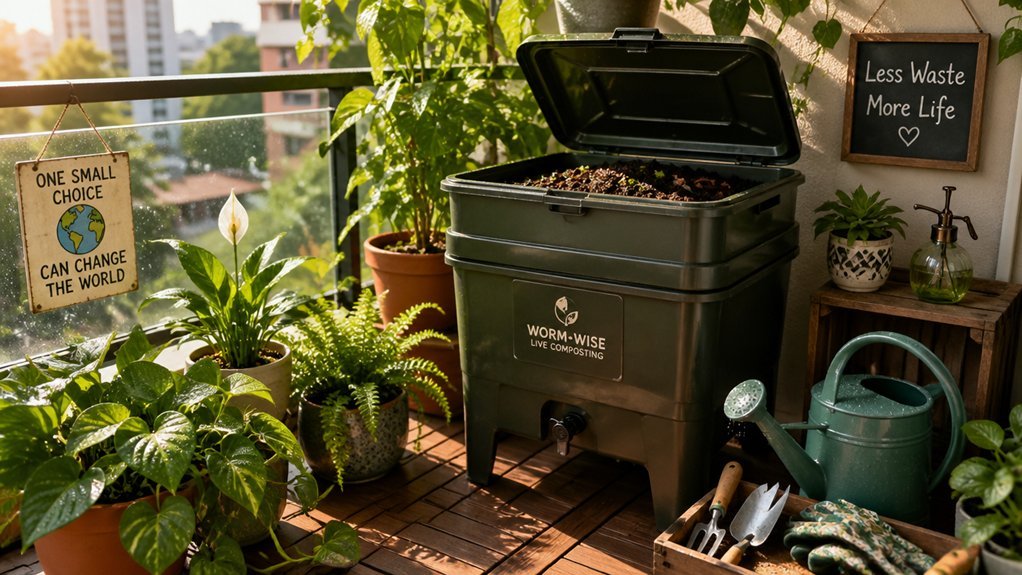
Place your worm bin in a shaded, well‑ventilated balcony corner where the temperature stays between 15–25 °C. The shade prevents overheating, while the ventilation holes let fresh air circulate, keeping moisture balanced and odors low. A cooler spot also protects the worms from heat stress and deters pests. Positioning the bin inside a larger planter adds an extra temperature buffer and helps castings drain into the surrounding soil. Keep the lid sealed with mesh to maintain airflow, and you’ll soon discover more tips for optimal balcony composting.
Find the Best Light & Temperature Spot for Your Balcony Worm Bin
Where should you position your balcony worm bin? Choose a spot that limits direct light exposure while staying cool, aiming for a temperature of 15–25 °C. A shaded corner or a plant‑backed area works best; you can rotate the bin between cooler and warmer zones to fine‑tune the climate. Ensure the balcony worm bin has good ventilation by adding small air holes, which prevents humidity spikes and odor.
Keep a container of dechlorinated water nearby for easy moisture management and quick feeding. Ventilation features help ensure proper airflow and odor control.
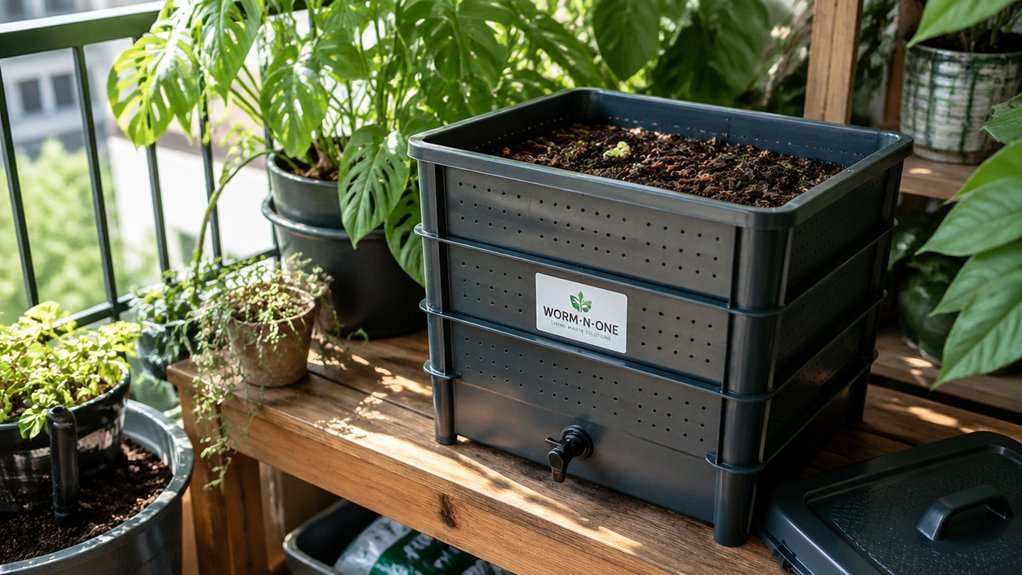
Select the Right Container Size and Materials for Your Balcony Worm Bin
You can start with a soda bottle, a protein‑powder tub, or an old pot that fits your balcony’s nook.
Choose a two‑bin setup with a main habitat about 1–1.5 ft deep and a shallow tray below, drilling 1/8–1/4 in holes for drainage and airflow.
Aim for roughly 1 sq ft of surface per 0.5 kg of weekly waste, and pick sturdy, UV‑resistant material that stays cool in the sun.
To help control odors and manage maintenance, opt for a container that accommodates a dual‑bin system with an inner habitat and an outer protective shell. Odor control
Materials Materials Size
Wondering which container will work best for your balcony worm bin? Choose a readily available plastic bin, old soda bottle, or protein‑powder jar that fits your balcony space. Drill 1/8–1/4‑inch holes in the bottom for drainage and 1/4‑inch holes around the top perimeter for ventilation, keeping moisture at a wrung‑out‑sponge level. Place the bin inside a larger planter with existing plants to buffer temperature swings and maintain a comfortable 15–25 °C range. Ensure you maintain the proper airflow and moisture balance to support steady worm activity and consistent worm tea production airflow features.
Container Size Limits
How much space can you realistically allocate on your balcony for a worm bin? You’ll need to respect container size limits while keeping your balcony worm bin functional. Aim for a surface area that matches your weekly waste—about 1 sq ft per 0.5 kg of food scraps, so 1.5 kg/week needs roughly 3 sq ft. Choose a bin depth of 1–1.5 ft; deeper habitats hold more worms but may strain space constraints. A two‑bin setup works well: the top bin for worms, a lower tray for liquid collection, with ventilation holes (1/8–1/4 in) and a breathable lid. Pick sturdy, opaque containers like soda bottles or old pots, seal them to deter pests, and keep them out of direct sun. Proper moisture control and temperature stability (15–25 °C) will follow naturally. Additionally, using a kelp meal–based compost starter can help introduce trace minerals and microbial activity to support a healthier worm community Organic Kelp Meal and improve soil conditioning in the finished vermicompost.
Place Your Bin to Block Pests, Odor, and Excess Sun
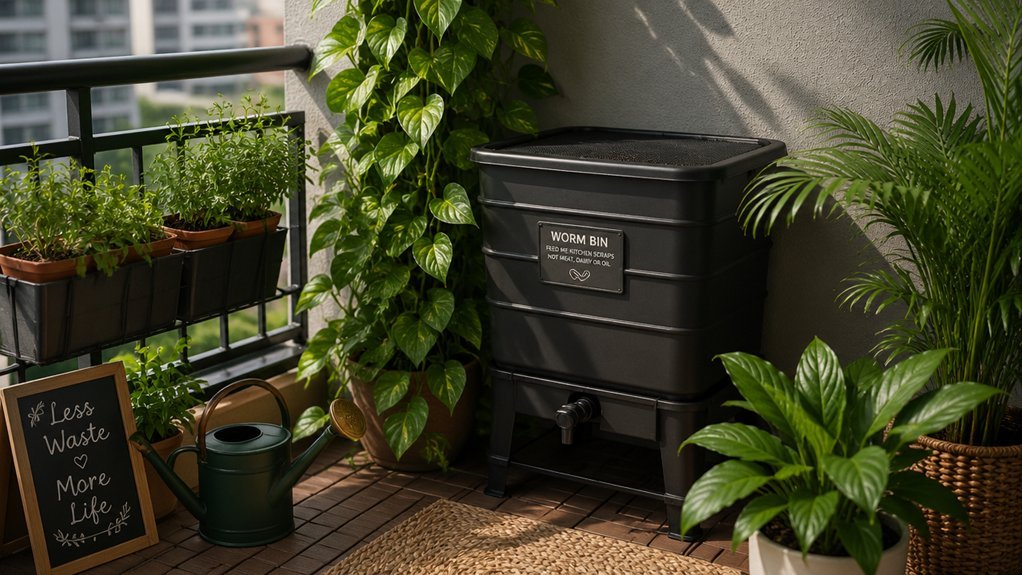
Ever wondered why your balcony worm bin should blend into the garden rather than stand out? You’ll keep worms healthy, control composting, and protect your space from pests, odor, and harsh sun. Place the bin in a larger planter with existing plants so it looks natural and the castings enrich nearby soil. Shade it with a trellis or umbrella, and seal the lid with rocks to block insects. Ensure ventilation holes let fresh air flow, preventing odor buildup. Keep the bin away from doors and high‑traffic zones to avoid drafts and heat spikes. Use a planter that hides the bin and adds greenery. Cover openings with rocks or mesh to deter pests. Add ventilation holes for airflow and odor control. Position away from direct sun and high‑traffic areas. a 1-4 word phrase
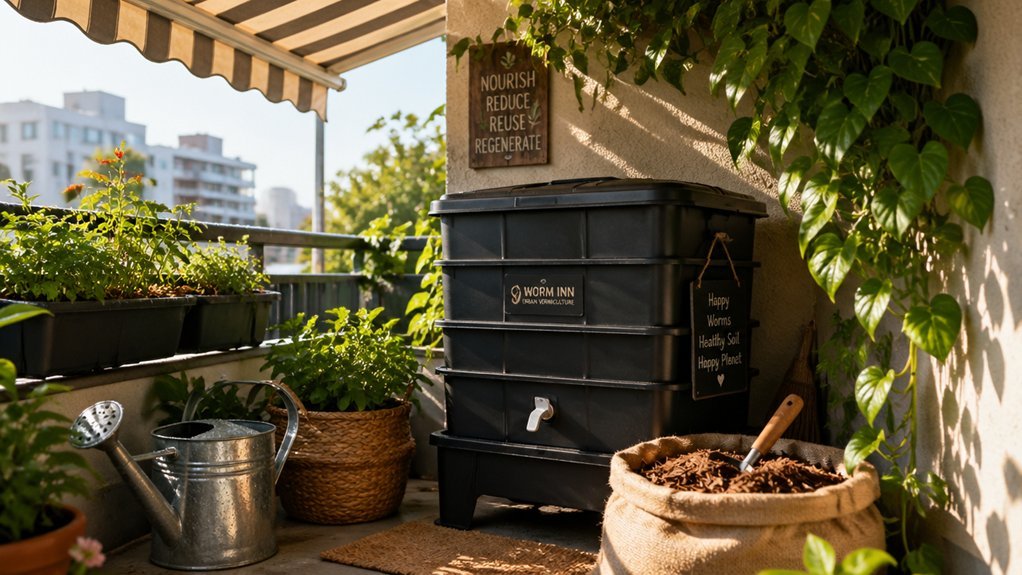
Integrate the Bin With Existing Balcony Planters
You can slip the worm bin into a larger planter, letting its soil blend with the existing mix and using the planter’s drainage to keep things moist.
Keep the bin shaded and under 30 °C, so the worms stay comfortable and the compost doesn’t overheat.
Position it where you can easily reach for feeding and harvesting, then rotate scraps among planters to keep activity even.
Blend With Planter Soil
Wondering how to make a worm bin disappear into your balcony garden? Place your balcony worm bin inside a larger planter that already holds plants. The planter soil acts as a natural buffer, letting composting worms work while their castings seep into the surrounding medium. Keep the lid or a few rocks on top to maintain airflow and prevent odors. The moisture from the planter soil supports the worms, and a two‑bin system lets you rotate scraps, balancing feed and microbial activity.
- Choose a planter with enough depth for the bin and plant roots.
- Add a thin layer of straw or shredded newspaper to improve airflow.
- Position the bin away from direct sun to keep temperatures stable.
- Rotate feeding between bins when you have multiple planters.
A practical approach is to use auto-cleaning features or low-energy operation concepts from dehydrating composters to minimize manual intervention and maintain steady processing alongside your balcony greenery energy efficiency.
Shade and Temperature Management
Because balcony temperatures can spike quickly, place your worm bin in a shaded spot—under an awning, behind a tall planter, or nestled among other pots—to keep it below 30 °C (86 °F) and ideally within the 15–25 °C (60–77 °F) range worm for active composting. Use indirect sun from the awning or the foliage of neighboring planters to create a consistent shade layer that buffers heat while still allowing gentle airflow. Position the bin near existing containers so their soil contributes to moisture management, but keep the bedding damp like a wrung‑out sponge, not soggy. Rotate the bin each season, moving it to cooler corners when daytime heat spikes. This balance of shade, temperature control, and airflow ensures your worm bin thrives on the balcony. Temperature management is reinforced by selecting tools and methods that support durable, rust‑resistant, and easy‑to‑sanitize cleaning approaches for balcony setups.
Easy Harvest Access
Shade keeps the bin cool, and now you can turn that cool spot into a seamless part of your planter lineup. By nesting the balcony worm bin inside a larger planter, you create plant integration that lets castings drain directly into surrounding soil while maintaining moisture control. The partial shade protects the worms, and the mesh vents secure airflow and pest deterrence, making harvests quick and mess‑free.
- Position the bin on a raised pot so you can slide the tray out for easy harvest access.
- Use a removable lid with a fine mesh to keep pests out while allowing airflow.
- Align the bin’s edge with a planter’s rim for smooth castings drainage into the soil.
- Rotate scraps among nearby planters to balance moisture and prevent odors.
Rotate Feeding & Harvesting for a Healthy Balcony Worm Bin
When you rotate which worm bin gets the kitchen scraps, you prevent any one container from becoming overfilled and keep the feeding schedule balanced across all your balcony farms. Switching the compost bin daily spreads waste management load, encourages aeration, and lets Red Wiggler colonies thrive. Use a rock or lid to secure each worm bin placement while harvesting, then lift the container to compare bottom‑cut versus intact‑bottom designs for minimal disturbance. Blend the farms into larger planters with existing plants, keeping them out of direct sun and maintaining a tidy balcony aesthetic.
| Benefit | Mood |
|---|---|
| Fresh castings | Pride |
| Even feeding | Calm |
| Healthy worms | Joy |
Seasonal Tips to Protect Your Balcony Worm Bin
Rotating feeding and harvesting keeps your worm colonies balanced, but the real challenge comes when the season changes. You must watch balcony temperature, keep airflow steady, and adjust shade to prevent seasonal heat from stressing the worms.
A vented bin helps with odor control while maintaining moisture levels, and a lid or rocks deter pests.
- Shade and placement – Position the bin where it gets filtered light, never direct sun, to keep temperature below 30 °C.
- Moisture management – Mist lightly after feeding; avoid soggy bedding that blocks airflow.
- Ventilation and odor – Use a vented bin and open the lid briefly each day to promote airflow and reduce odor.
- Pest protection – Cover the top with rocks or a mesh lid to keep pests out while still allowing easy access.
Frequently Asked Questions
Where to Place a Worm Bin?
Place your worm bin in a shaded, low‑traffic balcony corner, away from direct sun, heat sources, and appliances. Use a sturdy container, seal it well, and blend it among existing potted plants.
What Are the 5 Mistakes That People Commonly Make When Composting With Worms?
You overfill it, toss large scraps, leave it in scorching sun, ignore moisture balance, and neglect proper ventilation—each mistake creates odors, pests, heat stress, anaerobic conditions, and sluggish worm activity.
Should My Compost Bin Be in the Sun or the Shade?
You should keep your compost bin in the shade, not direct sun. Sunlight raises temperature and dries out moisture, stressing worms. Choose a cool, ventilated spot, like a shaded balcony, for ideal activity.
What Three Items Should Not Be Placed in a Compost Pile?
You shouldn’t add meat, dairy, or oily foods; avoid large amounts of citrus, onion, or garlic; and keep waxed cardboard, plastic‑coated items, and stickers out of your compost pile.
In Summary
By picking a shady, temperature‑stable spot, choosing a sturdy container, and positioning your bin away from pests and direct sun, you’ll keep your balcony worms thriving. Blend the bin into your existing planters, rotate feeding and harvesting, and adjust for seasonal changes. Follow these steps, and your balcony worm bin will stay healthy, odor‑free, and productive year‑round.

Leave a Reply