
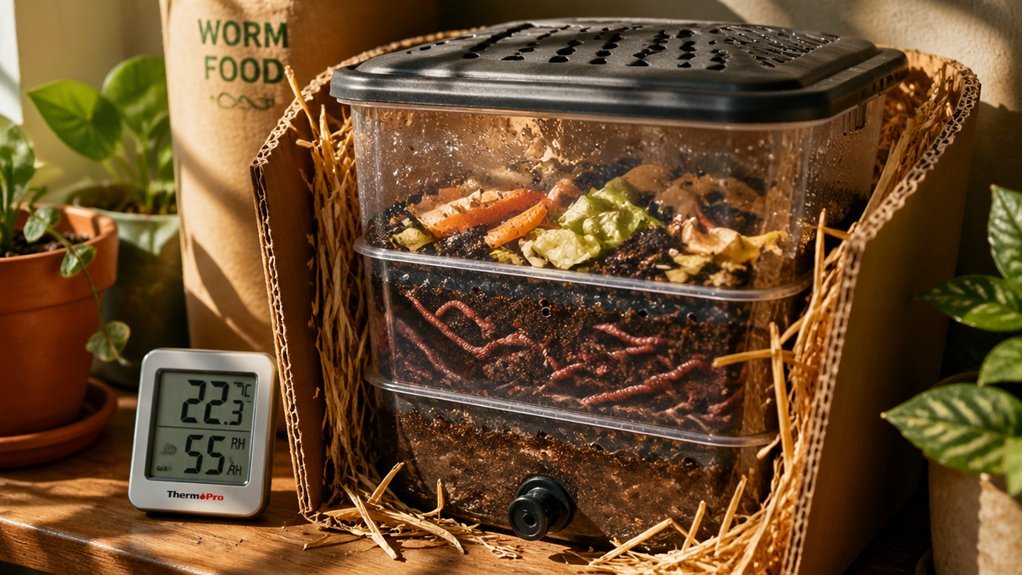
Keep your bin in shade and add vent holes for cross‑drafts, then use a few 2½‑gallon ice bottles on top of the bedding, rotating them during the hottest part of the day. Choose a larger, heavier container to buffer temperature swings, and consider a reflective canopy or a damp towel with a low‑speed fan for extra evaporative cooling. Feed less nitrogen‑rich waste and schedule feedings for cooler hours to curb heat buildup, and you’ll discover even more tricks as you go.
Ideal Worm Temperature Range & Heat‑Wave Risks
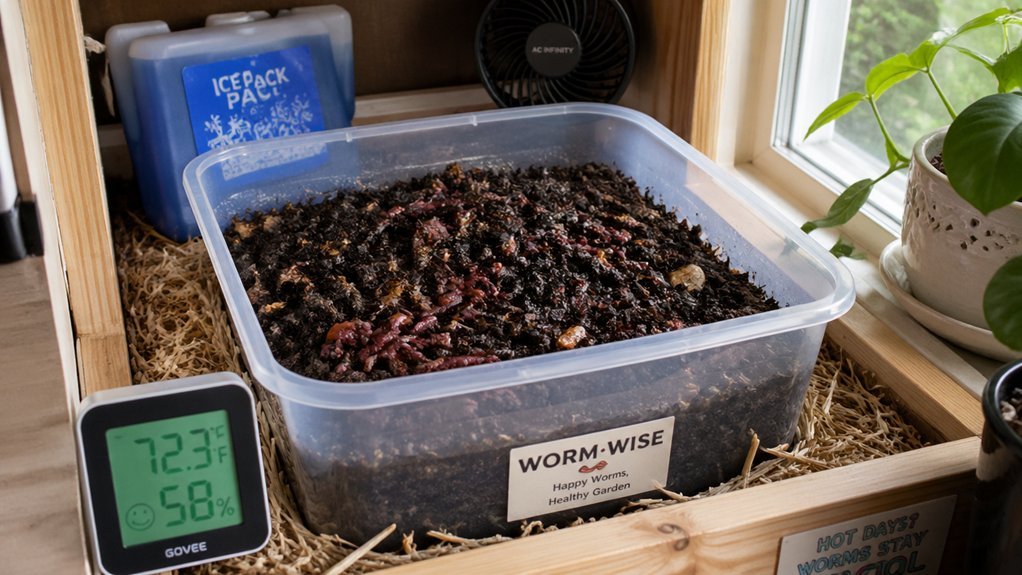
Ever wondered why your worm bin sometimes feels like a sauna? You need to keep vermicomposting heat inside the 15 °C – 25 °C temperature range, the ideal worm temperature for active feeding and reproduction. When daytime peaks push the bin above 30 °C, worms retreat to cooler refuges in the collector tray, and sustained spikes above 35 °C trigger heat‑wave risks that can kill them or shift decomposition to bacteria. To help manage heat, use a compact, well‑ventilated setup such as a dual‑chamber design that supports easy aeration and temperature control Dual‑chamber design and consider adding insulation or shade as described in urban composting guides. Moisture as heat transfer means wet bedding amplifies temperature spikes, especially in sealed containers. To prevent heat‑wave risks, prioritize worm bin cooling: add ventilation, shade the bin, and place frozen bottles or ice packs nearby. Reducing waste input also curtails heat buildup, keeping your compost thriving.
Passive Vermicompost Cooling: Bin Size & Thermal Mass
Why not let the bin itself do most of the cooling work? Choose a larger bin for small‑space vermicomposting and you instantly boost thermal mass, which damps temperature swings and keeps the interior near the ideal 59°F–77°F range. The extra mass slows heating and cooling rates, so external heat spikes won’t cause rapid temperature spikes. Pair the high-mass container with passive cooling tricks—place it in a shaded spot and ensure natural ventilation can flow around it. This setup leverages the surrounding environment, stabilizing ambient temps and creating a cooler microclimate without active fans or ice packs. By focusing on bin size and thermal mass, you achieve effective heat management while keeping the system simple and low-maintenance. OK Compost HOME and other certifications align with properly managed organic waste streams, reinforcing dependable performance.
Shade & Ventilation for Vermicompost Cooling
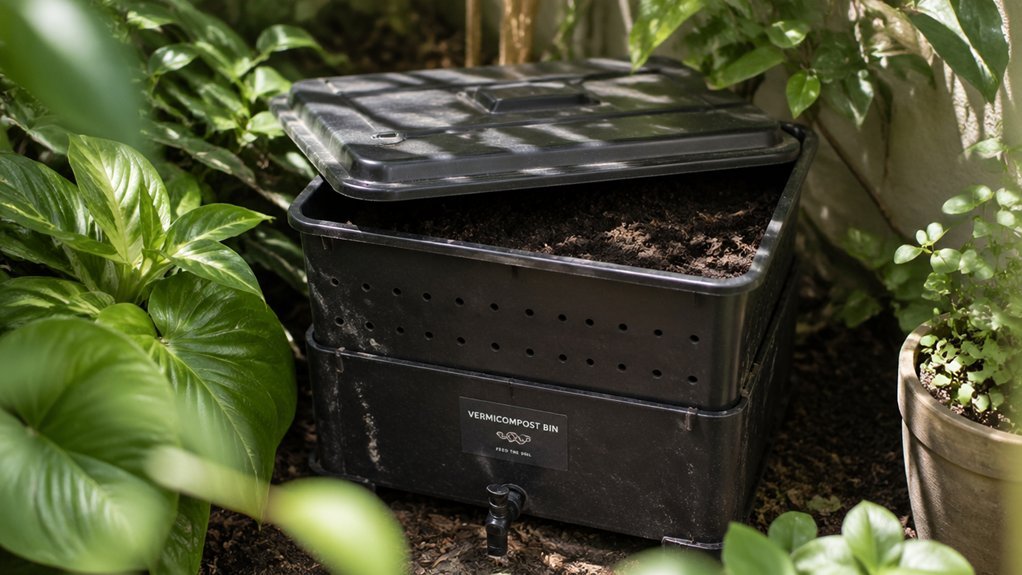
Choosing a larger, high‑mass bin gave you a stable thermal base, but the next step is to keep that heat from building up in the first place. Place your worm bin in shade and a well‑ventilated spot; a canopy, sail, or reflective cover can cut solar gain by up to 15 °F. Add vent holes along the sides and top, and crack the lid just enough to let air flow without drying out the bedding. In hot weather, a shaded porch or shed with cross‑drafts keeps outdoor bins around 78–82 °F despite high ambient temperatures. Pair the shade with proper ventilation, and you’ll maintain a cool environment for vermicomposting without extra gadgets. This simple combo prevents overheating and supports healthy worm activity. Ventilation systems help regulate temperature and moisture, complementing shade to sustain microbial life.
Ice Bottles for Continuous Low‑Cost Vermicompost Cooling
A simple, low‑cost way to keep your worm bin from overheating is to rotate 2½‑gallon ice bottles on top of the bedding. You’ll swap bottles morning and night, pulling the bag‑wrapped bottles out before they melt, then replace them during the 2–6 PM heat peak. This keeps the vermicomposting environment in the high‑70s to mid‑80s °F, providing steady cooling without adding moisture. Because the bottles sit on the surface, they never bury the bedding, and the method works in any small‑space indoor or outdoor worm bin. Implementing this technique alongside a well‑drained bedding setup can further support a stable temperature range for thriving composting activity stability of temperature.
DIY Evaporative & Reflective Cooling Techniques
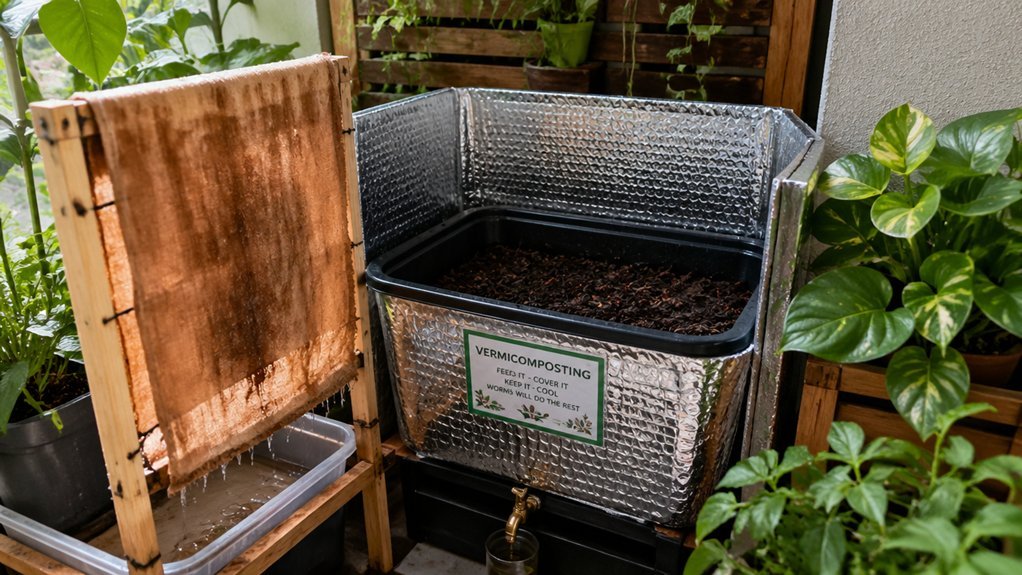
Ever wondered how to keep your worm bin cool without pricey gear? Try simple evaporative cooling: place a damp towel over the top, add a low‑speed fan, and swap in fresh moisture when it dries. The towel’s evaporation pulls heat away, especially when you combine it with shade—use a white or silver canopy instead of a black tarp to shave off up to 15°F. Add reflective shielding like Reflectix on the bin’s sides; it bounces sunlight, retains moisture, and keeps the bottom where worms live cooler. In small‑space vermicomposting, pair these cooling techniques with ventilation holes and a thin, insulated mulch. Together they stabilize worm bin temperature and boost heat management without breaking the bank. Regular replacement of filters and maintaining smooth interior surfaces helps prevent odor and pest issues, reinforcing a healthier bin environment. Odor Control
Reduce Nitrogen‑Rich Feeding to Lower Bin Heat
Why not cut back on nitrogen-rich scraps when summer heat spikes? By trimming nitrogen-rich feeding you curb microbial activity, which directly eases worm bin heat. This simple cooling feeding strategy lets you keep temperature control without sacrificing worm health. In small‑space composting, less feed means slower decomposition, so the bin stays within safe limits for weeks while the population remains stable. Also, aligning feed timing with cooler hours helps maintain steadier microbial activity and bin temperature Smart Heat Management.
Indoor Relocation as a Vermicompost Cooling Strategy
When summer heat spikes, moving your worm bin to a cooler indoor spot—like a basement, garage, or shaded kitchen—keeps temperatures below 95 °F and eases heat stress. Basements provide natural insulation, letting vermicompost cooling stay near 70–80 °F even when outdoor temps soar. Using an airtight lid with odor containment can further help maintain stable conditions during relocation airtight lid.
Frequently Asked Questions
How Often Should I Rotate Frozen Water Bottles in the Bin?
You should rotate the frozen bottles every two to three days, ensuring they’re evenly spaced. This keeps the temperature consistent, prevents clumping, and helps the worms stay active throughout the bin.
Can I Use Frozen Gel Packs Instead of Water Bottles?
Yes, you can swap frozen gel packs for water bottles; just ensure they’re sealed, fit your bin, and release heat gradually. Monitor temperature closely, and replace packs when they thaw to keep worms comfortable.
What Temperature Sensor Works Best for Small Vermicompost Bins?
You’ll get the most reliable readings with a digital waterproof DS18B20 sensor; it’s cheap, accurate to ±0.5 °C, easy to wire to an Arduino or Raspberry Pi, and handles the bin’s humidity without corroding.
How Does Bin Material (Plastic vs. Wood) Affect Heat Retention?
Plastic bins trap heat longer, so you’ll see higher, steadier temperatures, while wood lets air circulate, cooling faster; choose plastic for warmth, wood for cooler, more breathable conditions.
Is It Safe to Add Citrus Peels During Hot Weather?
You can add citrus peels in hot weather, but keep them minimal—about a handful per bin—so they don’t overheat or acidify the compost. Mix them thoroughly and monitor temperature regularly.
In Summary
By keeping your worm bin within the ideal temperature range, you’ll prevent heat‑wave stress and boost compost quality. Use passive cooling—right‑sized bins, thermal mass, shade, and ventilation—to keep things stable. Add ice bottles or DIY evaporative and reflective tricks for low‑cost, continuous cooling. Trim nitrogen‑rich feed and, if needed, relocate indoors to maintain a comfortable environment. These simple steps keep your small‑space vermicompost thriving year‑round.



