
Freeze your kitchen waste in a 5‑gallon bucket, then layer each batch with shredded paper or dry leaves to soak up excess moisture. Label the clear containers with the freeze date and color‑code them for quick rotation, keeping the oldest batch on top. Stack the batches so the newest greens sit at the bottom, using cardboard sheets between layers to prevent crushing. When spring arrives, slide the thawed layers into your compost bin, spreading and mixing them for optimal aeration. Continue and and you’ll discover even more tips.
Start Freezer Composting by Batching Scraps
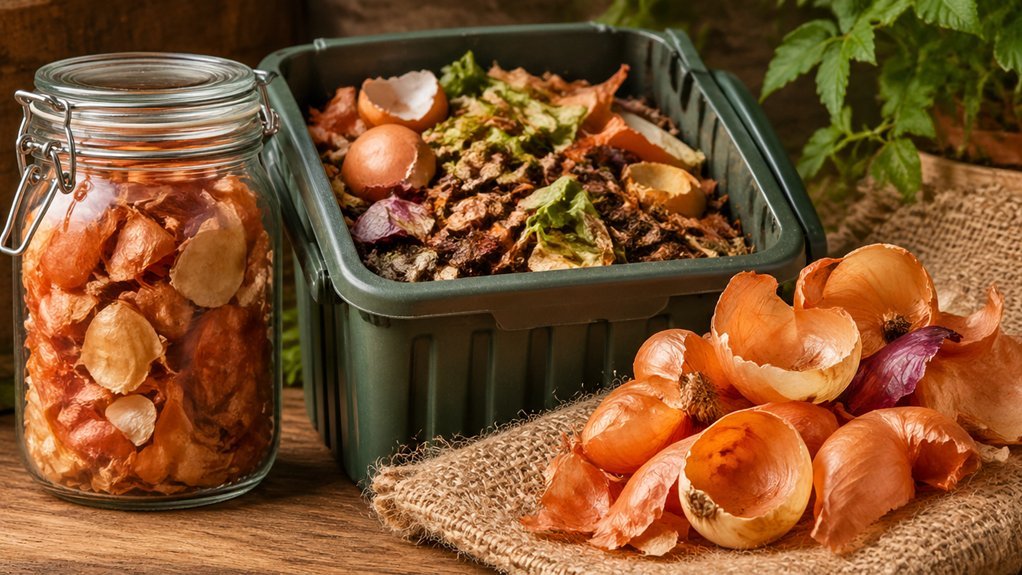
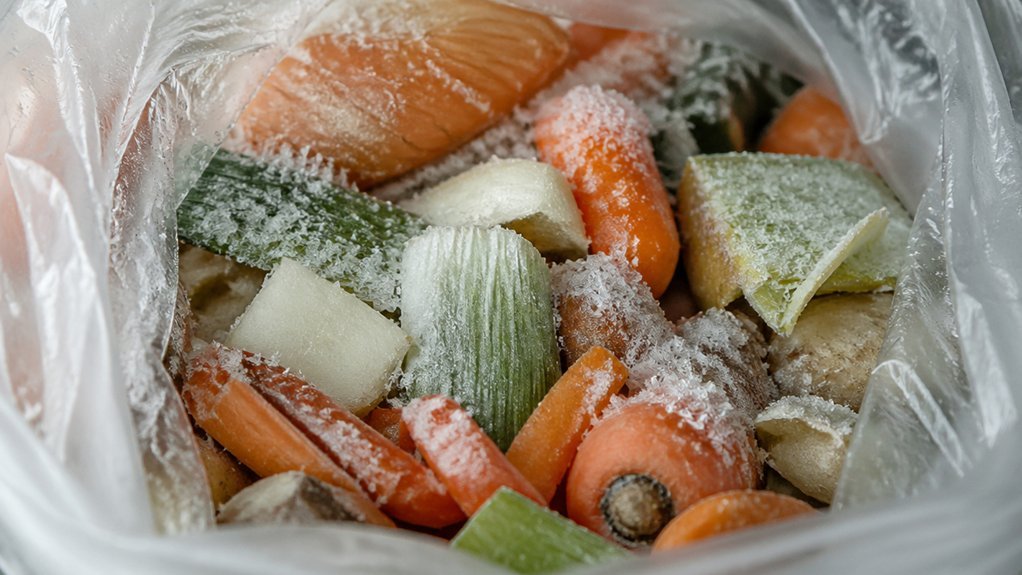
Start freezer composting by batching scraps: freeze your kitchen waste—citrus peels, celery, leftovers—into a single, manageable pile. You’ll notice that freezing kitchen scraps lets you collect a sizable batch without worrying about spoilage. Use a 5‑gallon bucket or a freezer‑grade container, then layer the frozen pieces with shredded paper or dry leaves to balance moisture. As the pile grows, empty the bucket weekly, or every 3‑4 days if liquid accumulates, and pour any runoff into a separate tray to avoid sludge. When the freezer fills, keep adding fresh scraps to the active batch instead of starting a new one, ensuring a steady supply for the spring thaw. This batching method preserves nutrients and cuts odor, setting the stage for a faster, more efficient composting cycle. Keep a steady supply of scraps by continuing to batch and add new material to the active pile as you go.
Add Absorbent Layers to Moisture‑Heavy Scraps
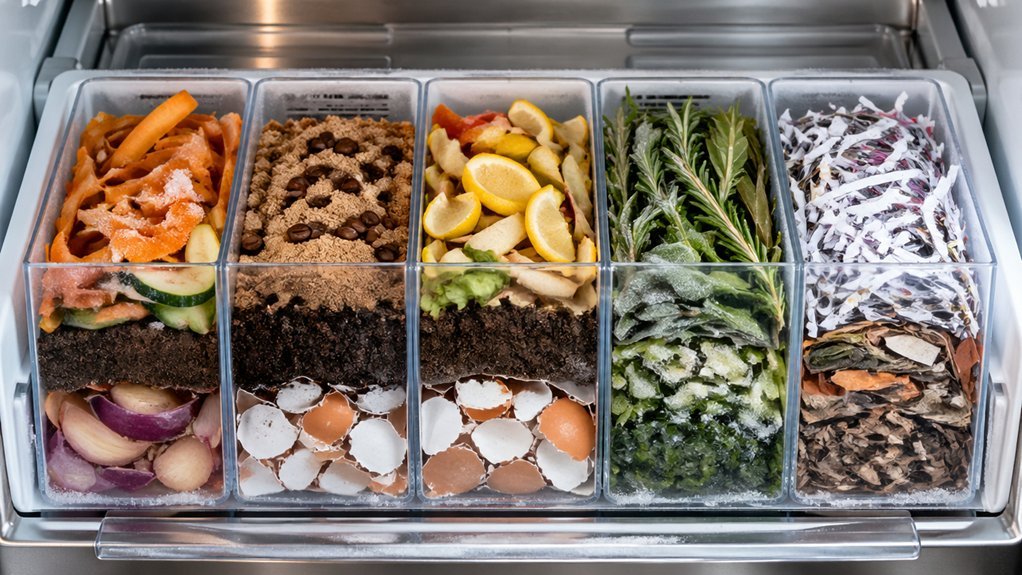
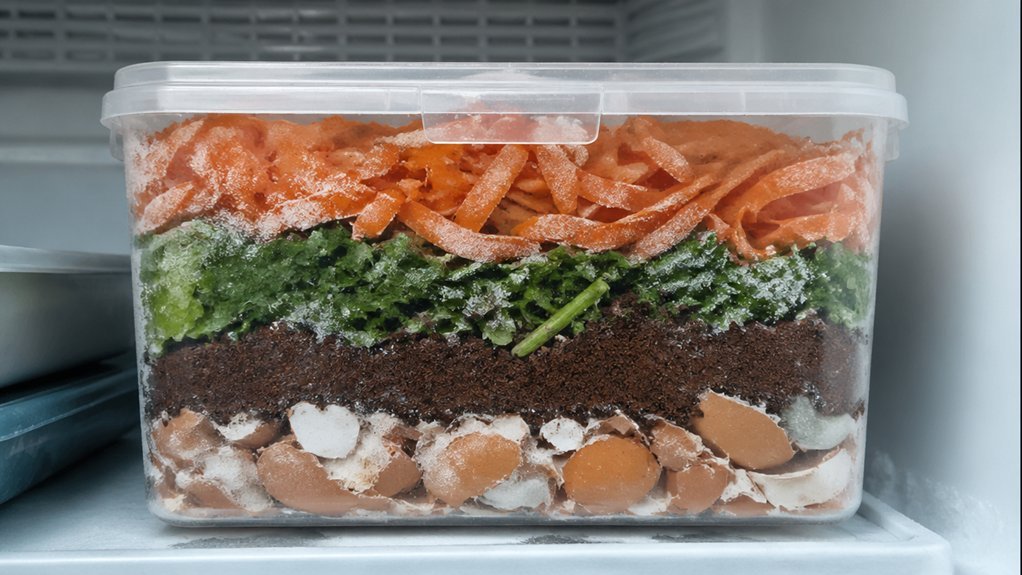
After you’ve gathered a frozen batch, sprinkle a layer of absorbent material—shredded paper, dry leaves, or cardboard—between the greens. This browns layer wicks excess water, keeping the compost from turning soggy. As you add each new green portion, follow it with another dry strip; the repeated pattern creates a sponge‑like structure that traps moisture before it seeps through. The dry leaves boost carbon content while shredded paper offers a quick, inexpensive browns solution. Keep the layers uniform so you can later thaw, mix, and aerate without clumping. By maintaining this rhythm throughout winter, you set the stage for a rapid, odor‑free decomposition burst when spring temperatures rise. A well‑layered approach also aligns with using breathable, moisture‑absorbing blankets to manage bin conditions more effectively moisture absorption.
Label Clear Containers for Easy Rotation
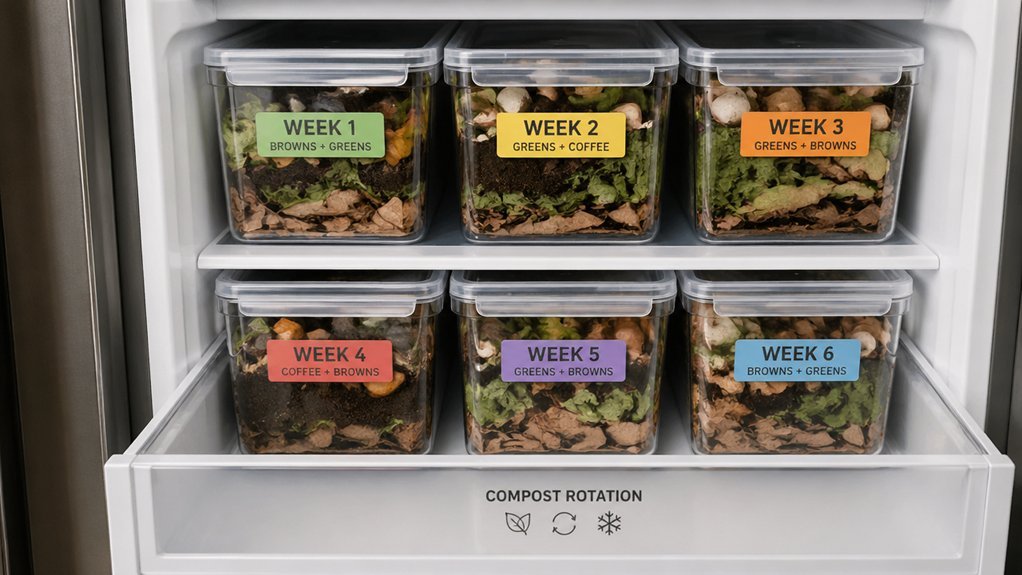
Because clear containers let you see inside, label each one with the freeze date and its contents—greens, fruit, coffee grounds, or paper—so you can spot the oldest batch at a glance. You’ll quickly know which scraps need moving forward in your rotation system, cutting down on guesswork and extra handling. Color‑code the labels for even faster visual cues, and keep a simple checklist on the freezer door to remind you to pull the oldest container first. This habit ensures fresh material stays near the top while older material heads straight to the compost pile, preserving nutrients and preventing waste. Extended suction tube helps ensure you’re using every bit of your labeling system to its full potential.
Stack Batches to Maximize Freezer Space
Labeling your containers already shows you which batch is oldest, so now you can arrange those batches to make the most of every cubic inch.
Stack the 5-gallon buckets on top of each other, placing the newest greens at the bottom and the oldest ones on the as. This way you pull the oldest batch first when you’re ready to thaw, keeping the composting process moving smoothly.
Use sturdy, flat trays or cardboard sheets between layers to prevent crushing and to keep the shredded paper or brown material in place.
Arrange the stack near the freezer door for easy access, and keep the lid on each bucket to control odors.
When temperatures rise, you’ll have a clear, space-efficient system ready for the April‑May thaw window.
Transfer Thawed Layers to Your Compost Bin
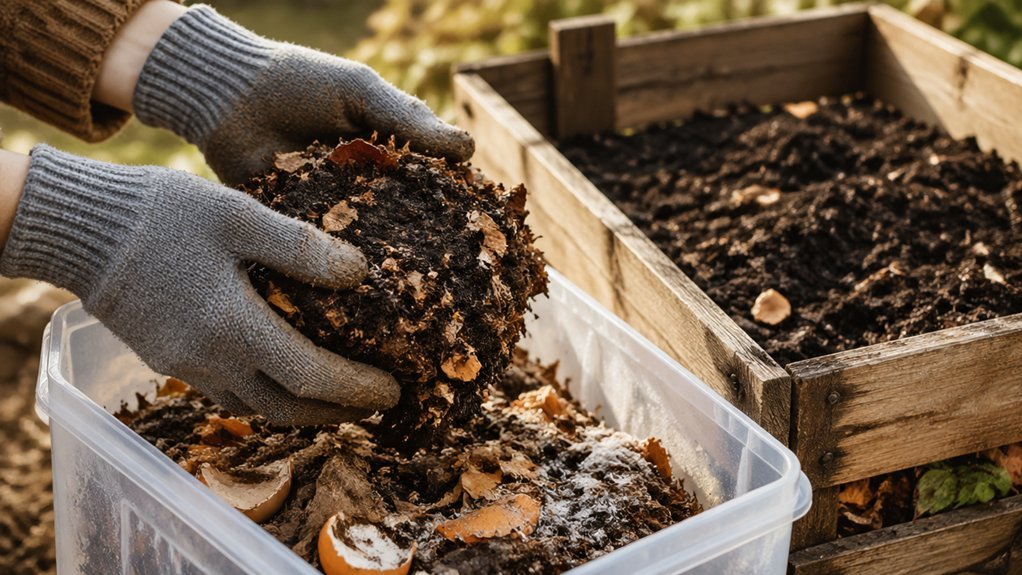
Wondering how to keep the momentum going once spring arrives? You’ll want to move the thawed layers from the freezer into your compost bin during the April–May thaw window. First, keep the frozen batch intact through winter, then as temperatures rise, open the freezer and slide the whole stack onto the bin’s surface. Because you layered greens, browns, and greens again before freezing, the nutrient balance stays spot‑on, minimizing odors as microbes kick in. Gently spread the thawed layers, then give them a quick, thorough mix to introduce air and speed decomposition. This minimal‑disturbance approach lets you capitalize on the pre‑arranged structure, accelerating breakdown without re‑layering from scratch. air circulation helps maintain an even temperature and promotes faster microbial activity throughout the pile.
Frequently Asked Questions
Should You Put Your Compost in the Freezer?
Yes, you can freeze scraps, but expect freezer space, energy use, and occasional thawing. Keep greens and browns layered, empty weekly, and transfer to a compost pile once temperatures rise.
Do Potato Peelings in Compost Attract Rats?
You’ll attract rats if you leave potato peels exposed, but sealed, frozen containers keep odors low, so pests stay away. Use airtight bins, layer with browns, and clean regularly to prevent attraction.
How Do the Amish Compost?
You’ll layer greens and browns in a covered, insulated bin, keep scraps dry, add dry material to balance moisture, mix occasionally, and store winter scraps in sealed containers to avoid freeze‑thaw disruption.
What Three Items Should Not Be Placed in a Compost Pile?
You should keep meat, dairy, and oils out of the pile, avoid diseased plants or herbicide‑treated yard waste, and never add plastics, glossy paper, charcoal ash, or treated wood.
In Summary
By batching scraps, adding absorbent layers, labeling containers, stacking efficiently, and transferring thawed layers to your bin, you’ll keep your freezer organized and your compost process smooth. This system cuts waste, speeds up decomposition, and makes it easy to maintain a steady supply of nutrient‑rich material for your garden. Stick to these steps, and you’ll turn kitchen waste into garden gold without any hassle.
Leave a Reply