
You can keep composting by a winter window because an airtight, insulated bin traps indoor heat, keeping the core at a micro‑25 °C even when it’s freezing outside. The clear lid lets you watch the process while the vent releases gases, and a gentle heat pull‑in design prevents cold air from stalling microbes. Proper carbon‑nitrogen balance, moisture control, and occasional stirring keep the pile active and odor‑free, and the right setup will let you harvest dark, crumbly compost year‑round. Keep going and you’ll discover the exact steps to set up, troubleshoot, and maximize your winter window compost.
Choose the Right Window‑Mounted Compost Bin for Winter
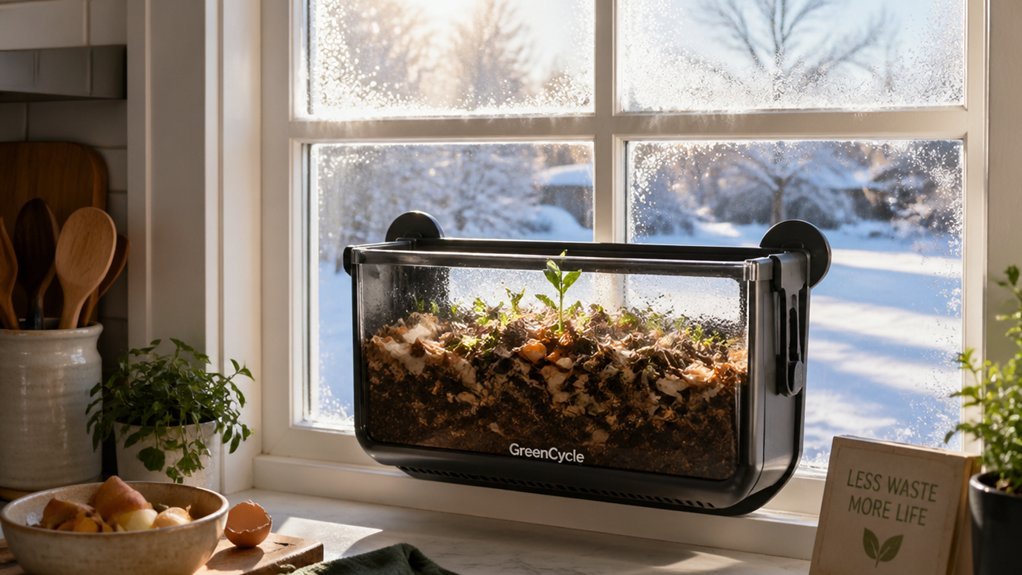
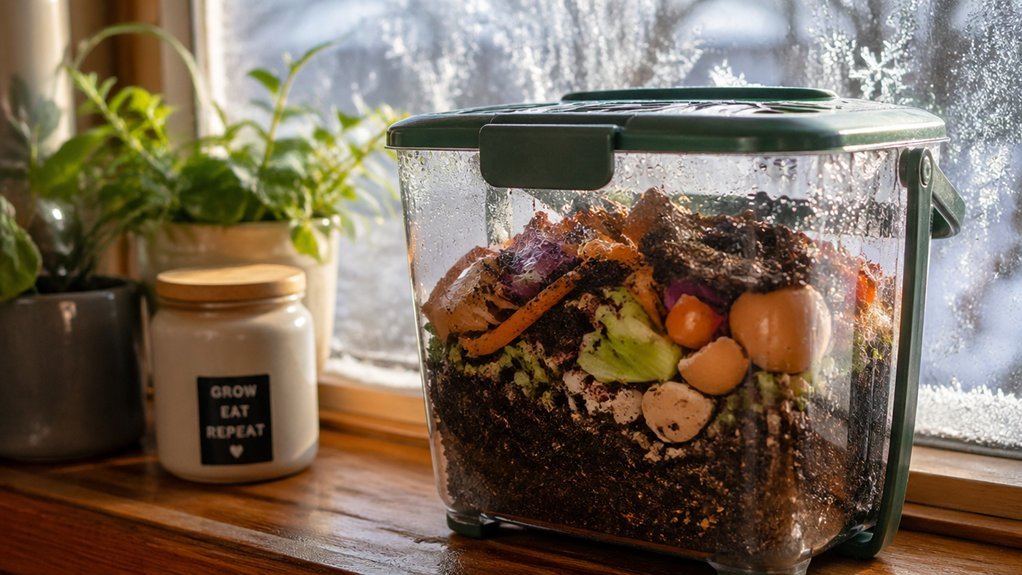
Wondering how to keep your kitchen scraps breaking down when it’s frosty outside? Choose a window composting unit that pulls gentle indoor heat into a sealed chamber. Look for an airtight bin with a dedicated vent that lets gases escape but keeps cold air out. A clear lid lets you watch activity while the seal blocks odors. Position the bin near a sunny sill, not directly on an exterior wall, so temperature stays stable. Pick a model with a removable tray for easy draining and a sturdy frame that fits your countertop. When you add a carbon‑rich layer of shredded paper or leaves, the bin stays balanced and aerobic. This setup lets microbes thrive all winter without a backyard pile Odor Control Champion.
Set Up Your Bin for Cold‑Weather Indoor Composting
Pick an insulated, closed bin and place it away from heating vents and exterior walls so the core stays above freezing.
Wrap the container with foam board, blankets, or a reflective cover to keep temperature steady while you add enough brown material for structure and moisture control.
Keep the mix damp but not soggy, adjusting water and dry layers each week to prevent odor and maintain aerobic activity.
The Bin
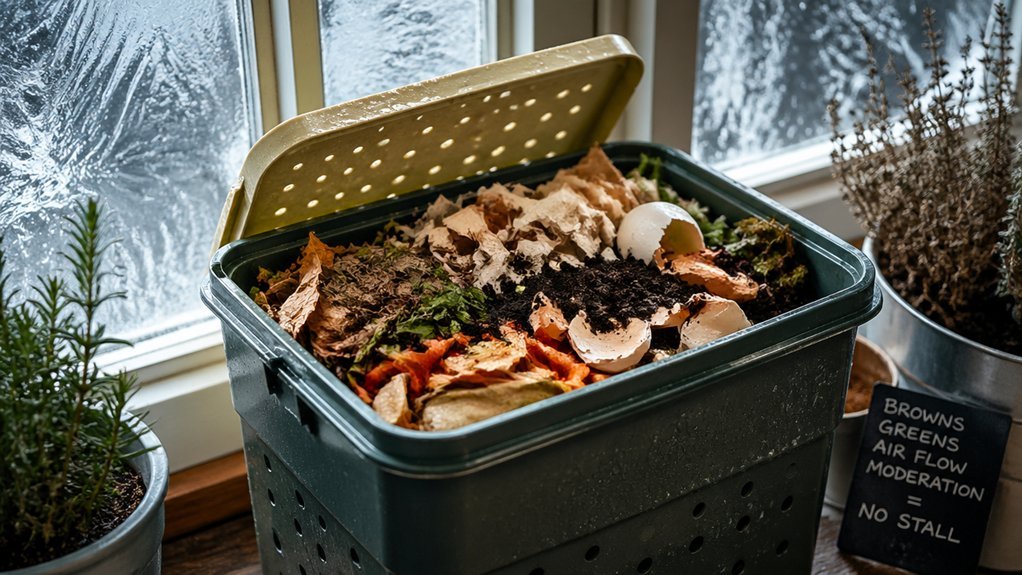
How do you keep your indoor compost bin warm enough for microbes and worms during a cold snap? Choose a sturdy container with a lid, then place it on a countertop away from exterior walls or drafts. Fill the bin with a mix of kitchen scraps and a carbon source, keeping the pile at least three feet wide and deep if space allows; this volume holds heat. Add a handful of nitrogen‑rich grass clippings each week to boost activity. Cover the top with straw or dry leaves to trap steam, which signals healthy bioactivity. Avoid thick, insulating blankets that block airflow. By positioning your compost bins correctly and maintaining the right balance of materials, you’ll sustain lively indoor composting even when temperatures drop. Odor control
Choose Insulating Materials
What material should you wrap around your compost pile to keep it warm? Use straw, dry leaves, or a thick blanket of shredded newspaper as insulation. These cheap, breathable layers trap heat while allowing air flow, preventing the core from freezing even when room temperatures dip below 10 °C. Build a DIY enclosure by placing a cardboard box or wooden frame around the bin, then line it with your chosen material. Make sure the cover is snug but not airtight; you’ll still need moisture control, so avoid overly damp layers that could soggy the pile. Check the insulation weekly, adding fresh straw or leaves as needed to maintain a steady temperature and keep microbial activity humming throughout winter. One-gallon models offer good value for typical kitchens and can be integrated into a winter-insulation setup as part of a compact system.
Maintain Moisture Balance
After wrapping your pile in straw, dry leaves, or shredded newspaper, the next step is keeping the moisture just right. Aim for a feel of a wrung‑out sponge—cool to the touch but not dripping. Because temperature drops slow microbial activity, a dry bin stalls while a soggy one pools water and suffocates microbes. Check the pile after each addition of scraps; if it feels too wet, sprinkle dry browns like shredded paper or wood shavings and stir to distribute. If it’s too dry, mist lightly with water or add a damp cloth. For worm or Bokashi bins, stay within the species‑specific humidity range, using the same carbon‑rich covers to insulated and retain moisture throughout winter. Continuous monitoring, including noting how different materials decompose and how long decomposition takes, can help you adjust moisture more accurately over the season. Moisture balance remains critical to sustaining microbial activity in confined indoor spaces during colder months.
Control Moisture and Odor in a Cold Bin
You’ll keep the bin’s moisture like a wrung‑out sponge by adding browns and misting lightly, then sprinkle coffee grounds or shredded newspaper to mute smells.
Insulating the container with straw or a snug box traps gentle heat, preventing rapid cooling that fuels odor spikes.
Turning the mix a few times a week redistributes moisture, aerates the pile, and keeps the scent under control.
Moisture Management Techniques
Because cold indoor bins tend to dry out, you’ll need to keep the material at a damp, squeeze‑tinky texture; too much moisture creates anaerobic spots and foul odors, while too little slows the microbes. To stay within that sweet spot, sprinkle a handful of dry leaves or shredded straw each week; they soak up excess water and improve airflow. If the mix feels soggy, press it lightly with a spoon and add more dry carbon until you can form a small ball that barely drips when squeezed. Keep the lid sealed but not airtight, and check the surface daily for slime or sour smells—those are signs you’ve tipped the balance. A simple tray of paper towels under the bin can catch runoff, preserving proper moisture indoors without extra gadgets. Regular monitoring is key to ensuring the humidity remains balanced in a closed indoor environment, and using a model with an odor-control system can help maintain freshness even when the bin is not vented. odor-control
Odor‑Reducing Additives
How can you keep a winter compost bin smelling fresh while the temperature stays low? You control odor by balancing moisture and airflow with smart additives. Layer dry carbon‑rich material, such as shredded paper, over wet greens to keep the mix from turning soggy. Sprinkle a thin dose of activated carbon or biochar to trap volatile compounds, and mix in a small amount of bulking agent like wood shavings to boost porosity. Regularly stir the pile, even when it’s cold, to re‑oxygenate microbes and prevent anaerobic pockets. Activated carbon provides odor reduction and pairs well with carbon filters in ventilation‑focused bins activated carbon for odor management.
Insulated Bin Design
An insulated compost bin keeps the interior warm enough for microbes to stay active while preventing excess moisture from turning the mix soggy. You’ll notice that a tight‑fitting lid and a dark, reflective interior act as a barrier against cold drafts, while insulation traps heat from the warm layers inside. This design maintains temperatures above freezing, letting thermophilic bacteria keep breaking down scraps. For moisture control, add a breathable liner or a small vent that lets air circulate without drying the pile. The ventilation reduces odor escape and supplies oxygen for aerobic organisms, while the sealed gaps keep the environment damp, not soggy. By balancing insulation and moisture control, you sustain steady decomposition and keep winter odors at bay. Winter-Window integration can also benefit from a compact, space-saving bin design that fits on balconies or near kitchens, aligning with the principles of compact bokashi and other space-efficient systems for urban setups.
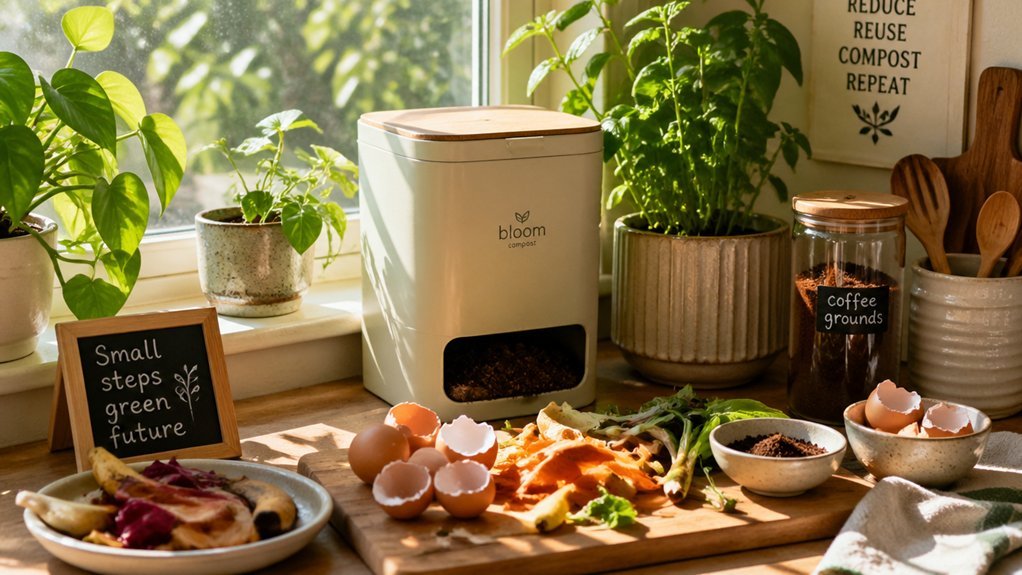
Apply Bokashi, Worms, or an Electric Composter Inside
Ever wondered how to turn kitchen scraps into rich soil without stepping outside? You can keep composting efficient all winter by choosing one of three indoor systems.
- Bokashi – an anaerobic fermentation that handles cooked foods and dairy; seal the bucket, store the fermented solids for 1‑2 months in a cool spot, then bury or finish them outdoors.
- Vermicomposting – set up a red‑wiggler worm bin with bedding about one‑third full; maintain 15‑25 °C, keep it away from vents, and let 0.5‑1 lb of worms process roughly 0.5 lb of waste weekly.
- Electric composter – plug‑in countertop unit with heat and aeration; it works year‑round, handling a wide range of scraps, including cooked items, without extra temperature tricks.
Pick the method that fits your space, and your winter window composting will stay productive.
Fix Stalls, Freezing, and Over‑Feeding Problems
Stalled compost in winter? You can break stalls by cutting back fresh additions and freezing any excess scraps in a sealed bag. Freezing locks in moisture, stops odors, and keeps the material compostable until the bin warms up. When you notice a slowdown, pause feeding for a few days, then resume with smaller, balanced batches—aim for a 30:1 carbon‑to‑nitrogen ratio to keep microbes active.
If you’ve over‑fed, spread out the next load and mix in dry leaves or shredded newspaper to restore airflow and prevent slime. For longer freezes, store scraps in the freezer and dump them back once temperatures rise. Local drop‑off programs and community bins also offer a winter‑friendly escape route when your indoor bin stalls.
Harvest and Use Compost From Your Window‑Mounted Bin
When your window‑mounted bin finally yields dark, crumbly material, you can harvest it with a simple scoop and a clean container. First, give the compost a quick sniff; a fresh, earthy scent means it’s ready. Then, transfer it to a sealed bucket and keep it cool until you’re ready to use it. Finally, add the compost to your plant mix or garden beds before the last frost.
- Mix into potting soil – replace up to 20 % of the volume with compost for stronger seedlings.
- Create a seed‑starting blend – combine compost, peat, and vermiculite for optimal moisture retention.
- Amend outdoor beds – spread a thin layer over garden rows after the frost thaws.
Frequently Asked Questions
Can You Compost Indoors in Winter?
Yes, you can compost indoors in winter. Use Bokashi, vermicomposting, or an electric composter—keep temperatures above 15 °C for worms, avoid vents, and enjoy steady waste diversion and spring‑ready compost.
How Do the Amish Compost?
You follow the Amish method by stacking brown and green layers in a closed bin, keeping the pile big enough for heat, turning it occasionally, and letting natural aerobic microbes break down the material.
What Are Three Things You Shouldn’t Compost?
You shouldn’t compost large wet food piles, citrus peels, or any liquids like soups and sauces. Also, avoid moldy or rotting items, because they cause odors, pests, and anaerobic hotspots.
What Is the Laziest Way to Compost?
You’ll love bokashi fermentation: just toss scraps into a sealed bin with bran, close it, and let microbes do the work. No turning, no watering—just store the pre‑compost and later bury it.
In Summary
By choosing the right bin, keeping it warm enough, and managing moisture and odor, you can keep winter window composting alive indoors. Adding bokashi, worms, or an electric composter tackles stalls and freezing, while proper feeding prevents over‑loading. Harvest the rich, dark compost and feed it to your plants, turning cold months into a productive, eco‑friendly cycle right from your windowsill.
Leave a Reply