
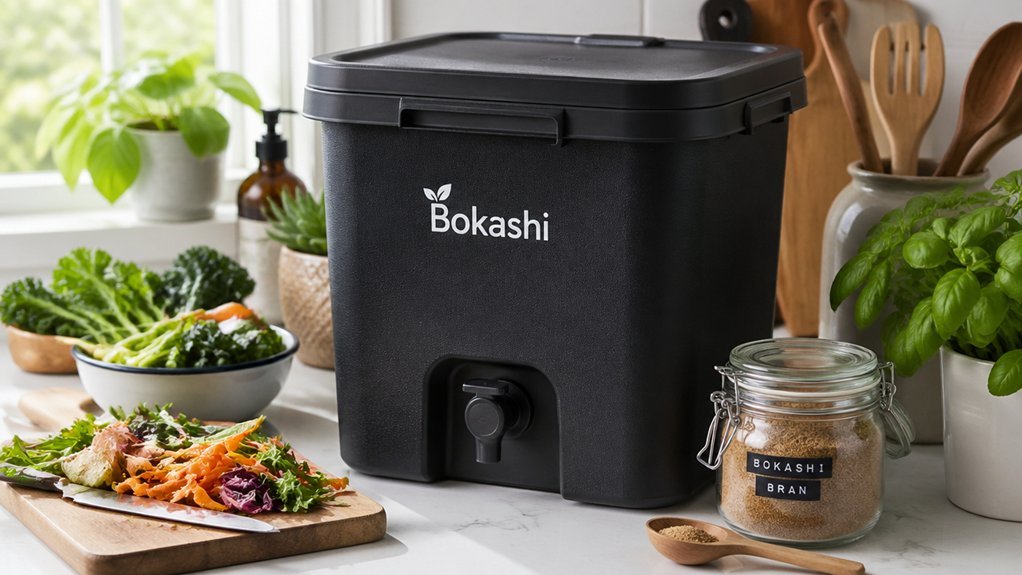
Choose a compact bin that fits your kitchen nook and layer scraps thinly, pressing each layer to squeeze out air. Sprinkle 1–2 tablespoons of bokashi bran per inch of waste, spreading it evenly before sealing. Tighten the lid, add a small pressure‑release vent with a breathable filter, and keep the bin at 15‑25 °C out of direct sunlight. Drain the bokashi tea every 2‑3 days, diluting it 1 tsp per gallon for plants. Spot green mold early and re‑press waste with extra bran. The fermented material can be mixed into potting soil or added to compost, and the next steps will show you how to maximize its benefits.
Size the Bin and Layer Scraps Thinly to Prevent Compaction
If you size the bin to match your space and add waste in thin, lightweight layers, you’ll keep air pockets at bay and boost fermentation efficiency. Choose a container that fits your kitchen nook, then fill it gradually, sprinkling bokashi bran over each thin sheet of scraps. Press the material down firmly after every addition to eliminate trapped air and avoid compacting air pockets that choke microbes. By adding small batches instead of a massive load, you preserve an anaerobic environment, which is essential for the bokashi microbes to thrive. Regularly monitor moisture and temperature to maintain optimal conditions, and ensure you set up drip drainage so excess liquid can escape, preventing moisture buildup that would otherwise slow fermentation efficiency. This disciplined layering keeps the system balanced and odor‑free. Drip drainage supports moisture control and microbial health in bokashi systems.
Sprinkle Bokashi Bran on Every Layer for Consistent Fermentation
Sprinkle bokashi bran onto each thin layer of scraps, using roughly 1–2 tablespoons per inch of material, to keep fermentation uniform.
As you add a new slice of kitchen waste, spread a generous dusting of bokashi bran, then press the layer down to eliminate air pockets.
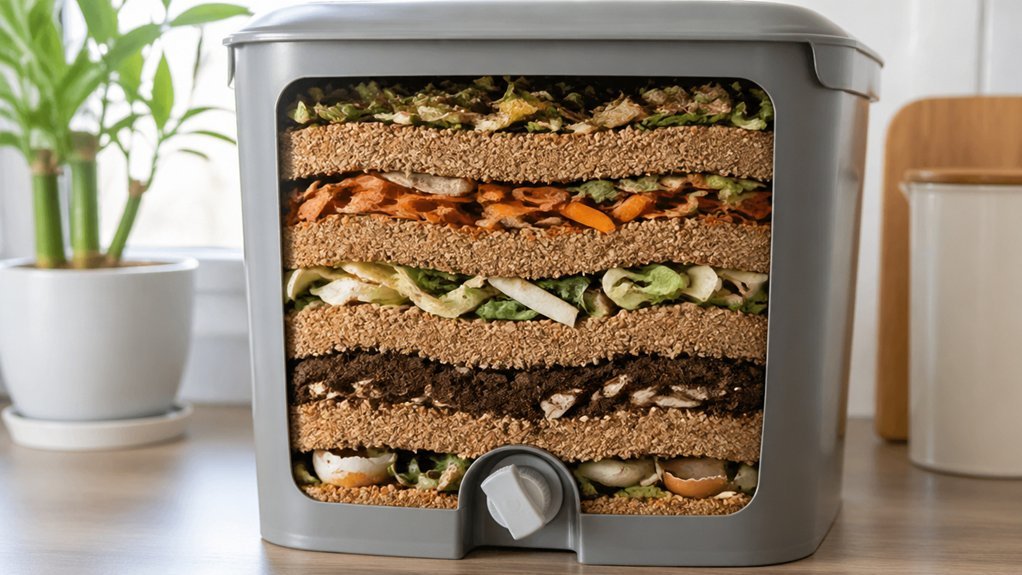
This practice guarantees that the EMs in the bran reach every bite-size piece, fostering a strong anaerobic environment.
Repeat the process for each subsequent layer, alternating scraps and bran so the inoculant spreads evenly throughout the bin.
After the final layer, flatten the top and snap on the air-tight lid.
The consistent layering and thorough coverage of bokashi bran keep the fermentation steady, prevent spoilage, and accelerate the breakdown of organic matter airproof packaging.
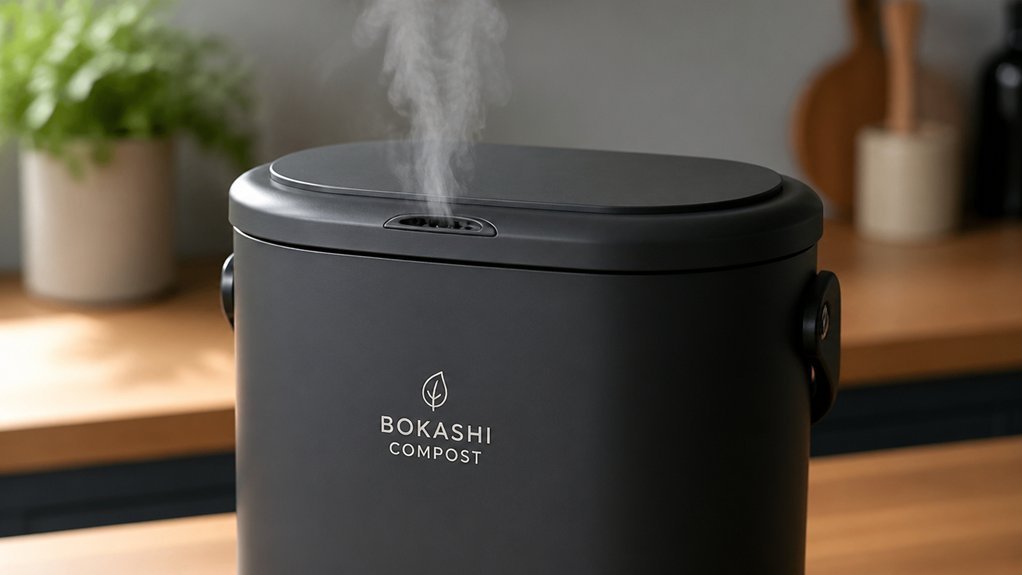
Seal the Bin Securely and Allow a Small Pressure‑Release Vent
How can you keep the bokashi process humming without a single breath of air sneaking in? Start by tightening the Bokashi bin seal every time you add new waste. Press the pile down firmly, then snap the lid on with lid integrity, ensuring no gaps.
Install a small pressure‑release vent—just a tiny hole covered with a breathable filter—so gases escape without letting air in. This tiny vent maintains the anaerobic environment while preventing buildup that could pop the lid.
Check the vent and tap threads regularly; if you notice leaks, wrap PTFE tape around them to restore airtight drainage. By keeping the lid sealed and the vent properly sized, you promote mold prevention and steady fermentation. Regularly monitor for odor changes as part of maintenance to ensure the system continues to function efficiently and odor-free. pressure release
Drain Bokashi Tea Every 2‑3 Days and Dilute 1 tsp per Gallon
Ever wonder how to keep your bokashi system humming while turning waste into a plant‑boosting brew? You should drain the bokashi tea from the bottom tap every 2‑3 days during fermentation. This regular drain prevents liquid buildup, odors, and keeps the anaerobic environment stable for indoor composting. After you collect the tea, dilute it at a safe ratio—about 1 tsp per gallon of water—before using it as a liquid fertilizer. Proper dilution protects plant roots from burn and makes the brew gentle enough for foliage, herbs, and seedlings. By timing the drain with the typical fermentation cycle, you maintain a balanced system and ensure a consistent supply of nutrient‑rich tea for your garden. air circulation tools
Keep the Bin Warm (15‑25 °C) and Out of Direct Sunlight
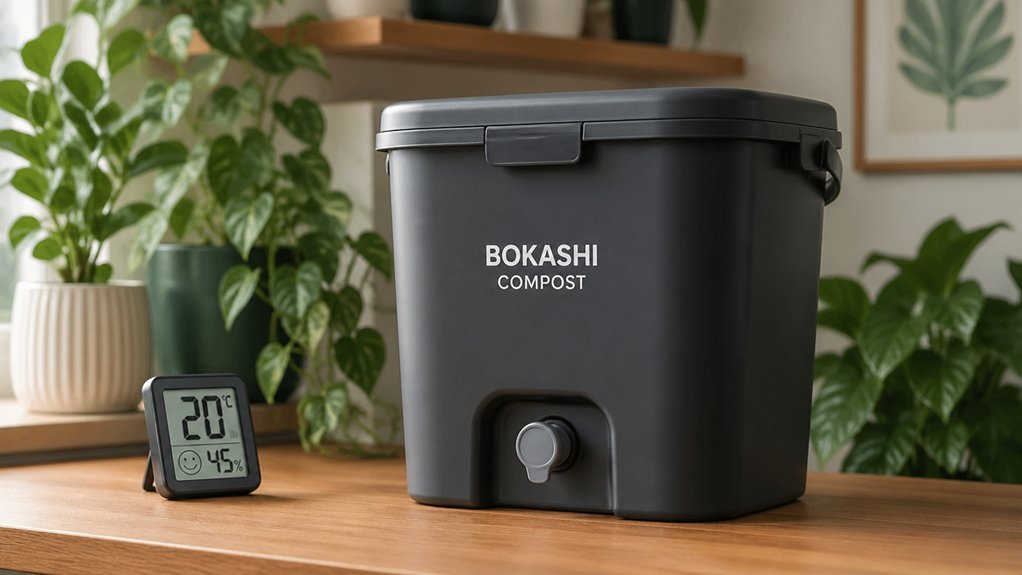
After draining and diluting your bokashi tea, the next step is to keep the bin warm—ideally between 15 °C and 25 °C—while keeping it out of direct sunlight. Maintaining the right Bokashi bin temperature supports indoor fermentation and preserves anaerobic conditions. A stable 15–25°C range prevents slowdowns, and avoiding direct sunlight stops overheating that could kill the beneficial microbes. Using a thermometer to monitor ambient warmth helps ensure consistent conditions temperature regulation and avoids fluctuations that can disrupt fermentation.
- Choose a kitchen counter or basement shelf away from windows.
- Keep the bin off cold drafts and insulated walls.
- Use a simple thermometer to monitor environmental warmth.
- If the room gets too hot, relocate the bin to a cooler spot.
These actions guarantee consistent fermentation, reduce mold risk, and keep your bokashi process humming efficiently.
Spot Bokashi Green Mold Early and Adjust Air‑Free Conditions
You’ll notice green mold if air sneaks in, so tighten the lid and press the scraps down firmly. A good seal keeps the environment anaerobic and stops the mold from spreading.
If you spot any, re‑press the waste and add a bit more bokashi bran to restore the balance.
Check Seal Tightly
How can you keep bokashi fermenting smoothly? Tight seals keep the air‑free environment essential for the EM microbes. When you hear a faint “pop” or notice mold signs, check the lid immediately. A leaking tap or a loose screw lets oxygen in, turning the process sour. Apply PTFE tape to the tap threads if it feels stiff, and always press waste down before closing. The right amount of Bokashi bran will buffer any accidental air pockets.
- Seal the lid firmly after each addition to block oxygen.
- Use a leak‑proof tap; wrap PTFE tape on threads if it drips.
- Press waste down to eliminate gaps where air could settle.
- Add extra Bokashi bran when you see green mold signs.
- For best results, consider integrating a compact composting option like an apartment‑friendly dual‑chamber system to maintain consistent aeration and moisture balance. concept of aeration
Press Down Scraps
Ever notice a faint green fuzz forming on the surface of your bokashi bucket? That sign tells you air slipped in, and you need to press down scraps immediately. By compacting each layer, you eliminate pockets, keep the anaerobic environment stable, and protect fermentation. After you add food waste, use a clean stick or the bucket’s lever to press the material firmly, then sprinkle a generous amount of bokashi bran. The bran supplies the microbes that outcompete mold, so a deeper burial reduces green growth. If you still spot green spots, repeat the press, add more bran, and seal the lid tightly. Consistent mold management through proper compaction ensures your bokashi stays odor‑free and fully active. Properly sealed, the system also helps prevent leaks and maintains anaerobic conditions over time fermentation stability.
Use Fermented Bokashi in Indoor Pots or Add to Compost Before Planting
When the fermented bokashi is ready, you can either bury it 8–10 inches deep in a garden bed or mix a small amount into the soil of an indoor pot, then wait about two weeks before planting on top.
The white mold on the bucket shows the fermented waste is good to go, while any green mold means you need to troubleshoot first.
For indoor pots, spread the material thinly and stir it into the potting mix to avoid clumps, then water lightly.
You can also brew bokashi tea—dilute one teaspoon per gallon—and spray it on foliage for a quick nutrient boost.
- Bury depth: 8–10 inches for optimal breakdown.
- Mix into soil gradually to keep texture even.
- Use bokashi tea as a liquid fertilizer for indoor pots.
- Watch mold signs: white = ready, green = problem.
Frequently Asked Questions
Can I Use Bokashi for Meat and Dairy Waste?
Yes, you can add meat and dairy to bokashi, but keep amounts small, slice them thin, and mix thoroughly to avoid odors. Store the bucket in a cool, ventilated spot, and ferment for the recommended period before burying.
How Long Can Bokashi Tea Be Stored Before Use?
You can store bokashi tea up to two weeks in the refrigerator; after that, it starts losing potency and may develop off‑flavors, so use it within that window for best results.
Do I Need a Special Vent for Larger Bins?
Yes, you’ll want a dedicated vent for larger bins. Install a small, adjustable vent near the top, keep it slightly open, and monitor moisture to prevent odor buildup while maintaining airflow.
What Temperature Range Is Safe for Freezing Bokashi?
You should keep Bokashi between 32°F and 41°F (0‑5°C) when freezing; temperatures below 32°F risk killing the microbes, while above 41°F can cause premature fermentation and odor issues.
Can I Add Garden Soil Directly to the Bokashi Bin?
No, you shouldn’t add garden soil straight into the bokashi bin; it dilutes the microbes, slows fermentation, and can introduce weeds. Stick to food scraps, bokashi starter, and a little water instead.
In Summary
By following these seven tips, you’ll keep your bokashi bin humming, your kitchen scraps turning into nutrient‑rich tea, and your indoor garden thriving. Consistent layering, proper sealing, and occasional venting prevent compaction and odor, while regular draining and warm temperatures speed fermentation. Spotting green mold early lets you tweak airflow before it spreads. Use the fermented material in pots or add it to your compost pile for healthier plants and a cleaner, greener home.
Leave a Reply