
Seal your bin with a tight‑fitting lid and keep it in a cool, dark spot to block smells and fruit flies. After each feed, sprinkle a dry brown layer—shredded paper, cardboard, or dry leaves—to soak up moisture and boost airflow. Freeze strong‑smelling scraps like onions before adding them, and never toss meat, dairy, oil, or sauces inside. Turn or empty the bin every 4–7 days, shaking it to redistribute material, and promptly clean any lingering odor; sticking with these steps will reveal even more tricks.
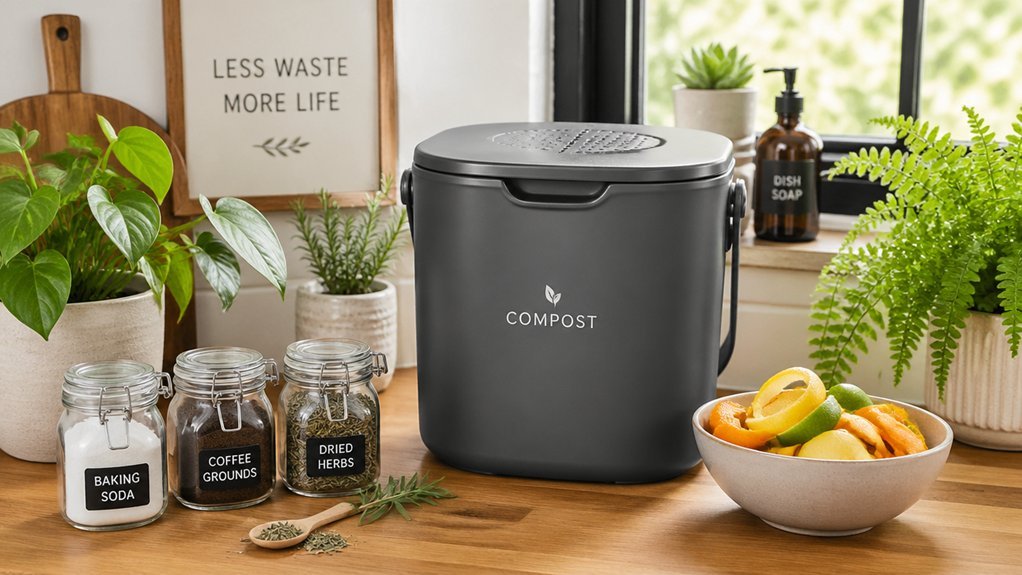
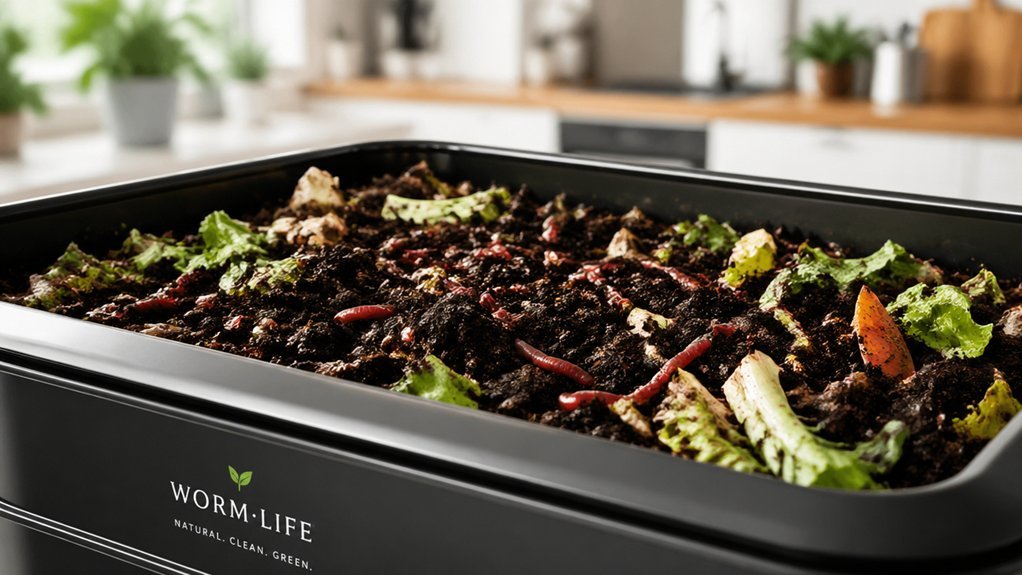
Seal the Bin With a Tight‑Fitting Lid for Odor‑Free Indoor Compost
Ever wondered why your kitchen smells like a farm? You can stop it by sealing the bin with a tight‑fitting lid. That lid is non‑negotiable for odor control because it closes completely, leaving no gaps for smells to escape. When the lid stays shut, fruit flies lose their entry point, and the compost stays contained. Even if your bin boasts a charcoal filter, the real work happens when the lid truly seals. Check the seal regularly; if odors linger, empty the bin more often or add dry browns to soak up moisture. Pair the lid with a cool, dark spot away from the stove, and you’ll keep indoor compost fresh without a whiff of farm air. Regularly inspecting and maintaining the lid’s seal helps ensure long-lasting odor control and can extend the time between emptying cycles seal quality.
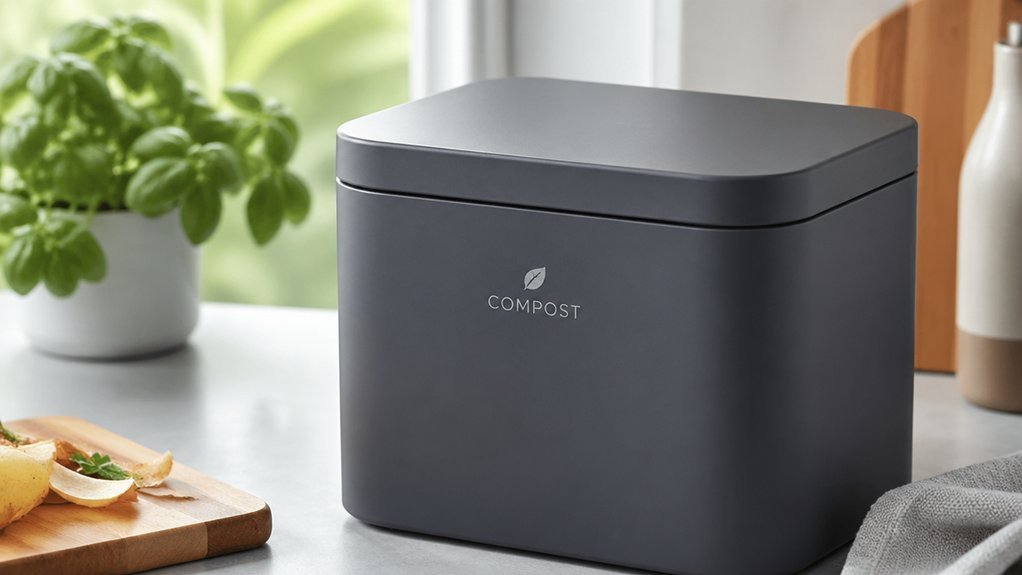
Store the Bin in a Cool, Dark Spot to Keep Compost Odor‑Free
If you keep the compost bin in a cool, dark spot, decomposition slows and odor‑producing gases stay minimal. Choose a location away from stoves, radiators, or sunny windows—under the kitchen sink or a shaded pantry works well. Cooler temperatures dampen microbial activity, so fewer volatile compounds escape. Dark storage prevents heat buildup that would otherwise accelerate smell formation. Pair this setting with a tight‑fitting lid for best results; the lid traps any remaining gases while the cool, dark environment keeps them from building up. By consistently placing the bin in such a spot, you’ll notice fewer foul whiffs and a more pleasant kitchen atmosphere, letting you compost indoors without the usual odor worries. Regularly replacing the charcoal filter every 4–6 months can further reduce odors, especially in compact spaces odor control.
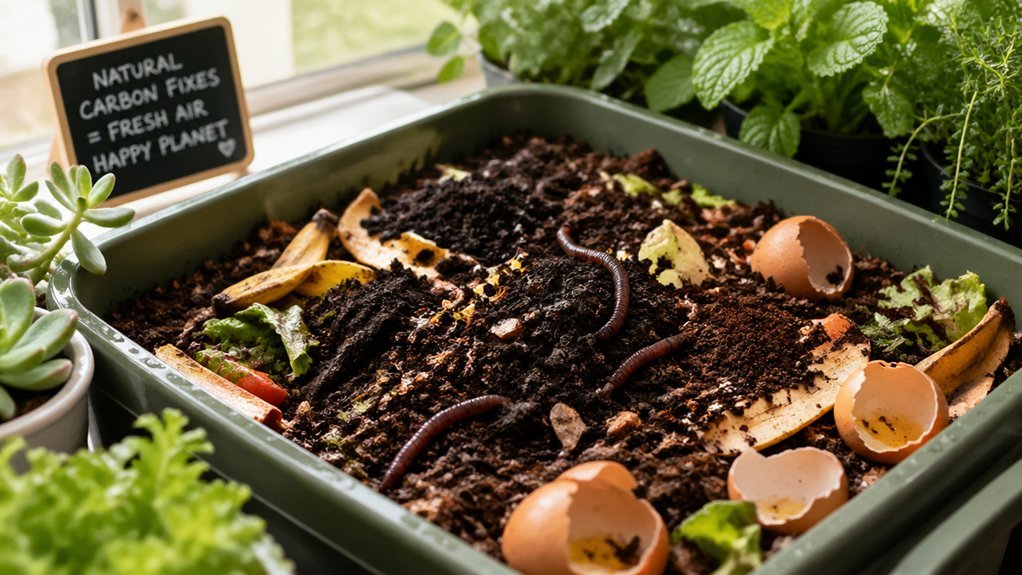
Add a Dry Brown Layer Over Your Scraps for Moisture Control
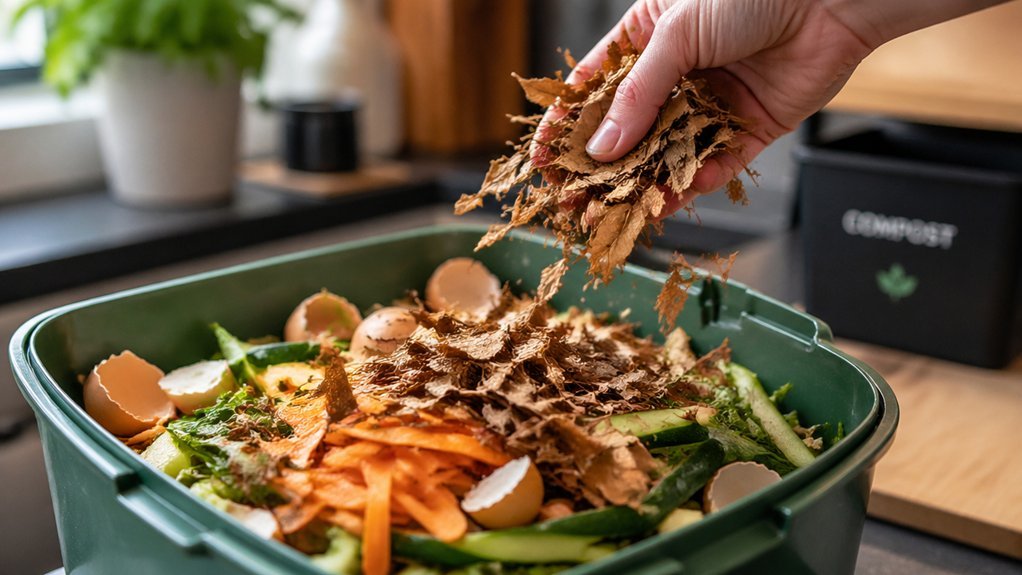
Wondering how to keep your indoor compost bin from turning into a soggy, smelly mess? Adding a dry brown layer over your scraps creates a moisture barrier that absorbs excess liquid and curbs odors. Spread a thin coat of shredded paper, cardboard, or dry leaves after each feed. The browns soak up moisture, keep flies at bay, and prevent anaerobic conditions that spark smells. If you notice a whiff when you open the lid, sprinkle more browns on top; the extra material will mop up lingering moisture and mute the odor.
| Step | Material | Purpose |
|---|---|---|
| 1 | Shredded paper | Absorbs moisture |
| 2 | Cardboard pieces | Blocks odor release |
| 3 | Dry leaves | Deters flies |
Freeze Scraps Before Adding Them to an Odor‑Free Indoor Bin
You can freeze your kitchen scraps to pause decomposition and keep odors at bay. Store them in a freezer‑safe container or reusable bag, steering clear of compostable bags that need heat to break down. Freeze-thaw cycles help maintain microbial activity equilibrium and prevent odor spikes drainage features. When it’s time to compost, move the frozen pieces straight to your outdoor bin or drop‑off point.
Freezing Stops Decomposition
Even when you can’t empty the indoor compost bin daily, freezing your scraps before they hit the bin halts microbial activity and eliminates odors. The cold locks the organic material, pausing decomposition until you move the frozen batch outdoors. This method buys you time, especially when you’re away for a week or have a busy schedule. Just place the scraps in a freezer‑safe container, seal it tightly, and let the freezer do the work. When you’re ready to compost, transfer the frozen pieces to your outdoor bin; the microbes will wake up and start breaking them down again. Odor control can be enhanced by ensuring proper carbon-to-nitrogen ratios and adequate aeration in the outdoor bin.
- Use a dedicated freezer‑safe bag or container, not regular plastic.
- Avoid compostable bags; they need heat to break down.
- Transfer frozen scraps directly to outdoor compost when you’re ready.
Use Freezer‑Safe Containers
Freezing your scraps buys you time, but the next step is storing them right. Choose a freezer‑safe container or reusable bag that can seal tightly; regular plastic bags leak odors and may crack when frozen. Scoop your chopped veggies, coffee grounds, or fruit peels into the container, press out excess air, and label it if you like. The container’s sturdy walls keep the cold in and prevent freezer smells from mingling with other foods. When you’re ready to compost, simply lift the frozen bundle and toss it into your indoor bin—no thawing needed, no odor released. This method works especially well for households that empty the bin only occasionally or deal with pungent scraps like onions or garlic. You can also plan ahead by rotating frozen scraps to ensure a steady supply for future batches, which helps maintain a cleaner indoor composting routine precautionary storage and reduces the likelihood of buildup in your kitchen.
Transfer Directly to Outdoor Bin
Looking for a hassle‑free way to keep your indoor compost bin odorless? Freeze your scraps before you move them out. The cold stops decomposition, so the indoor compost odor never gets a chance to develop. When you’re ready, just tip the frozen bag into the outdoor green bin or drop‑off spot, bypassing any indoor storage that could smell.
- Use a freezer‑safe container or reusable bag, not regular plastic.
- Keep the scraps frozen until you can transfer them directly outdoors.
- Empty the outdoor bin regularly to maintain a clean cycle.
This simple freezing step reduces bacterial activity and volatile compounds, giving you a fresh‑smelling kitchen while the outdoor compost does the heavy lifting. Storage/Usage window
Leave Out Meat, Dairy, Oil, and Sauces to Prevent Strong Smells
A few simple rules keep your indoor compost smelling fresh: never toss meat, dairy, oil, or sauces into the bin. Those foods break down slowly, release strong odors, and attract pests, so keep them out of your compost bin. Stick to fruit peels, vegetable scraps, coffee grounds, and shredded paper. Line the pail with brown materials like shredded cardboard to absorb excess liquid and mask any faint smells. Store any meat‑ or dairy‑related waste in a sealed container until you can dump it in the outdoor compost or trash. This habit dramatically cuts down on unpleasant odors and keeps your kitchen air fresh secure lid.
Turn or Empty the Bin Every 4–7 Days to Stop Odor Buildup
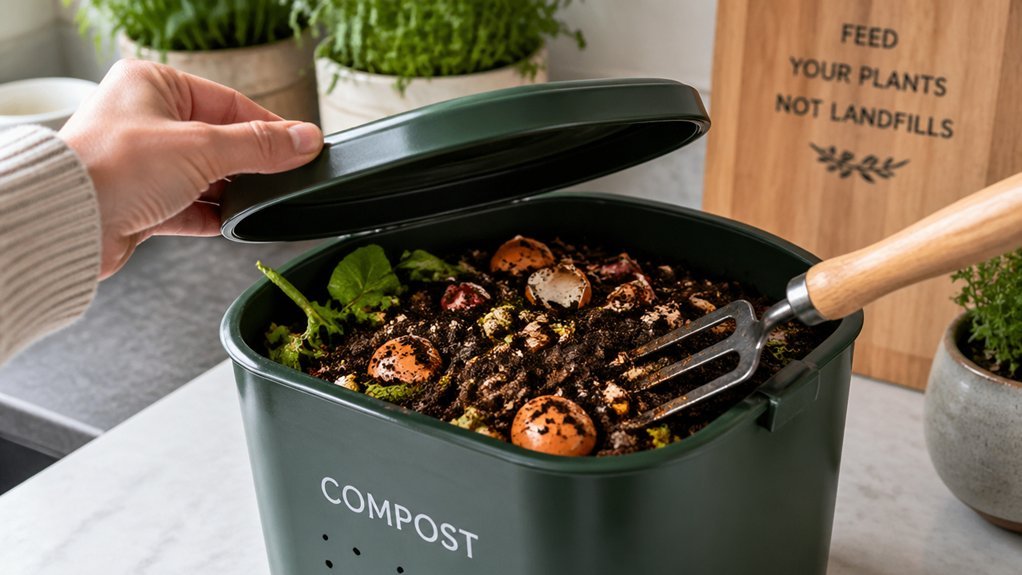
You’ll keep odors at bay by emptying the bin every 4–7 days, which removes moisture‑laden scraps before they ferment. If your kitchen produces a lot of waste, aim for the shorter 4‑5‑day window to stay ahead of smells. Pair this routine with a dry brown‑layer top and a sealed lid for the best odor control.
Regular Emptying Schedule
Because waste decomposes quickly, you should empty your indoor compost bin every 4–7 days to keep odors at bay. A regular emptying schedule interrupts anaerobic breakdown, which otherwise releases sulfur gases and stinky compounds. When you dump the contents promptly, you maintain a dry, aerobic environment that supports odor reduction. Consistency also prevents the bin from becoming a hidden reservoir of smells, especially if you generate a lot of kitchen scraps. If you notice a faint whiff, simply increase the frequency and add a handful of dry browns to boost aeration.
- Empty the bin every 4–7 days, or sooner after heavy cooking sessions.
- Set a calendar reminder to make the routine automatic.
- Pair each emptying with a quick shake to redistribute material and release trapped gases.
Moisture‑Control Routine
Wondering how to keep your indoor compost from turning into a stinky swamp? By turning or emptying the bin every 4–7 days, you prevent the moisture buildup that fuels anaerobic decay and unpleasant odors. Aim for a moisture level that feels like a wrung‑out sponge—about 50‑55 %.
If the pile feels slimy or scraps pile up, sprinkle a generous layer of dry browns on top; the dry material soaks up excess liquid and slows decomposition.
Keep an eye on the moisture gauge; staying under 60 % maintains aerobic pathways and blocks odor‑producing pockets.
When you notice any sour smell, increase the emptying or mixing frequency to restore balance.
This routine keeps your compost fresh, airy, and odor‑free.
Fix Persistent Smells With Moisture Management and Thorough Cleaning
What’s causing that lingering stench? You’re probably dealing with excess moisture and leftover residue. First, check the bin’s moisture level; aim for 50‑55 % and keep at least 40 % free air space. If it’s too wet, sprinkle dry browns or shredded paper on top and mix it in to boost airflow. Next, empty the bin more often and give it a thorough cleaning with soap and water to strip odor‑causing buildup. Finally, consider freezing high‑odor scraps like onions before they hit the bin; this slows bacterial activity and cuts smell.
- Add dry browns to absorb excess moisture.
- Empty and wash the bin regularly for thorough cleaning.
- Freeze pungent scraps before composting.
Frequently Asked Questions
How to Keep Compost From Smelling in House?
You keep compost odor‑free by using a sealed bin, layering dry browns over scraps, avoiding meat and dairy, emptying it weekly, washing it regularly, and balancing moisture with extra brown material.
How Do You Compost at Home Without Smell?
You keep indoor compost odor‑free by using a sealed bin, layering dry browns over scraps, storing it cool, emptying weekly, washing it regularly, and freezing or adding sawdust to wet waste.
How Do Amish Compost?
You follow the Amish method by building a simple, open‑air pile, layering dry browns over greens, turning it manually, keeping it well‑drained, and maintaining a balanced carbon‑to‑nitrogen ratio to prevent odors.
Can I Put Toilet Paper Rolls in My Compost?
Yes, you can add toilet‑paper rolls to your compost as long as they’re plain, uncoated paper. Shred or tear them to speed breakdown, mix with other browns, and avoid any plastic‑coated or glittered rolls.
In Summary
By sealing your bin, keeping it cool, adding dry browns, freezing scraps, and steering clear of meat, dairy, oil and sauces, you’ll stop odors before they start. Turn or empty the bin every few days, and manage moisture with regular cleaning. Follow these steps, and your indoor compost will stay fresh, odor‑free, and ready to turn kitchen waste into garden gold.
Leave a Reply