
You turn everyday kitchen scraps into nutrient‑rich soil, cutting down the waste that fills landfills and slashing methane emissions. The compost supplies nitrogen, phosphorus, potassium, and trace minerals, boosting your plants’ health while closing a local, circular resource loop. It’s a simple, sustainable habit that reduces your carbon footprint and supports a greener lifestyle. Keep reading to discover how to set up a compact bin and balance greens and browns for perfect compost.
Why Kitchen Waste Composting Matters for Your Home
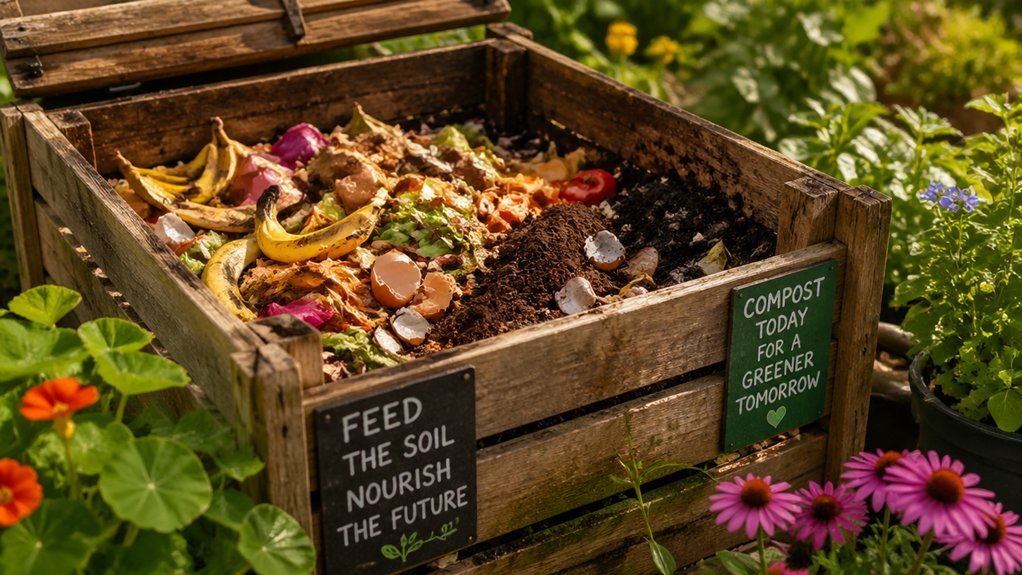
Why does kitchen waste composting matter for your home? You turn kitchen scraps into nutrient‑rich soil, cutting organic waste that would otherwise fill landfills. By diverting that waste, you shrink landfill volume and curb methane emissions, directly supporting landfill reduction. The compost you create supplies nitrogen, phosphorus, potassium, and trace minerals, boosting soil health and water retention for your garden or lawn. This steady supply of nutrient‑rich soil fuels plant growth without buying synthetic fertilizers, aligning with a sustainable lifestyle. Furthermore, each batch you produce closes a local, circular loop, turning daily trash into a valuable resource. In short, composting kitchen waste at home strengthens your ecosystem, saves money, and contributes to broader environmental goals. 2 years of lifespan
What Kitchen Materials Are Safe to Compost?
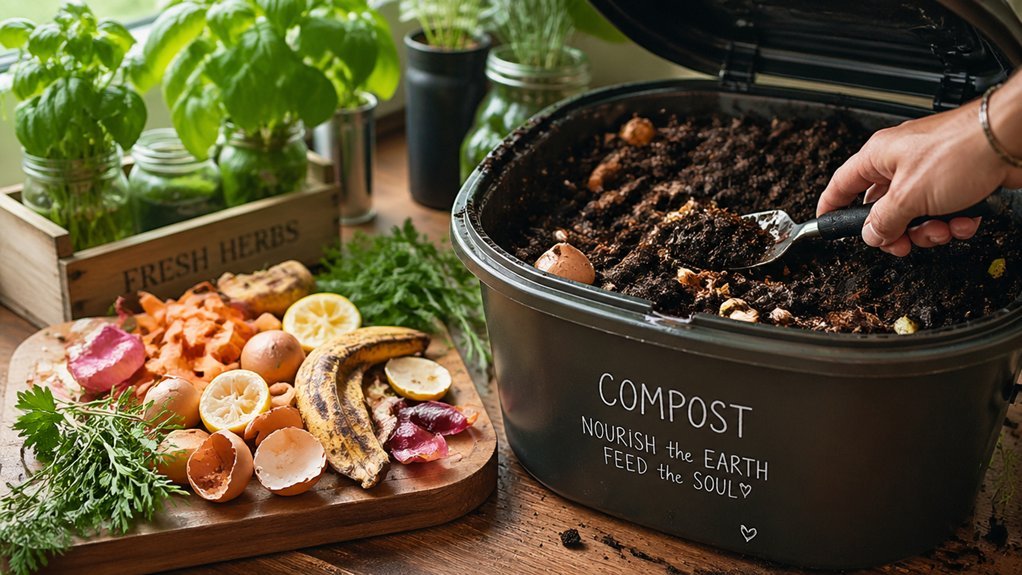
Which kitchen scraps can you safely toss into your compost bin? You can add fruit and vegetable scraps, coffee grounds, tea leaves, eggshells, and non‑greasy leftovers as reliable composting inputs. These items supply nitrogen and carbon, helping you hit the ideal carbon‑to‑nitrogen ratio of about 25:1 to 30:1. Chop or shred larger pieces to speed breakdown, and sprinkle crushed eggshells for calcium. Avoid meat, dairy, oily foods, and heavily processed snacks; they attract pests and skew the ratio. Keep a lined pail on the counter, under the sink, or in the fridge to store scraps without odor. Regularly stir the pile to maintain aeration, and you’ll soon have dark, crumbly compost ready to enrich your soil. Adding small amounts of finely chopped plant material from bokashi fermentation can help kickstart the initial breakdown process in compact bins odor management.
How to Set Up a Kitchen Waste Composting Bin in an Apartment

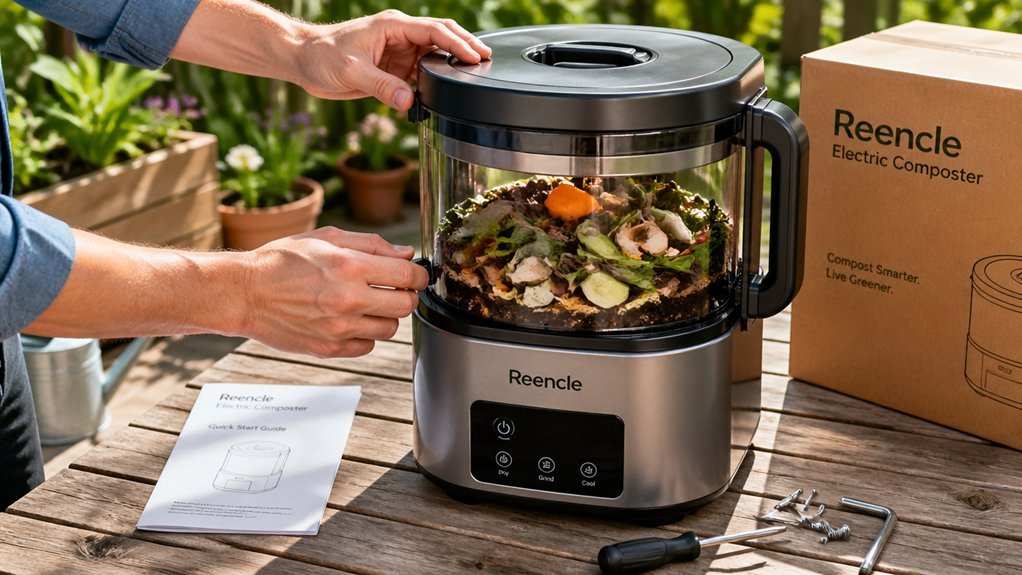
Setting up a kitchen waste composting bin in an apartment is simpler than you might think. Choose a compact, airtight compost bin that fits your kitchen counter or balcony shelf. Add a layer of brown materials—shredded newspaper, cardboard, or dried leaves—to create a carbon base. Then sprinkle green materials like fruit peels, coffee grounds, and vegetable scraps, keeping the mix as moist as a damp sponge. Stir or shake the bin every few days for aeration and odor control. If you prefer a hands‑off method, try a Bokashi kit or a small worm bin, both designed for indoor composting. Seal the lid tightly, store the bin away from direct sunlight, and monitor moisture to keep the process efficient and pest‑free.
Balancing Greens and Browns: The 3:1 Carbon‑Nitrogen Ratio
When you mix kitchen scraps with dry, carbon‑rich materials, aim for roughly three parts brown to one part green to hit the 25:1–30:1 carbon‑nitrogen ratio that keeps microbes thriving. Your greens—fruit peels, veggie trimmings, coffee grounds—supply nitrogen, while browns—shredded newspaper, straw, dry leaves—provide carbon. Chop larger pieces into bite‑size chunks; the extra surface area fuels faster composting. Keep the pile moist like a damp sponge, then turn it regularly to introduce oxygen and prevent anaerobic spots. By balancing greens and browns, you create a stable environment where microbes break down organic matter efficiently, turning kitchen scraps into a nutrient‑rich soil amendment that boosts garden health. 0
Controlling Odor, Pests, and Moisture in Your Compost Bin

A well‑covered compost bin keeps pests out, masks odors, and holds the right moisture for microbes. You’ll want to layer scraps with brown materials—leaves, shredded cardboard, straw—to balance carbon and nitrogen. If the pile feels soggy, toss in extra dry browns; if it’s crumbly, lightly spray water while turning. Airtight lids and spigots help maintain anaerobic conditions and enable easy drainage of compost tea odor control. Regular turning introduces oxygen, speeds decomposition, and prevents foul anaerobic odor. Keep meat, dairy, and oily foods out, because they attract pests and create strong smells. A tight lid plus a thick brown cover reduces pest access and keeps the odor contained. Monitor moisture by squeezing a handful of compost: it should feel like a wrung‑out sponge, not dripping or bone‑dry. This routine keeps your bin healthy and odor‑free.
Using Finished Kitchen Waste Compost in Indoor Pots
Ever wondered how to turn your kitchen‑scrap compost into a boost for indoor potted plants? You can use finished compost as a soil amendment in indoor pots to improve structure, water retention, and nutrient availability. First, check compost maturity—an earthy smell and crumbly texture mean it’s ready. Then blend one part compost with four parts potting mix, preserving porosity and preventing over‑fertilization. The added microbes enrich soil microbiology, helping roots absorb nitrogen, phosphorus, potassium, and trace elements. This simple mix keeps plants hydrated longer and fuels vigorous growth without burning roots.
| Benefit | How it Helps | Example Ratio |
|---|---|---|
| Water retention | Holds moisture | 1 part compost : 4 parts mix |
| Nutrient boost | Supplies N‑P‑K | 20 % compost |
| Soil structure | Increases porosity | 20 % compost |
| Microbial health | Encourages beneficial fungi | 20 % compost |
| Root protection | Prevents burn | 20 % compost |
Frequently Asked Questions
Is Bokashi Composting Worth the Effort?
Yes, you’ll find Bokashi worth it if you want fast, odor‑free fermentation for all scraps, especially meat and dairy. It delivers nutrient‑rich material quickly, though you’ll need a final compost or burial step.
What Are 5 Disadvantages of Composting?
You’ll face pests, odors, space limits, wet or oily pile slowdowns, and contamination from non‑biodegradable or heavily processed scraps, which can overwhelm a small home system.
How Long Does It Take Food to Decompose in Soil?
You’ll see food break down in soil within two weeks to three months, depending on moisture, temperature, and how well you aerate the pile, so keep it damp and turn it regularly.
How Do the Amish Make Compost?
You’ll see Amish families pile kitchen scraps with yard waste in simple wooden bins, keep the mix moist, turn it regularly, and avoid meat or dairy, letting microbes break it down into rich compost.
In Summary
By turning kitchen scraps into compost, you cut waste, enrich soil, and boost your garden’s health—all from home. You’ve learned what’s safe to compost, how to set up a bin in an apartment, and how to balance greens and browns for the right carbon‑nitrogen mix. Keep odor, pests, and moisture in check, then use the finished compost to feed your indoor pots. The result? fresier plants, a smaller trash footprint, and a greener, more sustainable lifestyle.

Leave a Reply