

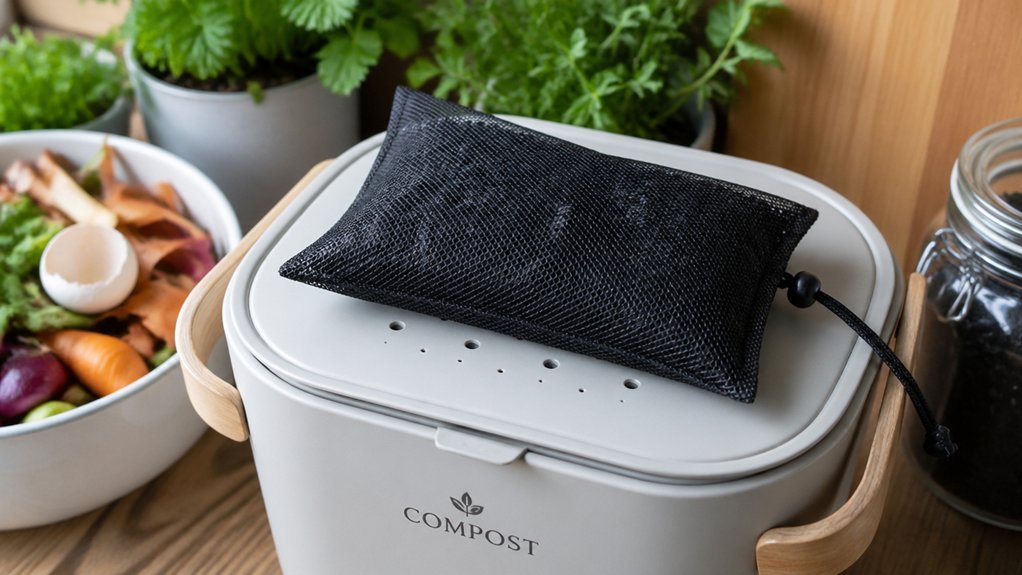
Cut a fine‑mesh piece to fit your bin’s lid, pack it with high‑surface‑area (≥800 m²/g) low‑dust granular activated carbon, and secure the housing over the vent so air can flow while the carbon adsorbs odors. Replace the carbon every 2–3 months, checking weekly for darkening or slower drafts, and keep the bin from overfilling to maintain airflow. Adding a thin baking‑soda layer, a compostable bag liner, or a small biofilter can boost control, and the next sections will show you how to fine‑tune the setup.
Build a DIY Activated‑Carbon Filter
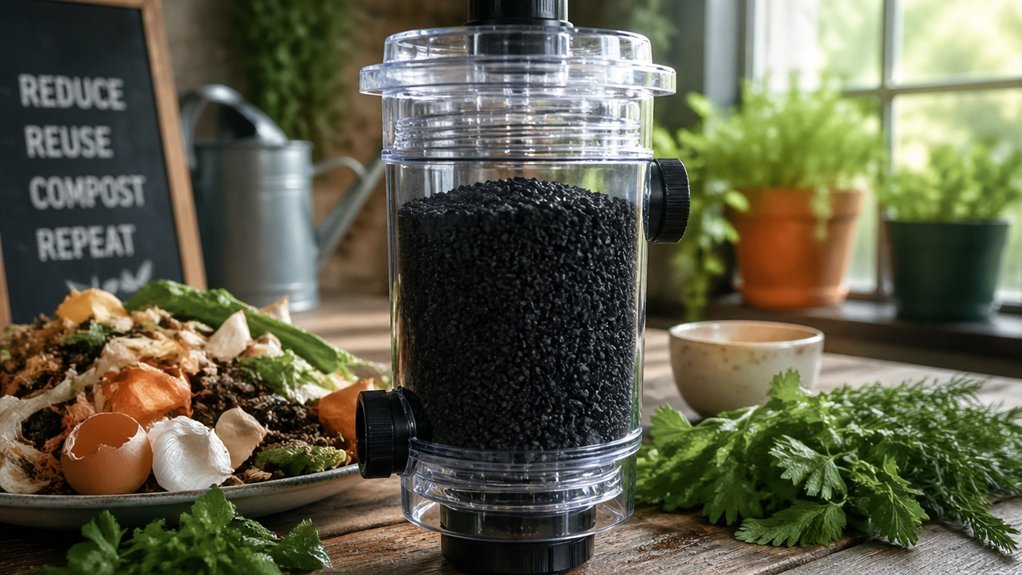
Wondering how to keep your kitchen fresh while composting? You’ll start by cutting a piece of fine mesh to fit the lid of your compost bin, then pack a layer of high‑quality activated carbon inside. The carbon’s millions of microscopic pores trap VOCs, ammonia, and sulfur compounds through adsorption, not absorption, delivering strong odor control. Make sure the mesh holds the carbon firmly while allowing sufficient airflow so odor molecules contact the surface. Secure the filter housing to the bin’s vent, checking that air circulates freely through the carbon bed. Regular replacement every two to three months helps maintain consistent odor‑control performance, especially in compact 1‑gallon setups. Odor-control considerations align with the need for accessible replacement filters and periodic maintenance.
Choose the Right Activated‑Carbon and Housing for Your Kitchen Compost Bin
Choose granular activated carbon (≥ 800 m²/g surface area). Verify the carbon’s low‑dust rating to protect airflow. Select a flexible mesh housing that matches your bin’s dimensions. Set a calendar reminder for the 2‑3‑month replacement schedule. Additionally, ensure your housing design provides a snug fit to minimize air gaps and maximize odor control, just like the recommended filters with snug seals from the knowledge source active charcoal filters
Install Your Activated‑Carbon Filter for Maximum Airflow
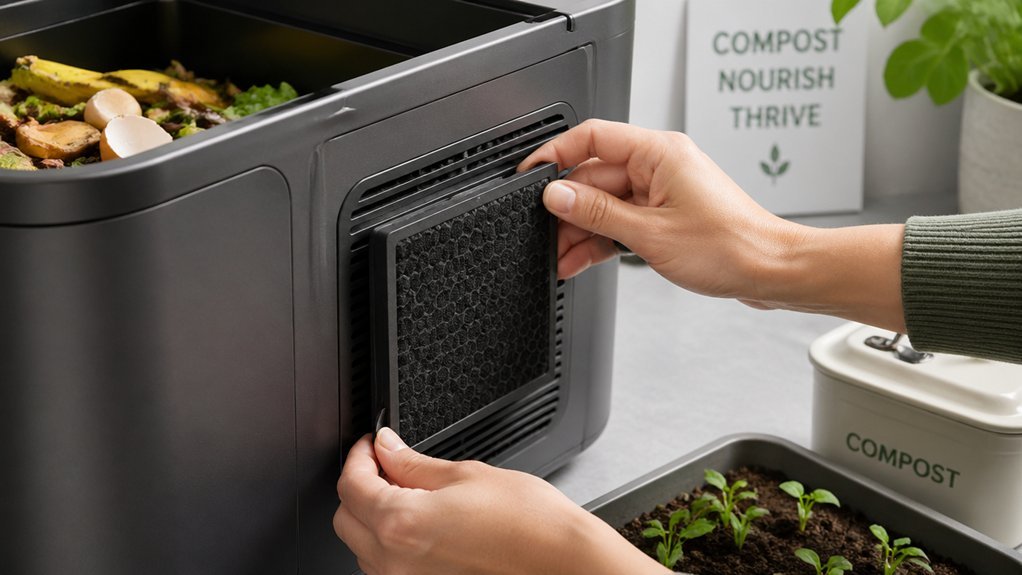
How can you install the activated‑carbon filter so your compost bin stays fresh while airflow remains ideal? First, cut the filter pad to match the lid opening, keeping the mesh intact. Slip the pad into the lid’s groove, ensuring the polyester electrostatic layer faces inward for optimal odor control. Secure it with the supplied clips or a silicone seal to prevent gaps. Check that the air‑permeable design isn’t obstructed; a snug fit preserves airflow while the activated carbon adsorbs VOCs, ammonia, and sulfur compounds. Finally, test the draft by waving a piece of paper over the vent—if it lifts gently, your filter installation is successful.
| Step | Action | Result |
|---|---|---|
| 1 | Trim filter to lid size | Perfect fit |
| 2 | Position mesh inward | Maximize odor control |
| 3 | Clip or seal securely | Prevent leaks |
| 4 | Verify draft with paper | Ensure airflow |
Maintain and Replace Your Activated‑Carbon Filter
Now that your filter is snug and the draft is steady, keep an eye on its performance and replace it before odors creep back. Your activated carbon works until its pores fill, so regular filter replacement keeps odor control sharp for indoor composting. Check the bin weekly; if you notice a faint smell, discoloration, or slower airflow, it’s time for a new cartridge. Swap the cartridge every 2–3 months, or sooner if waste volume spikes, and consider selecting a high-quality carbon filters rated for kitchen compost bins to maximize odor containment. Install a fresh, low‑dust activated carbon piece, ensuring the same size and grain consistency.
Extra Odor‑Control Hacks for Kitchen Compost Bins
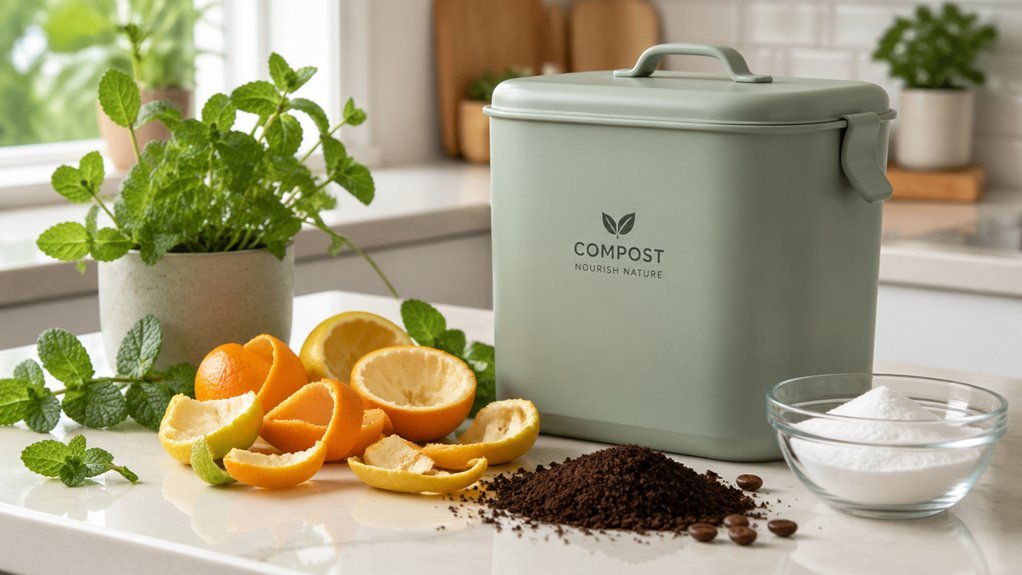
Ever wonder why your kitchen compost bin still smells despite a fresh carbon filter? You can boost odor control by lining the bin with compostable bags that trap liquid leachate, then sprinkle a thin layer of baking soda on top of the waste. Add a small biofilter—like a handful of dried moss or charcoal crumbs—to the lid for extra adsorption. Keep the bin from overfilling; a balanced mix of greens and browns maintains airflow, letting activated carbon filters work efficiently. Empty the bin daily if possible, and schedule regular maintenance: replace the carbon filter every 2–3 months or when you notice a dip in scent suppression. These simple hacks keep indoor composting fresh without extra hassle. Airtight seals help prevent moisture ingress and odor escape, reinforcing the effectiveness of your odor-control setup.
Troubleshoot Common Smell Problems in Your Compost Bin
You’ll want to check if the filter is saturated; a clogged filter lets odors slip through. Make sure you’re balancing the amount of waste with adequate airflow—too much material or not enough venting creates a smell. Adjusting these two factors usually clears up the problem quickly. The right compost starter or accelerator can help maintain microbial activity that supports odor control and faster breakdown pH buffering maintains balance.
Check Filter Saturation
Is your compost bin suddenly smelling like a trash heap? That usually means your carbon filters have hit saturation, and their odor removal power is waning. Check the filter’s color and texture; a dark, soggy appearance signals it’s time for a change. Feel the airflow—if you notice a noticeable drop, the pores are clogged. Remember, replacement intervals typically fall every 2–3 months, but you may need to swap sooner if you compost a lot of oily or high‑nitrogen waste.
- Inspect the filter surface for discoloration.
- Smell the air exiting the housing for lingering aromas.
- Test airflow by holding a piece of paper near the vent.
- Record the date of each swap to fine‑tune your schedule. Replacement frequency
Balance Waste‑to‑Airflow Ratio
When the filter looks saturated, the next step is to check how much waste you’re feeding the bin versus the airflow it can provide. A high waste‑to‑airflow ratio floods the activated carbon with gases faster than it can adsorb them, weakening odor control. Keep the compost bin’s green‑to‑brown balance in check, avoid overfilling, and ensure the vent isn’t blocked. Replace carbon every 2–3 months to restore surface area. Regular maintenance of airflow pathways preserves the filter’s efficiency and keeps smells at bay. Odor control remains strongest when combined with a sturdy, easy‑to‑clean lid and a secure inner bucket that prevents leaks.
Frequently Asked Questions
What Can You Use for Carbon in Compost?
You can use activated carbon from coconut shells, hardwood, or bamboo, in pad or granule form, ensuring high surface area and proper activation; fit it to your bin and replace every few months.
What Three Items Should Not Be Placed in a Compost Pile?
You should keep meat, dairy, and oily foods out of your compost pile; they cause foul odors, attract pests, and create anaerobic conditions that ruin the composting process.
What to Use Instead of a Carbon Filter?
You can use baking soda, shredded paper or sawdust layers, and regular bin emptying. Keep the mix balanced, aerate well, and avoid overfilling to control odors without a carbon filter.
What Is the Lazy Compost Method?
You follow the Lazy Compost Method by keeping scraps in a kitchen bin, lining it, using simple charcoal filters, and transferring to an outdoor heap quickly, avoiding meat or dairy to minimize odors and maintenance.
In Summary
Now you’ve got a DIY activated‑carbon filter that’s easy to build, install, and maintain, your kitchen compost bin will stay fresh and odor‑free. By picking the right carbon, ensuring good airflow, and swapping it out when needed, you’ll keep smells at bay. Add a few extra tricks—like a lid liner or a baking‑soda tray—and you’ll enjoy a clean, efficient composting system without the stinky hassle.

Leave a Reply