
Turn a sunny sill into a compact worm bin that fits under a square foot and keeps odors at bay. Choose an opaque, ventilated container with a sealed lid, fill it with moist, breathable bedding of shredded newspaper, cardboard, or coir, and add red wigglers. Keep the bin at 15‑25 °C, mist it lightly, and feed a quarter‑cup of scraps per pound of worms, burying food a few inches deep. Rotate feeding zones weekly, harvest dark crumbly castings when ready, and use them to boost indoor plants. Continue for more tips on troubleshooting and seasonal rotation.
Why Window Worm Composting Is Ideal for Small Apartments
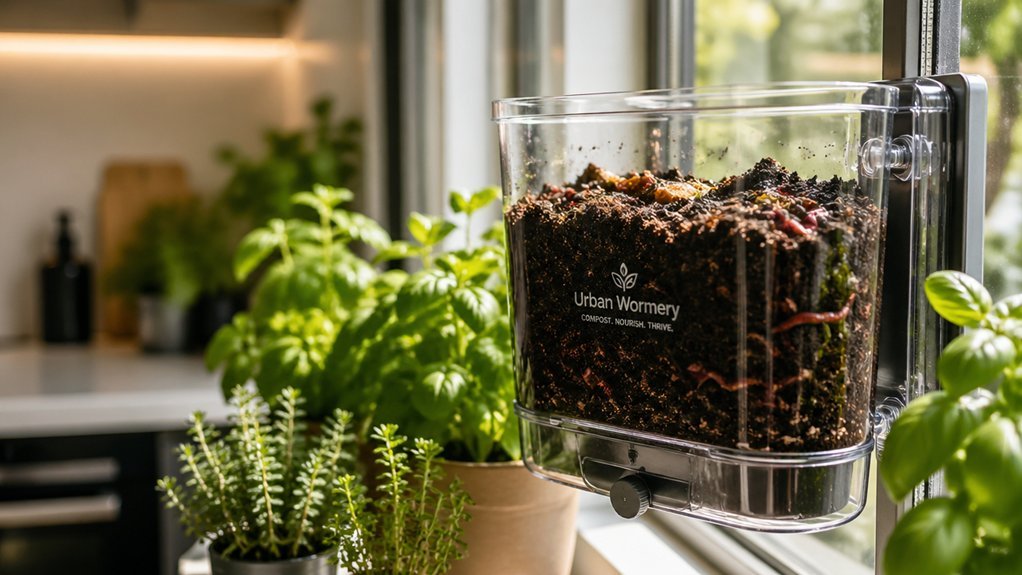
Ever wondered how you can turn kitchen scraps into plant food without sacrificing precious floor space? Window worm composting fits tiny homes perfectly because the bins sit on a sunny sill, using less than a square foot. Red wigglers thrive in that warm spot, turning peelings into rich vermicomposting that feeds your houseplants. Indoor bins stay out of sight, and breathable bedding lets air flow, keeping odors at bay. You control moisture with a light spray, preventing soggy messes while keeping worms happy. The compact setup avoids clutter, and the sealed lid blocks pests. In a small apartment, this low‑maintenance system delivers nutrient‑dense castings without demanding extra floor area. Odor control is enhanced by the breathable bedding and proper moisture management, helping maintain a pleasant indoor environment while vermicomposting.
Select a Window‑Friendly Bin for Worm Composting
You’ll want a bin that fits a narrow window sill or under‑sink shelf, so look for a compact design no larger than a square foot. In addition, choose a model that is opaque and features a secure lid with ventilation holes to support healthy worm airflow ventilation holes.
Compact‑Friendly Bin Designs
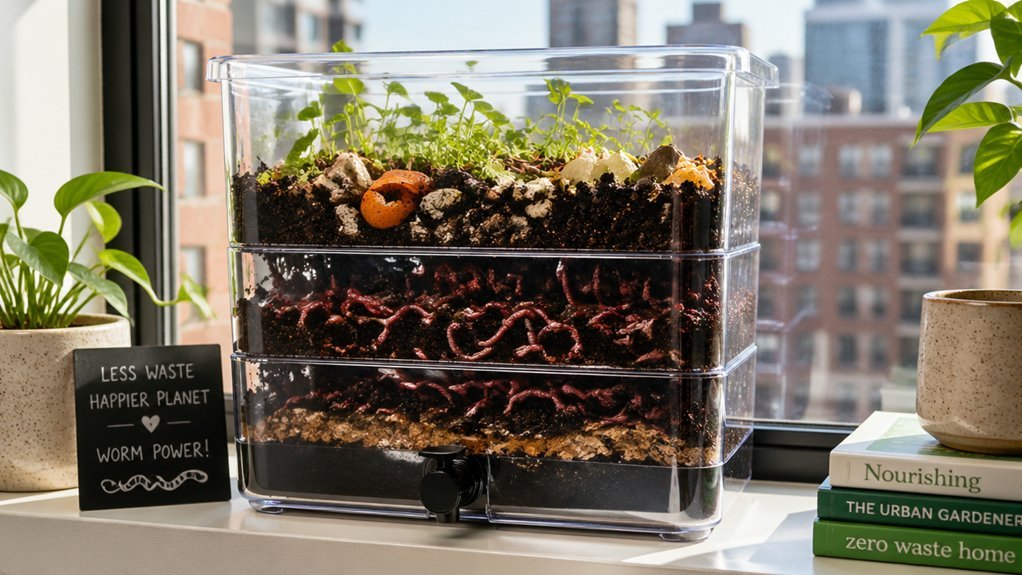
If you’re limited to a countertop or a narrow window sill, a square‑foot, two‑part bin fits the bill: a compact habitat on top and a shallow tray below to catch liquid runoff. Choose a dark, opaque container with a secure lid to keep light out and prevent Eisenia fetida escapes. Drill 1/8‑inch ventilation holes around the top rim for aeration and matching holes in the lower tray for drainage. Fill the upper bin with shredded newspaper, cardboard, or coconut coir bedding, keeping it as damp as a wrung‑out sponge. The lower bin collects leachate, which you can dilute and use as a liquid fertilizer. A compact, dual‑section design aligns with capacity considerations in small spaces and benefits from easy cleanup and odor management compact design and long‑term maintenance.
Space‑Saving Placement Options
Looking for a worm bin that fits a narrow window sill without crowding the room? Choose a space‑saving placement that uses a compact footprint, typically 16 × 24 inches, and lets natural light filter through the window. A vertical, stackable bin sits beside the sill, while an under‑sill tray slides beneath the ledge, keeping the habitat out of the way. Opt for an opaque, black bin to protect worms from excess light, and add a ventilated lid to control odor. Pair the main habitat with a low‑profile liquid collection bin underneath, drilling drainage holes for moisture. This window placement captures passive heat, maintaining a 15–25 °C range, and maximizes usable space in tight quarters. Vermicomposting systems can be optimized further by choosing compact, stackable configurations that suit apartment interiors.
Build Moist, Breathable Bedding for a Healthy Bin
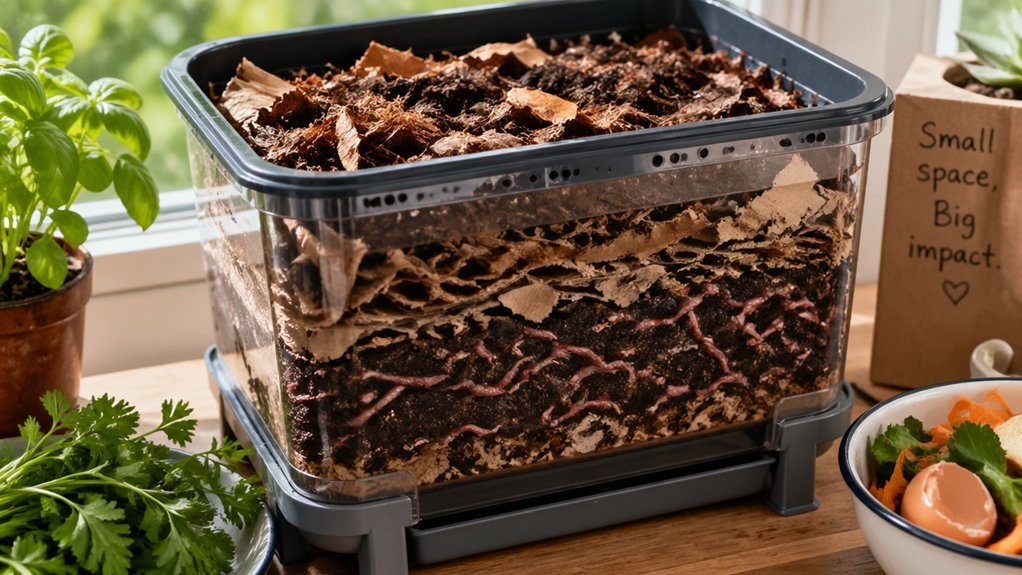
How can you create a bedding that feels like a wrung‑out sponge while staying airy enough for worm skin respiration? Aim for 60‑70 % moisture; it should squeeze like a damp sponge, then rebound. Mix shredded newspaper, cardboard, coconut coir, or straw to 75 % occupancy in your compost bin. Balance browns with greens to keep the C:N ratio near 25‑30:1, which fuels microbes and maintains structure. Drill holes in the bin’s bottom and sides, or layer two bins, to boost airflow and drainage, preventing waterlogging. Check moisture daily—add a splash of water or a handful of dry browns if it feels too dry, and stir lightly to keep the bedding breathable. Shredded newspaper + cardboard (browns) eco-friendly contribute to sustainable moisture management and provide a readily available browns source for most home setups.
Introduce Red Wiggler Worms and Help Them Settle
Introduce the red wigglers (Eisenia fetida) by gently spreading them in the bin’s center, then blanket them with a layer of moist newspaper to keep the bedding sponge‑like and inviting. After a brief acclimation period, expose the worms to light for two hours; they’ll burrow quickly, easing the transition. Keep moisture levels high but not soggy—think a wrung‑out sponge—so the red wigglers stay active and healthy. Central placement helps them feel secure and speeds worm bin work, as they disperse outward once settled. Watch for a short “mutiny” if the bedding feels too sterile; it will fade as the worms adjust to the temperature range of 15–25 °C. Proper light exposure, moisture, and bedding combine to create a stable, thriving habitat. Moisture control is essential to prevent over‑drying or soggy bedding and supports healthy activity in the bin.
Feed Worms Safely: What to Add and How Much

Feeding your red wigglers is simple: toss a handful of chopped fruit or veggie scraps, a pinch of coffee grounds, and a few crushed eggshells into the bin, then bury the mix a few inches deep. Start with a modest kitchen scraps feeding amount—about a quarter cup per pound of worms—and watch how quickly they disappear. As the colony grows, you can increase the portion, but always keep the moisture balance like a wrung‑out sponge. Bury new food deeper to aid odor control and keep fruit flies away, and rotate zones using a divided‑bin system for even distribution and aeration. Regularly monitor for optimal temperature, moisture, and airflow to sustain activity in compact setups temperature monitoring.
Control Temperature & Light Year‑Round for Active Worms
Wondering how to keep your worm bin thriving year‑round? Keep the bin in a cool, ventilated spot, aiming for a temperature between 15–25 °C (60–77 °F). Use a dark, opaque container or drape a towel over a light‑colored bin to limit light, because worms prefer dim conditions. During acclimation, give a brief two‑hour light exposure to prompt burrowing, then return to darkness. Shield the bin from direct sunlight or a hot window; temperatures above 35 °C (95 °F) stress worms and reduce oxygen. Maintain humidity like a wrung‑out sponge—moist but not soggy—to support skin respiration. If the bin gets too warm, move it away from the window and adjust ventilation. Consistent temperature, light, and humidity prevent dormancy and keep worms active all year.
Prevent Odor & Fruit Flies in a Sunlit Bin
How can you keep a sun‑lit worm bin fresh and fly‑free?
Treat your bin like a mini garden: keep it cool, moist, and well‑ventilated. Shade the sunlit bin with a light cloth or place it on a windowsill that receives indirect light. Use an opaque bin to block harsh rays, and add extra holes for aeration and drainage. When you add scraps, bury feeding material at least two inches deep and rotate the spots so nothing sits on the surface for long. This simple routine gives you solid odor control and stops fruit flies from turning your compost into a pest zone.
- Choose an opaque, dark‑colored bin for better temperature regulation.
- Drill extra ventilation holes to improve aeration and drainage.
- Bury feeding scraps deep and shift feeding locations each week.
- Keep the bin shaded and avoid direct sunlight to maintain moisture.
Harvest Castings Without Stopping the Worms
Ever wondered how to pull out that “black gold” without halting your worm crew? In a two‑bin system you simply move the active worms into the fresh bin, then perform castings separation on the old side. Start spring harvesting when the dark, crumbly material is richest, and scoop it into a container for immediate use. The remaining bedding stays moist, and you add fresh bedding to the new bin to keep moisture levels high. This method lets you keep indoor worm bins productive while extracting nutrient‑dense castings. By rotating bins each season, you maintain continuous worm composting, avoid downtime, and supply your garden or containers with fresh, nitrogen‑rich fertilizer.
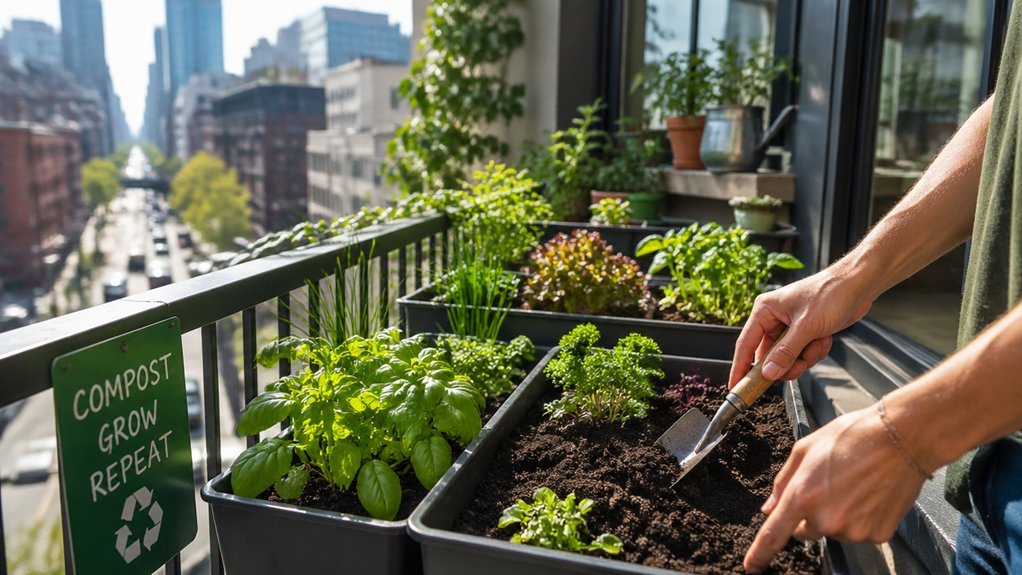
Apply Window Worm Castings to Boost Your Indoor Plants
You’ll notice an instant nutrient boost when you sprinkle a thin layer of window worm castings into your pots, giving your plants the nitrogen, phosphorus, and potassium they crave.
The castings also improve soil structure, creating a crumbly, aerated medium that holds moisture while preventing compaction.
Mix them gently with the existing potting mix and water as usual to keep the “black gold” working its magic.
Plant Nutrient Boost
Looking to give your indoor garden a quick, sustainable boost? You can tap into vermicomposting’s power by adding worm castings to your potting mix. These tiny nuggets deliver a concentrated load of plant nutrients—nitrogen, phosphorus, potassium—while enhancing moisture retention. The result is a noticeable nutrient boost that fuels leaf growth and strengthens roots, all without the hassle of outdoor compost.
- Mix 10% castings into any indoor composting blend.
- Top‑dress potted herbs for instant vigor.
- Sprinkle a thin layer on seed trays to improve seedling establishment.
- Re‑apply every 6–8 weeks for sustained health.
Soil Structure Enhancement
While worm castings gave your plants a quick nutrient surge, they also reshape the soil itself. You’ll notice the soil structure become looser and more airy because the castings boost porosity and invite microbial activity that aerates the root zone. When you mix a tablespoon of worm castings into a compact potting mix, moisture retention improves, preventing dry spots while still allowing excess water to drain. This balance keeps indoor plants hydrated without soggy roots. The amendments also create channels for air and water, so roots can explore more freely and feed on the steady supply of nitrogen, phosphorus, and potassium. In tight apartments, these compost amendments turn limited space into a thriving, resilient garden.
Troubleshoot Inactivity, Moisture Imbalance, and Escape Issues
If worm activity drops and food stays untouched, check the bin’s moisture, temperature (ideally 15–25 °C), and bedding aeration, because poor conditions usually cause inactivity. A moisture imbalance can make the bedding soggy or too dry, prompting escape issues as worms seek a more stable environment. Ensure drainage works, add dry bedding to balance bedding moisture, and keep the temperature steady. Light a brief period can help worms acclimate, but avoid overfeeding and maintain a 2:1 green‑to‑brown ratio.
Check moisture, temperature, and aeration; adjust bedding, drainage, and light to revive worm activity.
- Adjust bin aeration to improve airflow and prevent soggy spots.
- Add dry shredded newspaper to correct bedding moisture.
- Verify drainage holes are clear and not clogged.
- Expose the bin to indirect light for a day to guide worms back into the substrate.
Frequently Asked Questions
What Are the 5 Mistakes That People Commonly Make When Composting With Worms?
You overfeed, ignore moisture, add meat or dairy, neglect ventilation, and stock too many worms at once. Each mistake creates odor, pests, stagnation, or slow worm activity, ruining your compost.
Do Coffee Grounds Attract Earthworms?
Yes, coffee grounds can attract earthworms, but only in moderate amounts. They’ll enjoy the nitrogen boost and improved aeration, yet too much grounds compact the bedding and raise acidity, deterring them.
What Is a Natural Accelerator for Compost?
You’ll accelerate compost naturally by adding active worms—they munch waste, produce nutrient‑rich castings and liquid “worm tea,” and boost microbial activity, speeding decomposition without chemicals.
What Three Items Should Not Be Placed in a Compost Pile?
You shouldn’t put meat, dairy, or oily foods in your compost pile; avoid citrus fruits because they raise acidity; and keep waxed cardboard, plastic‑coated paper, or heavily treated wood out to prevent pests, odor, and harmful chemicals.
In Summary
You’ve seen how a sunny window, a compact bin, and a few red wigglers can turn kitchen scraps into rich, odor‑free compost for your indoor garden. By keeping the bedding moist, feeding sparingly, and sealing the lid, you’ll avoid fruit flies and keep the worms thriving. Harvest the dark castings whenever you need a boost, and enjoy a sustainable, low‑maintenance way to recycle waste right in your apartment.
Leave a Reply