
Pick a shady, dry spot on your sill that gets filtered light, then set up a compact PVC bin or tabletop tumbler with drainage holes and a mesh vent. Layer a thin brown base, add kitchen scraps, top with more browns, and keep the mix as damp as a wrung‑out sponge. Turn it every 1–2 weeks, watch the temperature stay between 90‑140 °F, and add browns if it smells. Follow these steps and you’ll soon harvest nutrient‑rich “black gold” right from your window box.
Where’s the Best Spot for Your Window‑Box Compost?
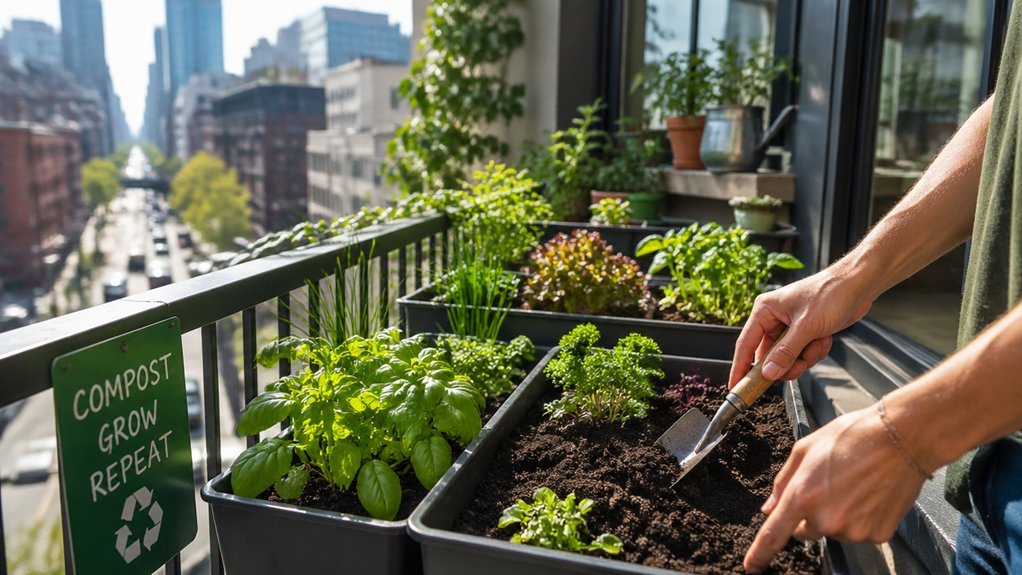
Where should you place your window‑box compost? Choose a shady, dry spot that stays out of direct sunlight, keeping temperature steady and moisture from evaporating too quickly.
Position the compost bin near a window that gets filtered light, but not the harsh afternoon rays that could dry out the pile.
Make sure the area is easy to reach for regular turning and for adding kitchen scraps and browns.
A stable surface prevents the bin from wobbling, and a nearby water source lets you mist the mix to maintain a damp, not soggy, texture.
Also consider using a container with UV-stabilized HDPE to resist weathering and keep odors contained more effectively.
Pick a DIY PVC Bin or Commercial Tumbler for Window‑Box Composting
Looking for the right vessel to fit your window‑box compost? A compact PVC bin or a small commercial tumbler can be your solution. If you DIY, cut a PVC pipe to a shallow height, drill drainage holes, and seal the top with a mesh vent. This retains heat, lets you layer greens and browns, and fits snugly under a balcony rail. The Exaco ECO 2000-NP and EAST OAK designs show how compact, dual‑chamber or small‑scale systems can fit apartment spaces while maintaining proper aeration and odor control compact design and odor management. Alternatively, a tabletop tumbler offers effortless turning; just spin it a few times a week to speed decomposition. Whichever you pick, aim for a 30:1 carbon‑to‑nitrogen ratio and keep moisture consistent. Position the unit in a shady, dry spot to avoid overheating. Both options keep materials contained while delivering efficient window‑box composting.
Construct the Window‑Box Frame & Install the Compost Chamber
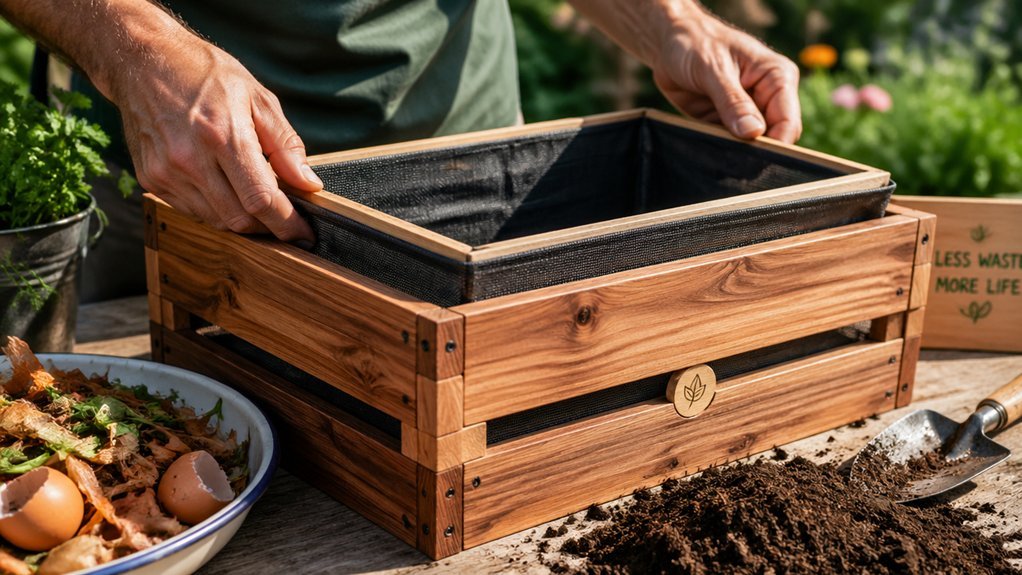
Now that you’ve chosen the bin, start by building a sturdy frame that fits your window and can hold the compost chamber securely. Measure the opening, cut weather‑resistant wood or PVC to the exact width and height, then attach brackets that lock the frame to the sill. Drill pilot holes, use stainless screws, and seal joints with exterior caulk to keep rain out. Install a removable front panel or hinged door so you can turn scraps and harvest finished compost without hassle. Add a slotted bottom tray for drainage, line the interior with breathable fabric, and fit a vented lid to control odors and pests. Ensuring proper airflow through vents and fins can help speed decomposition and reduce odors airflow features.
- Frame dimensions match the window opening.
- Removable door provides easy access.
- Drainage tray and vented lid ensure aeration.
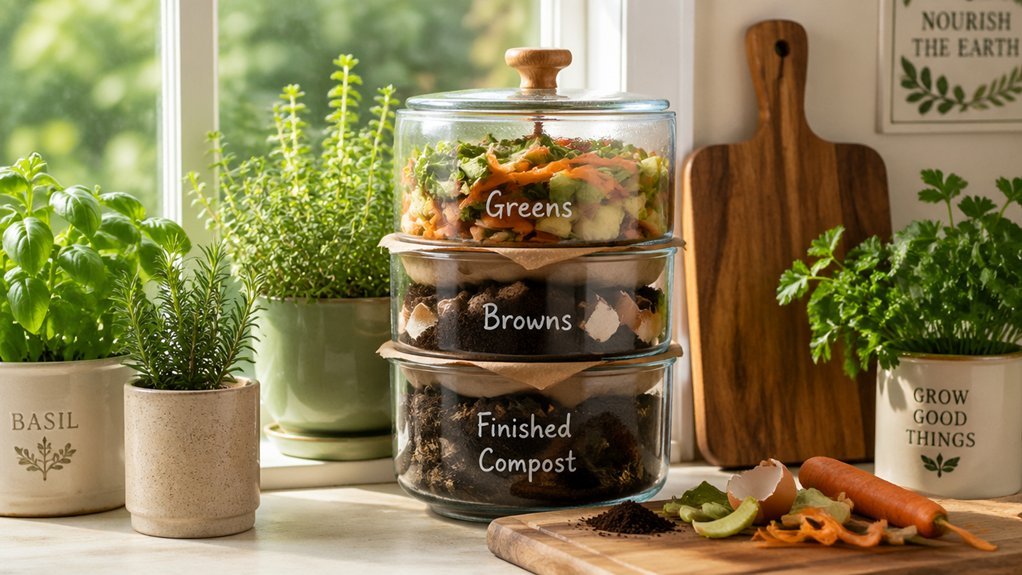
Layer Greens & Browns for a 30:1 C:N Mix in Your DIY Box
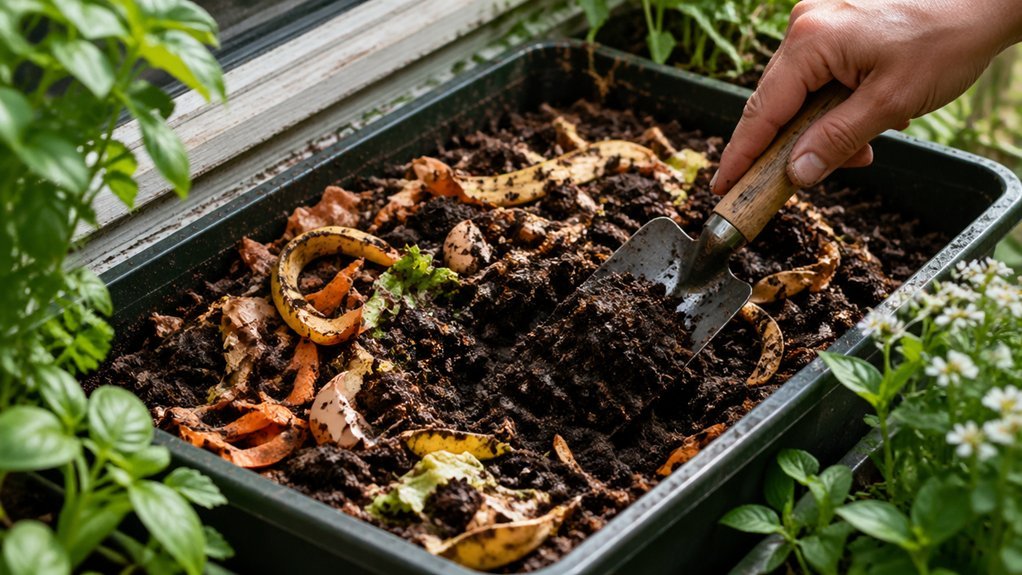
How do you keep your window‑box compost balanced? Start with a thin layer of browns—dry leaves, straw, wood chips, or shredded paper—to create a breathable base. Add a shallow layer of greens, such as kitchen scraps and fresh garden clippings, then top with more browns. Keep repeating the pattern, aiming for roughly three parts brown to one part green, which yields the target 30:1 carbon‑to‑nitrogen ratio. Press each layer lightly to eliminate large air pockets, but don’t compact it so much that water can’t flow through. Watch the moisture; the mix should feel like a wrung‑out sponge, not soggy. Avoid any material treated with herbicides, and source all inputs carefully to keep your compost healthy and contaminant‑free. Regularly monitor odor and drainage, much like a well‑sealed bokashi system, to maintain a clean, low‑maintenance window box. carbon-to-nitrogen ratio
How Often to Turn and Water Your Window‑Box Compost?
So often should you turn and water your window‑box compost? Aim for a gentle rhythm: every 1–2 weeks you’ll keep airflow humming and decomposition steady without a sour smell. Keep the mix as moist as a wrung‑out sponge—just enough water to dampen, never soggy. Use a long‑stem thermometer; if the core temperature dips below 90 °F (32 °C) or spikes above 140 °F (60 °C), adjust your schedule.
Consistent turning and moisture give you faster, richer results. Worm-based systems can especially benefit from regular monitoring of moisture and air flow to prevent odors and maintain steady processing.
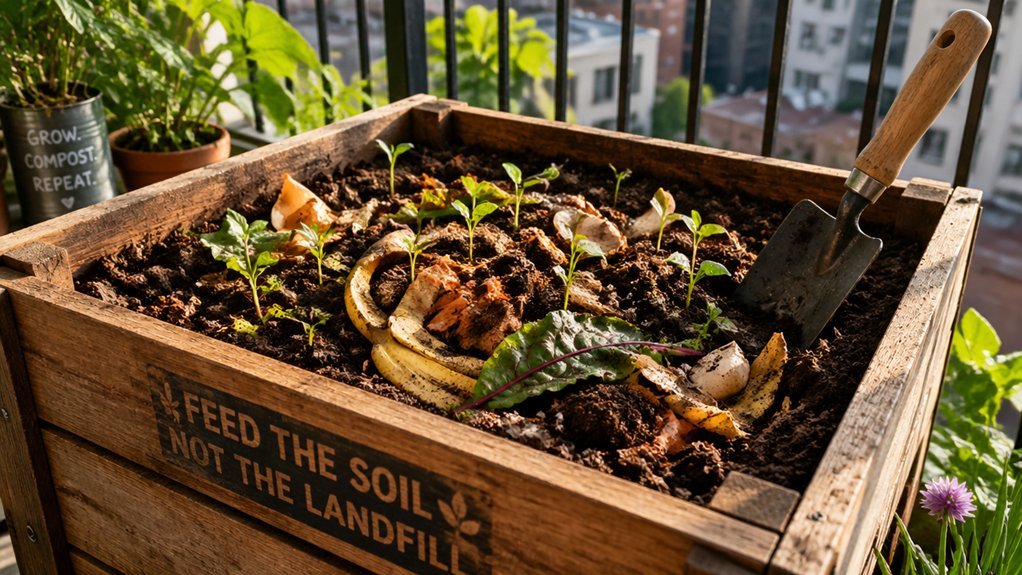
Harvest ‘Black Gold’ From Your Window‑Box Compost
You’ll notice the compact window‑box design lets you layer greens and browns efficiently, keeping the carbon‑to‑nitrogen balance spot‑on. A two‑bin or multi‑bin system can further optimize fermentation duration and provide continuous processing for ongoing scraps, even in small urban spaces. prepared bokashi tea can be drained through the built‑in spigot to nourish houseplants as you harvest.
Compact Window‑Box Design
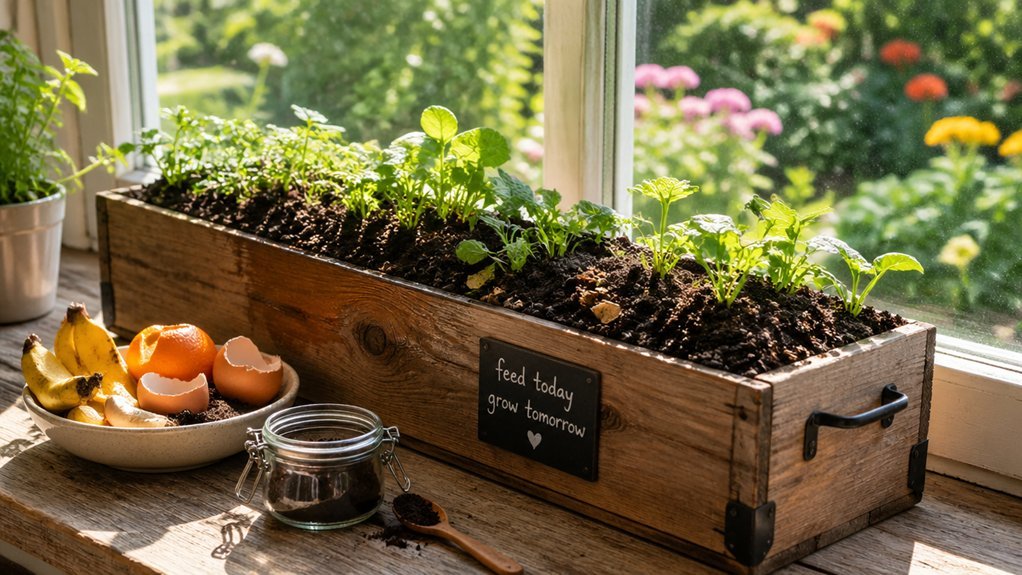
A compact window‑box compost fits neatly on a sunny sill, turning kitchen scraps into “black gold” right where you grow your plants. You’ll choose a shallow, well‑drained bin or tumbler that sits comfortably on the sill, then a lid keep keep odors out and pests away. Keep the mix moist but not soggy, and turn it every 1–2 weeks to invite airflow and speed decomposition. When the material turns dark, crumbly, and odorless, it’s ready to enrich your planter beds. A thicker, higher‑density charcoal filter helps control odors at the lid—odor control and proper fit can make a visible difference in compact setups.
- A low‑profile plastic or wooden box with drainage holes.
- A breathable cover or hinged lid.
- A small hand‑fork or wooden stick for turning.
Layer Greens and Browns
| Component | Typical Amount | Purpose |
|---|---|---|
| Greens | 1 part | Nitrogen source, fast breakdown |
| Browns | 1½ parts | Carbon, aeration, structure |
| Kitchen scraps | Varied | Provides fresh greens |
| Moisture | Damp, not soggy | Supports microbial activity |
Harvest and Apply Compost
Harvest the dark, crumbly “black gold” once it’s earthy‑smelling and free of visible scraps, then give your window‑box a light top‑dress—just a thin layer that stays away from plant stems to avoid shock while releasing nutrients at the surface. You’ll notice the pile is ready after 4–8 weeks for a hot batch, longer if it’s a cold setup. Before you spread it, screen out any chunky bits, then sift the fine material into a shallow tray. The resulting amendment boosts soil structure, holds moisture, and feeds microbes, turning your box into a thriving micro‑garden.
- Screen the compost to remove larger particles.
- Sprinkle a thin layer over the soil, keeping it clear of stems.
- Water lightly to settle the top‑dress and activate nutrients.
Troubleshoot Odor, Pests & Winter Care in Apartment Composting
When your window‑box compost starts to smell, it’s usually a sign the pile is either too dry or too compacted, so keep it moist—just not soggy—and turn it every week or two to boost airflow. For composting odor control, bury scraps under a thick brown layer, use a closed bin or tumbler, and monitor temperature (90‑140 °F). Pests stay away when carbon material covers food waste and the lid stays sealed. In winter, insulate the box, place it in a sunny, sheltered spot, and avoid freezing by adding a small heat source or moving it indoors for a few weeks.
| Issue | Quick Fix | Why it Works |
|---|---|---|
| Odor | Add damp browns, turn weekly | Improves moisture & aeration |
| Pests | Cover with carbon, seal lid | Removes food access |
| Cold | Insulate, sunny spot | Keeps temperature steady |
Frequently Asked Questions
What Three Items Should Not Be Placed in a Compost Pile?
You shouldn’t put dairy or meat, herbicide‑contaminated material, or diseased plants into your compost pile, because they attract pests, inhibit microbes, and spread pathogens, ruining the final product.
How to Make Black Gold Compost?
You’ll mix brown and green scraps, aiming for a 30:1 carbon‑to‑nitrogen ratio, keep the pile moist, turn it regularly, and maintain temperatures around 131‑160 °F until it turns dark, crumbly, and earthy.
How Do the Amish Make Compost?
You’ll see the Amish pile kitchen scraps and yard waste in simple wooden bins or open piles, layering greens and browns, keeping it moist, turning it occasionally, and letting nature do the rest.
What Are Two Mistakes That We Should Avoid When We Prepare Compost?
Don’t add dairy, meat, or herbicide‑tainted scraps, and avoid making the pile soggy—keep it as moist as a wrung‑out sponge. Both errors cause odors, pests, and slow decomposition.
In Summary
Now you’ve got a thriving window‑box compost that turns kitchen scraps into rich, dark soil for your plants. Keep it in a sunny spot, balance greens and browns, turn it regularly, and water when it feels dry. Watch for odors or pests, and protect it in winter. With a little attention, your DIY setup will keep producing “black gold” all year long.
Leave a Reply