
Keep your kitchen compost odor‑free by balancing one part greens with two‑to‑three parts browns like shredded newspaper, dry leaves, or straw, and add a dry absorbent layer at the bottom and after each batch. Freeze wet scraps before they hit the bin, then pair them with extra browns to soak up moisture. Line the pail with a breathable liner or charcoal filter, and place the bin in a well‑ventilated, partially shaded spot away from heat sources. If you follow these quick checks, the next tips will show you how to fine‑tune moisture, aeration, and maintenance for flawless, scent‑free compost.
Why Kitchen Compost Smells and How to Stop It
Why does your kitchen compost stink? You’re probably loading too much green material—fruit peels, coffee grounds, fresh veggies—without enough brown material to soak up moisture. The excess nitrogen creates anaerobic pockets that ferment and smell.
To stop it, aim for roughly two to three parts brown material, such as shredded newspaper, cardboard, or dry leaves, for every one part green material. Line your scraps bin with a layer of brown material and keep the container in a well‑ventilated spot.
Turn the pile regularly to introduce oxygen, and add dry browns whenever the mix feels soggy. If you still notice odors, freeze problematic scraps or toss extra dry material into the bin before moving them to the main compost.
This simple balancing act keeps your kitchen compost fresh and odor‑free. Oxygen access can be enhanced by choosing a bin with good lid design or carbon filters to help control odors.
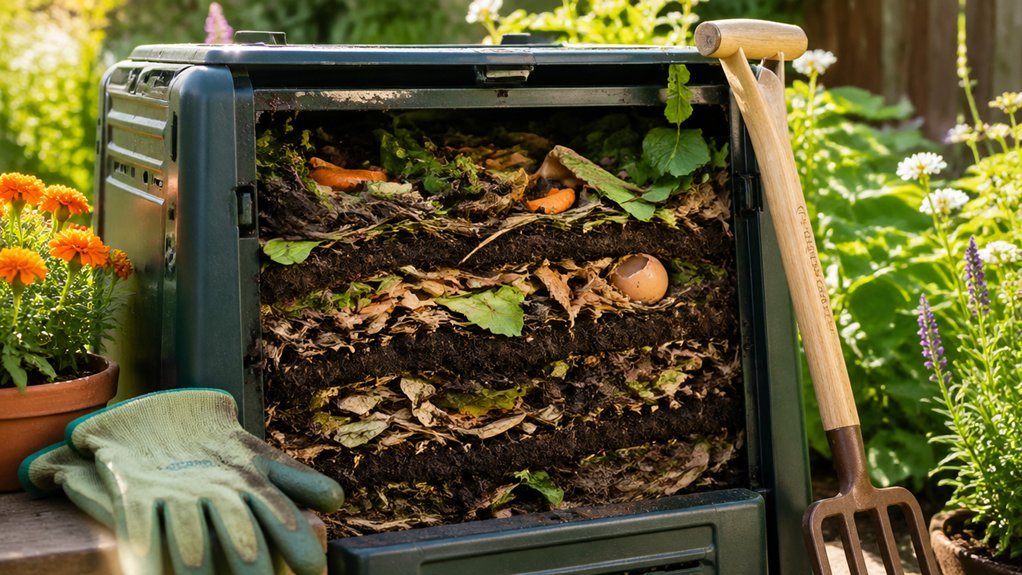
Balance Green and Brown Materials for an Odor‑Free Compost Bin
You’ve already seen how excess greens create a smelly, anaerobic mess, so the next step is to keep the carbon‑to‑nitrogen ratio in check. Aim for two‑to‑three parts brown for each part green. Add shredded paper, dry leaves, or straw to soak up moisture and block odor‑causing bacteria. If the pile feels soggy, toss in more brown material and give it a quick turn to boost aeration. In a tight indoor bin, line the bottom with a brown layer before dropping in greens; this pre‑absorbs liquid and keeps smells at bay. Regularly mix and monitor the balance, and you’ll maintain a fresh, odor‑free compost. Using compost bags with sturdy, leak‑proof bottoms and plant‑based materials can help manage kitchen scraps before they enter the bin and reduce odors in tight spaces. Two-to-three parts brown help balance greens and browns and contribute to odor control in compact setups.
Add a Dry Absorbent Layer to Every Scrape Drop
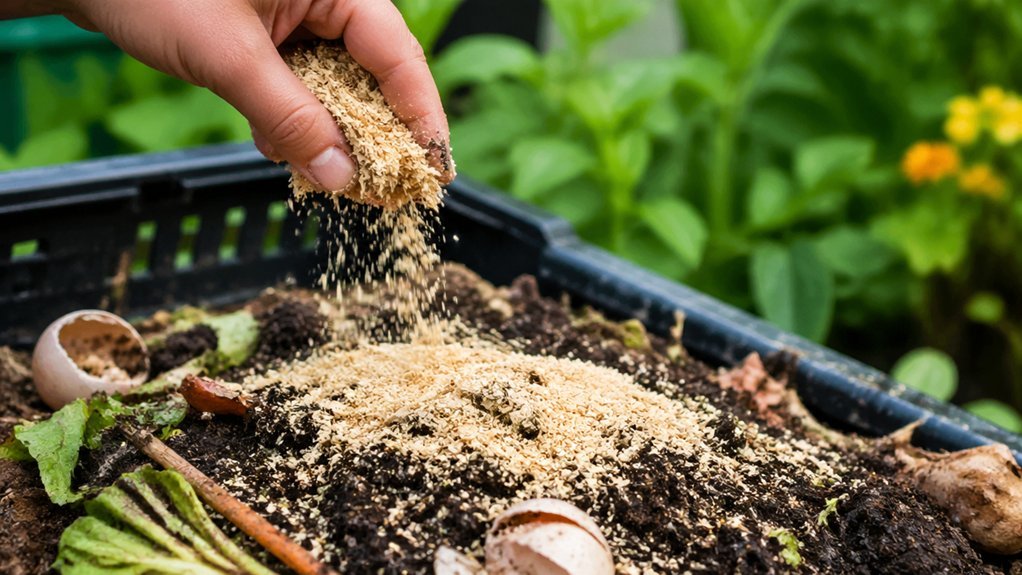
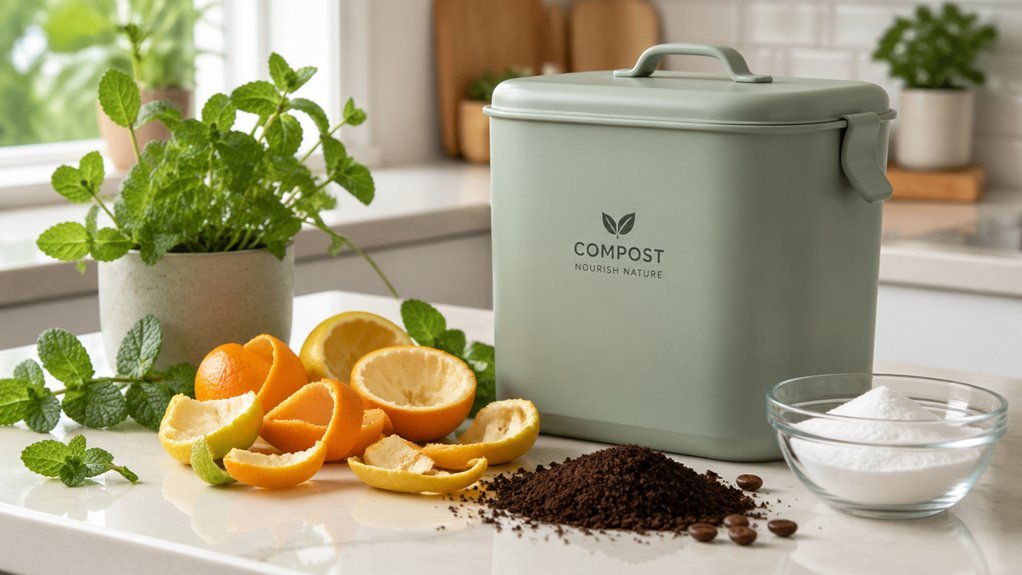
A dry absorbent layer—like shredded newspaper, torn egg cartons, or straw—should sit at the bottom of your bin and be added between every batch of scraps. It draws moisture away, slows odor‑causing bacteria, and keeps your compost drier. By topping each scrape with carbon‑rich material, you maintain a healthy mulch/green‑brown balance and prevent slime. Additionally, choose a ceramic compost bin with a charcoal filter to help control odors between dumps odor control features and use a 4–6 month filter replacement cycle to maintain effectiveness.
- Lay a base: Put a 2‑inch layer of dry absorbent before the first scraps.
- Refresh each dump: After adding new food waste, sprinkle another inch of absorbent on top.
- Adjust for wetness: If a batch feels soggy, double the layer to protect the bin’s interior.
Doing this consistently gives you a drier, odor‑free compost pile that stays active between empties.
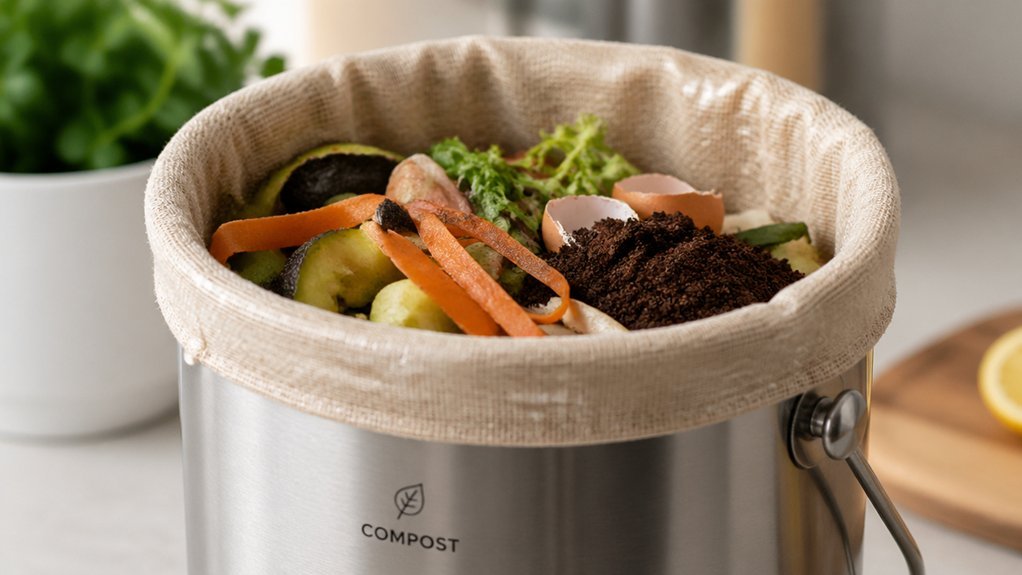
Freeze High‑Moisture Scraps Before They Reach the Bin
You can toss high‑moisture scraps into the freezer to halt bacterial growth and keep odors at bay. The cold storage gives you a clean, hygienic pause until you’re ready to add them to the compost. When you’re set, just thaw or dump the frozen pieces straight into the bin without worrying about liquid spills 360° rotation and airflow maintained by multiple aeration holes.
Freeze Scraps to Kill Bacteria
When you freeze high‑moisture scraps like fruit peels or vegetable trimmings, you shut down bacterial activity and curb the odors they’d otherwise release. Freezing locks in moisture, prevents liquid runoff, and stops odor‑causing microbes before they hit the bin. The result is a cleaner pail and a less stinky transfer to your outdoor compost system. Pair the frozen pieces with a brown layer to soak up any remaining dampness and keep odors at bay. A chilly pre‑treatment step can also reduce mold growth and improve the overall balance of fermentation in enclosed bokashi setups odor control. Place scraps in a sealed bag or container before freezing. Freeze for at least 24 hours to ensure microbes are dormant. Transfer directly to the compost bin, then cover with newspaper or shredded paper.
Use Freezer for Odor Control
If you stash high‑moisture scraps in the freezer before they hit the bin, bacterial activity stalls and the usual pungent smells stay locked away. Freezing acts as an instant odor control hack: you toss onions, garlic skins, and wilted greens into a zip‑top bag, seal it, and let the cold pause decomposition. The next day you transfer the frozen pieces to your compost container, where they add less moisture and avoid creating soggy, anaerobic pockets. This low‑odor workflow buys you time until the weekly collection or a larger bin is ready.
Because microbes remain dormant, you’ll notice fewer whiffs during daily kitchen chores, and the overall compost stays drier and more aerobic, speeding up the later breakdown phase. Odor Control
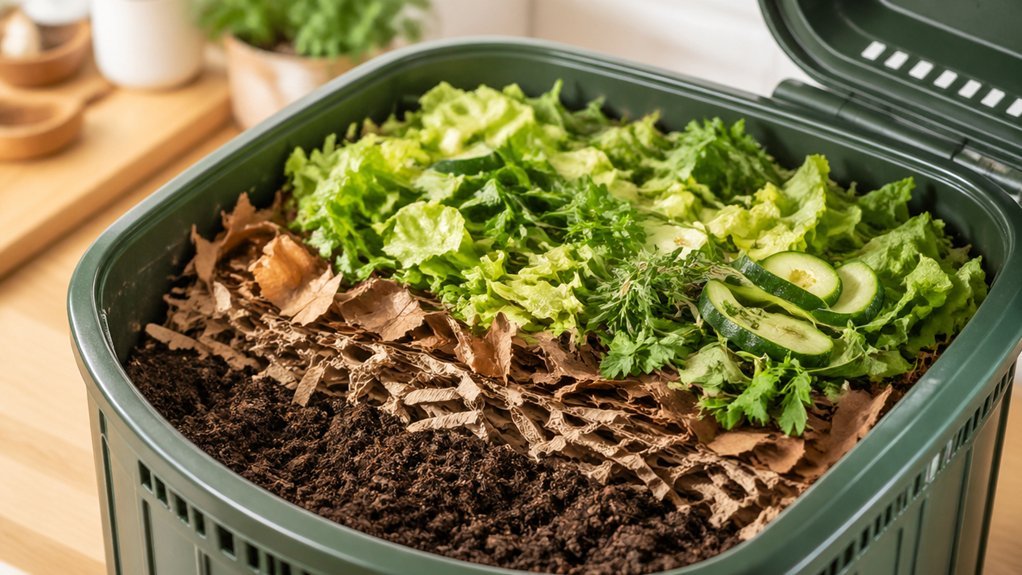
Line Your Pail to Trap Moisture and Block Odor
Ever wondered how a simple liner can keep your compost pail dry and odor‑free? Start by spreading a generous layer of brown material—newspaper, torn egg cartons, or shredded paper—at the bottom. This barrier soaks up excess moisture, traps odor, and blocks bacteria from the green scraps.
- Layer: Place 1–2 inches of brown material before any food waste.
- Freeze: Chill odor‑prone items like onion skins for a few minutes before tossing them in.
- Rinse: Empty and wash the pail with soap and water weekly to remove lingering odor‑causing residues.
Avoid meat, dairy, or oily foods, as they raise moisture and create stubborn smells. With these steps, your compost stays dry, fresh, and pleasant.
Additionally, using a durable charcoal filter can further enhance odor control and extend the time between replacements when your bin is indoors. Charcoal filters help trap odors at the source and can be trimmed to fit non-standard bin sizes, reducing air leakage and maintaining a fresher kitchen environment.
Select a Bin Location That Keeps Your Odor‑Free Compost Fresh
Pick a spot where the bin gets steady airflow and a bit of shade, not the scorching sun.
Keep it close enough to your kitchen so you’ll empty it often, but away from walls that trap heat and moisture.
A secure lid and a well‑draining surface will stop smells from escaping and keep pests at bay.
Ventvent With Compostvent
Choosing a spot with good airflow—like a breezy, well‑ventilated corner away from living spaces—keeps your compost fresh and odor‑free. You’ll notice the difference when the vent lets gases escape while the lid stays sealed against pests. Position the bin where wind can sweep through the vents, and avoid walls or fences that block circulation. This simple step prevents the stale, sour smell that often plagues indoor compost.
- Place the bin in a breezy, open area.
- Use a lid with a built‑in vent that opens outward.
- Keep the vent clear of leaves and debris.
Choose Shaded, Air‑Flowing Spot
A well‑ventilated spot with partial shade gives your compost the right balance of airflow and temperature, keeping odors at bay. Choose a location where the compost bin sits in open air but under a tree or pergola that filters harsh sun. This setup prevents heat spikes while still allowing fresh air to circulate, which dilutes any scent.
Avoid enclosed decks or shed corners that trap moisture and stale air; they’ll amplify smells and invite pests. Keep the ground level and free of standing water, and make sure you can easily reach the bin to add dry brown material and turn it regularly.
With steady airflow and modest shade, your compost stays fresh and odor‑free.
Avoid Direct Sunlight Exposure
Ever wondered why your compost smells worse on sunny days? Sunlight dries out the mix, spikes heat, and fuels odor‑producing bacteria. Choose a spot that stays cool and ventilated, whether it’s a shady garden corner or a garage shelf away from windows. A stable temperature prevents anaerobic pockets, keeps plastic liners intact, and stops pests from being attracted to foul smells.
How to keep your compost out of direct sunlight:
- Pick a location with partial shade and good airflow.
- If indoors, set the bin under a sink or on a counter far from windows and heat sources.
- Avoid placing the bin on dark surfaces that absorb heat, like concrete or asphalt.
Fix Smelly Compost: Quick Checks for Ratio, Moisture, and Air
If your compost smells, it’s usually a sign that the green‑to‑brown balance, moisture level, or airflow is off; start by checking that you have roughly one part green material to two or three parts brown, add dry browns like shredded paper or leaves if it feels soggy, and turn the pile regularly to introduce fresh air and prevent anaerobic pockets.
Next, gauge moisture: the mix should feel like a wrung‑out sponge, not dripping. If it’s too wet, sprinkle extra brown material and mix in straw or cardboard to absorb excess water.
For airflow, avoid compacting the heap; use a pitchfork to fluff it every few days, creating channels for oxygen.
Finally, keep meat, dairy, and oily scraps out, because they fuel foul smells and pests.
Adjusting ratio, moisture, and aeration will keep your compost fresh and odor‑free.
Frequently Asked Questions
What to Put in Compost to Make It Not Smell?
You should add plenty of brown material—shredded newspaper, cardboard, dry leaves—mix them with green scraps, keep the pile moist but not soggy, turn it regularly, and avoid dairy, meat, or oily foods.
How Do the Amish Make Compost?
You’ll layer greens and browns, add plenty of leaf‑rich carbon, keep meat and dairy out, turn the pile regularly, mix in soil or leaf mold, and position it for good airflow and sunlight.
What Is the Lazy Compost Method?
You use two square buckets: one collects scraps, the other holds sawdust‑lined storage. You top each batch with sawdust, swap the full bucket to the pile, and start a fresh one, keeping odors contained.
What Are Two Mistakes That We Should Avoid When We Prepare Compost?
You should avoid overloading the pile with greens and compacting it; both create wet, anaerobic spots that smell. Also, don’t skip regular turning or ignore moisture, or odors’ll quickly appear.
In Summary
By balancing greens and browns, adding dry absorbent layers, freezing wet scraps, lining your pail, and choosing a well‑ventilated spot, you’ll keep compost smelling fresh. Regularly check the ratio, moisture, and airflow, and adjust as needed. With these simple habits, your kitchen waste turns into nutrient‑rich compost without the nasty odors—making the process clean, easy, and rewarding.


Leave a Reply