
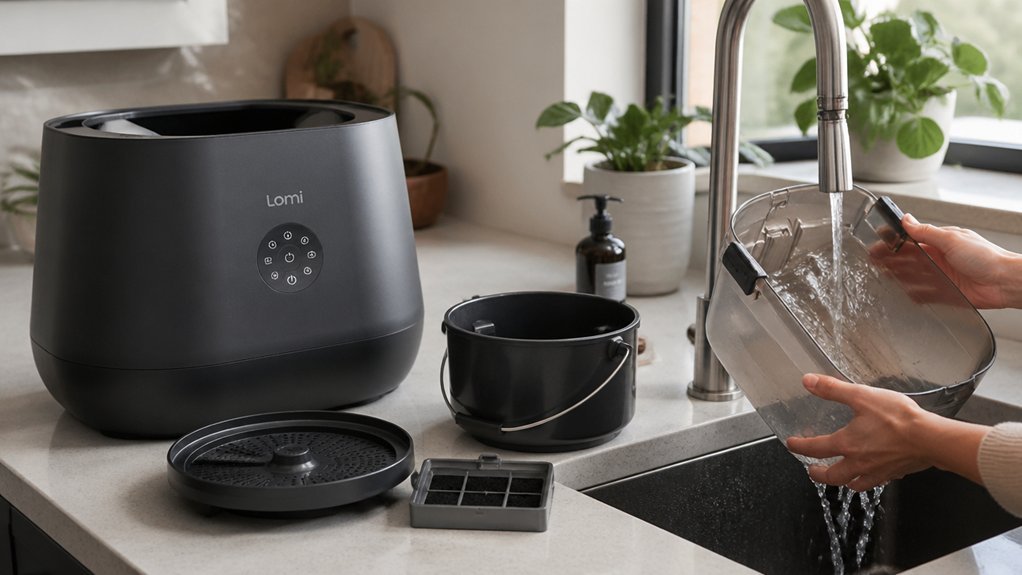
Unplug the unit before any cleaning, then soak and scrub the compost bin and grinding chamber in warm, soapy water and wipe the housing with a damp cloth. Check the odor‑trapping filter monthly and replace it every 3–6 months, rinsing it to keep airflow clear. Apply a few drops of food‑grade oil to the motor shaft and gears every few months, wiping excess. Balance waste with browns, avoid over‑filling, and inspect cords and plugs for wear. Adjust ventilation and temperature for humidity or seasonal changes, and keep an eye on motor sounds for early wear signs—continue and and you’ll discover more detailed steps.
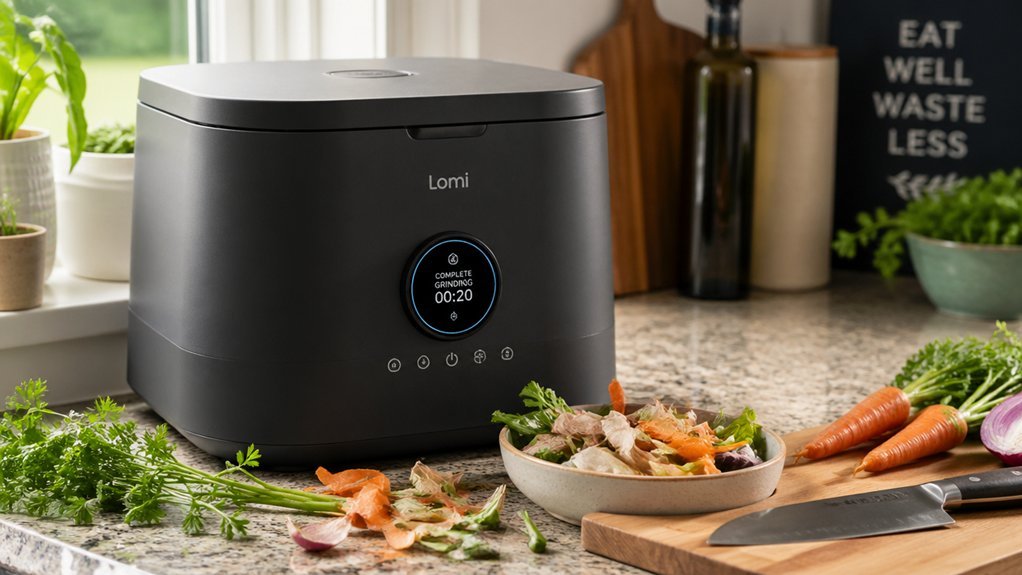
Unplug & Wash Removable Parts of Your Electric Composting Machine
Ever wonder how to keep your electric composting machine hygienic without hassle?
First, guarantee safety by unplugging the unit from the power source before you touch anything.
Then, perform removal of all detachable components—take out the compost bin and grinding chamber to expose every surface that needs cleaning.
For washing, fill a basin with warm, soapy water and use a soft brush to scrub each part, dislodging residue without scratching.
While the removable pieces soak, wipe the non‑removable housing with a damp cloth to clear visible debris, avoiding any liquid intrusion into the electronics.
Aim for this routine at least once a week, or more often with heavy use, and skip harsh chemicals that could damage the machine.
Replace & Clean Filters – When and Why It Matters
You should check your filter every month and replace it if it’s clogged or worn, following the manufacturer’s schedule. A quick rinse or wipe‑down removes debris and restores airflow, keeping the compost aerobic. Maintaining clean filters ensures optimal performance and prevents foul odors. Regular maintenance aligns with typical odor-control practices, including replacing filters on a 4–6 month cycle and using replacement parts such as Norpro #93F when needed filter replacement.
Filter Replacement Frequency
When should you check your electric composter’s filter? You should inspect it every month and replace it every three to six months if you see wear or clogging. Regular filters maintenance keeps odor control strong and air flow steady, preventing anaerobic pockets that can ruin compost quality.
| Time Since Last Change | Action |
|---|---|
| 0‑30 days | Visual inspection |
| 31‑90 days | Clean if reusable |
| 91‑180 days | Replace if worn |
| 181‑365 days | Replace regardless |
| >365 days | Full service needed |
Proactive replacement extends device life, preserves processing efficiency, and minimizes indoor odor issues. Skipping this step compromises odor capture and can force the unit to work harder, shortening its lifespan. Stay on top of the schedule, and your composter will run smoothly. Odor control and microbial activity are central themes across the recommended starters, including Convino’s odor-reducing formulas and Espoma’s pH-balanced blends, which support steady decomposition and odor management.
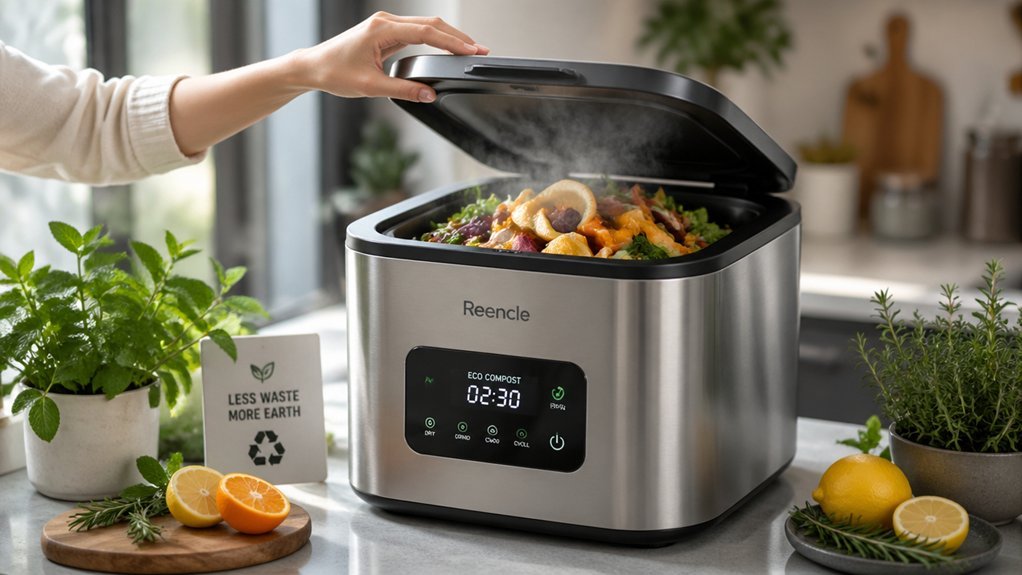
Cleaning Method Overview
Keeping the filter clean and replacing it on schedule ensures your composter breathes properly, preventing odor buildup and sluggish breakdown. First, unplug the composting machine and remove any detachable components. Soak those parts in warm, soapy water, then scrub gently with a soft brush to clear residue. Wipe non‑removable sections with a damp cloth, focusing on visible debris; do this at least once a week, or more often if you run the unit heavily. Check the odor‑trapping filters regularly—if they look clogged or worn, replace them to keep airflow steady and block anaerobic smells. Aim for a full cleaning cycle weekly and swap filters every three to six months, adjusting the cadence to match your usage pattern. This routine sustains optimal performance and a fresh kitchen environment.
Impact on Performance
Why does a clean filter matter? A clogged filter chokes aeration, forcing the machine to work harder and slowing down decomposition.
When you replace or clean filters monthly—or every three to six months for heavy use—you restore airflow, keep odor control high, and prevent anaerobic pockets that breed foul smells.
Fresh filters trap meat, dairy, and cooked‑food odors before they escape, so you notice a cleaner kitchen.
If odors linger after a swap, check ventilation and aeration paths for blockages; proper oxygen flow is essential for efficient breakdown.
Lubricate Moving Parts With Manufacturer‑Approved Oil
A few drops of manufacturer‑approved, food‑grade oil applied sparingly to the motor shaft, gears, and hinges every few months keep the composting machine running smoothly. You’ll treat this as essential lubrication, part of your regular maintenance routine, and avoid over‑applying. Use only the recommended oil, wipe away excess, and keep the work area clean so dust and debris don’t cling to the moving parts. Regular lubrication helps maintain moisture balance and prevents wear on seals and bearings proper maintenance mindset. Schedule the service every few months or after heavy use; this reduces resistance, prevents wear, and stops motor or gear failures before they happen. Remember, too much oil can migrate, attract grime, or cause slippage, so a thin, even coat is all you need for reliable grinding, rotating, and aeration cycles.
Balance Waste & Avoid Over‑Filling to Prevent Odor
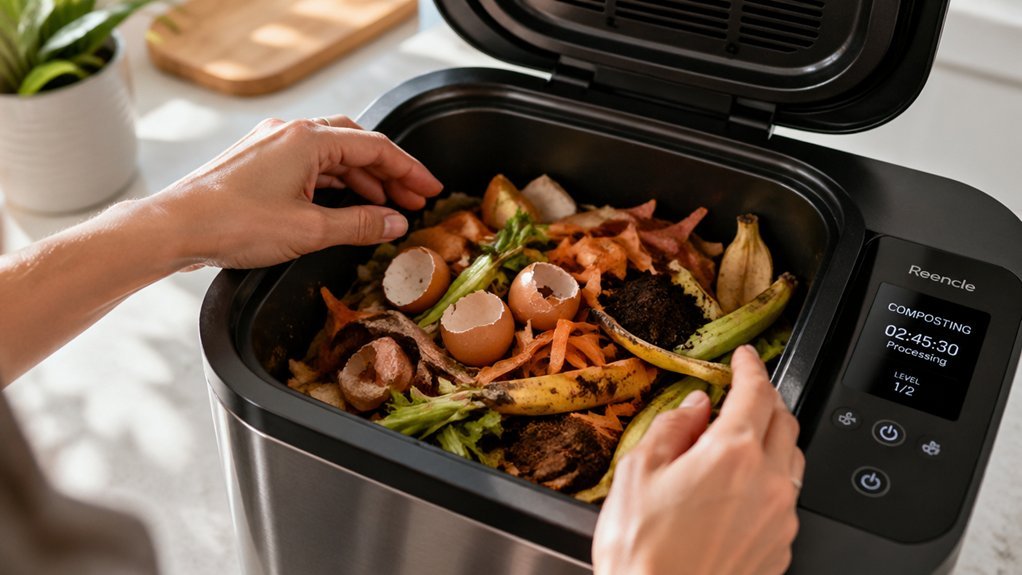
Keep an eye on the fill line, and when you’re near it, empty the unit before odors develop. Install an odor-neutralizing filter to catch smells as they arise, and schedule regular emptying to stay ahead of any buildup. This routine lets you maintain a fresh‑smelling composter without over‑filling. Recycle the shredded material when possible to support eco‑friendly waste management eco-conscious options.
Monitor Fill Levels
Ever wondered how a well‑balanced compost bin keeps odor at bay? You can keep the compost pile smelling fresh by mastering fill level monitoring. Aim for the container to sit between one‑quarter and three‑quarters full while it processes. This range guarantees enough aeration, preventing the anaerobic pockets that trigger foul smells. Check the bin daily; overloading slows grinding, traps moisture, and spikes odor risk. Add waste in small, incremental batches instead of dumping large loads at once. Follow the 1:8 dilution rule for GEME‑related applications, which also guides how full you should keep the system. By staying vigilant and adjusting inputs, you maintain steady airflow and keep your electric composting machine odor‑free. For large capacity designs, ensure your setup incorporates proper stability features to prevent tipping in windy conditions.
Use Odor‑Neutralizing Filters
When you install the built‑in odor‑neutralizing filter, you’ll notice it pulls smells straight out of the compost chamber, but it only works if the bin isn’t choked with waste. Keep the waste balanced—more brown material, less moisture—to give the filter a chance to breathe. Check the filter weekly for debris and replace it as part of routine maintenance; most models call for a swap every three to six months. Good air circulation prevents anaerobic pockets that overwhelm odor filters, so never over‑fill the unit. Inspect the filter each week for clogs and ensure the four‑sided locking hinges stay clear of debris proper seal integrity. Replace it on schedule (3‑6 months). Maintain a proper brown‑to‑green ratio and prevent overfilling to maintain optimal odor control. Ensure vent openings stay clear and avoid stacking waste higher than the recommended fill line.
Schedule Regular Emptying
Why let odors build up? You should set a clear composting schedule that empties the chamber before it reaches capacity. By planning a maintenance cadence based on your daily input, you keep airflow steady and aerobic microbes thriving. If the mix turns green and slimy, add more brown material to balance the carbon‑to‑nitrogen ratio and avoid anaerobic pockets. Track each cycle’s progress and waste volume so you can dump at predictable intervals, preventing clogs, jams, and motor strain that trigger shutdowns. Emptying early also reduces odor spikes and keeps the machine running smoothly. Treat this routine as a simple habit: check the level, note the feed, and empty on time for optimal performance. Regular rotation and aeration improve throughput and help sustain the dual-chamber design for continuous processing aeration holes.
Inspect Power Cords, Plugs & Motor Health
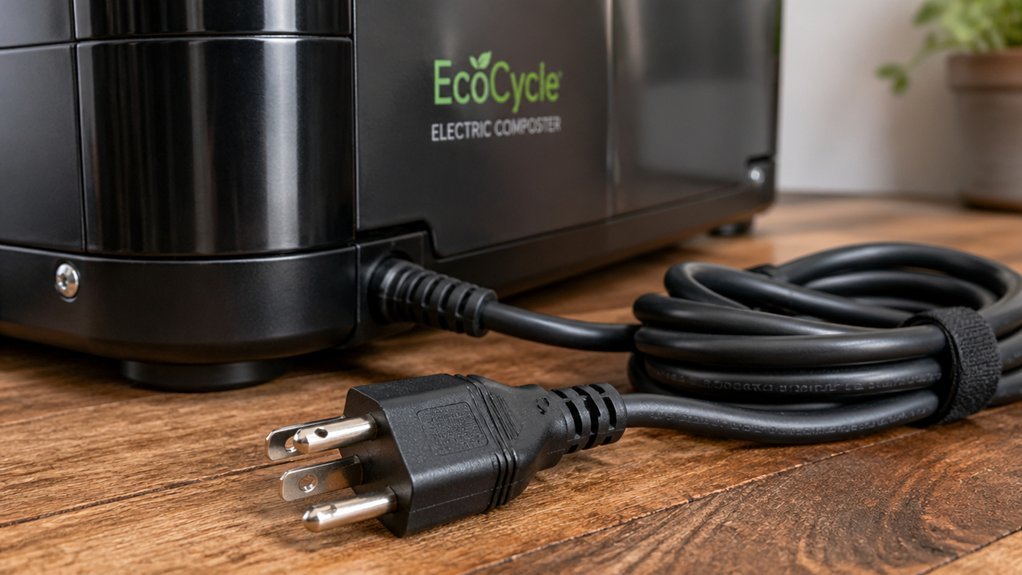
Do you notice frayed cords, cracked plugs, or odd grinding sounds from the motor? You should stop, unplug the unit, and give it a thorough look. Regular checks keep power cords safe, protect motor health, and uphold electrical safety.
- Examine each cord for exposed conductors, cuts, or fraying; replace any damaged sections immediately.
- Inspect plugs for cracks, loose pins, or signs of overheating; a faulty plug can cause sparks.
- Listen for grinding, rattling, or humming noises that signal motor wear or obstruction.
- Verify the outlet supplies correct voltage and reset breakers if the machine stalls or cycles intermittently.
- Look for overheating cues—excessive heat, frequent stops, or smoke—and address them before they damage the motor.
Adjust for Seasonal Conditions – Humidity, Temperature & Holiday Use
How does the season affect your composting machine’s performance? In humid months, moisture can linger in the dehydrator, slowing drying and encouraging anaerobic smells. Balance your feedstock with more browns, check moisture gauges, and boost aeration. When temperature dips below the optimal 131–140 °F (55–60 °C), microbial activity slows, extending cycle times. Move the unit to a warmer spot or add a small heater to keep the chamber within range. In hot weather, increase ventilation, clean filters more often, and watch for odor spikes. During holidays, waste volume often jumps; match the daily capacity to the surge, avoid backlogs, and keep the odor under control. Adjusting for humidity, temperature, and holidays keeps your composting machine efficient year‑round.
Routine Inspections & Storage Tips for Longevity
Even after a long composting cycle, regular inspections and proper storage are key to keeping your machine running smoothly for years. Unplug it before any cleaning, wash removable parts with warm, soapy water, and wipe non‑removable surfaces with a damp cloth. Keep an eye on filters—replace them monthly and do a full swap every three to six months to curb odors. Lubricate moving parts sparingly with food‑grade lubricant, and ensure ventilation isn’t blocked. If you notice persistent issues, schedule a technician check for motor or wiring.
- Check and replace filters regularly
- Clean and dry all removable components
- Apply food‑grade lubricant to gears and hinges
- Verify ventilation openings are clear
- Store the unit upright in a dry, well‑ventilated area
Final Maintenance Checklist for Your Electric Composting Machine
Ready to keep your electric composting machine humming for years? Follow this final maintenance checklist each week and season. First, unplug the unit, then remove the compost bin or grinding chamber and wash them with warm, soapy water using a soft brush. Wipe non‑removable parts with a damp cloth. Inspect filters during; replace them every three to six months to maintain airflow and odor control. Lubricate the motor shaft, gears, and hinges with food‑grade lubricant, but avoid over‑lubrication. If you notice smells, aerate the unit, add more brown material, and stir to introduce oxygen. For blockages, unplug again, clear debris, check fuses, and call a professional if motor or wiring issues persist. This routine maintenance ensures ideal performance and longevity.
Frequently Asked Questions
Do Electric Composters Actually Work?
Yes, they work: you’ll see faster breakdown, volume reduction, and a dry crumbly output, but you must manage moisture, temperature, and occasional curing to achieve truly mature compost.
What Not to Put in an Electric Composter?
Don’t put large bones, heavily salted or preserved foods, oily cooked meals, non‑food items, or anything that could damage the machine’s sensor or motor. These waste create odors, block airflow, and hinder microbial activity.
How Long Does It Take for an Electric Composter to Work?
You’ll see most models finish processing in under 24 hours, though some need a few extra hours for larger loads; microbial units may take about ten days, and garden‑ready compost often cures another 30 days outdoors.
What Three Items Should Not Be Placed in a Compost Pile?
You shouldn’t put large bones, heavily salted or preserved foods, and non‑food materials like plastics or metal in a compost pile; they jam the system, disrupt microbes, and cause odors or damage.
In Summary
Keep your electric composting machine humming by unplugging and washing removable parts, swapping filters on schedule, and oiling moving pieces with the right oil. Don’t overfill—balance waste to dodge odors. Regularly check cords, plugs, and motor health, and tweak settings for humidity, temperature, and holiday use. Follow routine inspections and store it properly for lasting performance. Stick to this checklist, and your machine will stay efficient and odor‑free for years.

Leave a Reply