
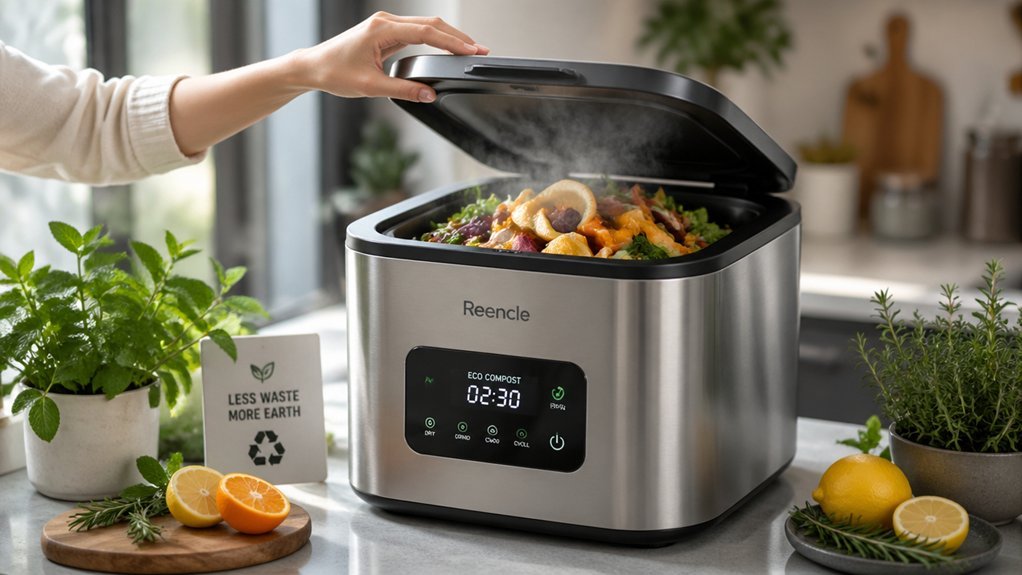
Secure a tight‑fitting lid to seal the bin and block smells, then place the composter in a cool, dark spot away from heat sources. Layer dry browns (paper, cardboard, sawdust) over greens at a 2–3:1 ratio to soak up moisture and create airflow, and add an activated‑carbon filter under the lid for extra odor capture. Rinse the bin regularly, empty it often—every 1–2 days in warm weather—and freeze‑thaw scraps if you can’t empty right away. Keep this routine and you’ll discover even more tricks.
Why a Tight‑Fitting Lid Is the First Step to Odor‑Free Indoor Composting
Why does a tight-fitting lid matter most for odor-free indoor composting? You’ll find that a tight-fitting lid provides the essential airtight seal that stops odor leakage from your indoor electric composter. When the lid closes securely, it creates containment that blocks smells and keeps pests out, delivering the odor control you need. Before you buy, run a lid test to confirm the seal stays intact during daily use. A reliable, secure closure also prevents fruit flies by limiting exposed scraps, making pest prevention effortless. Even if your bin includes a charcoal filter, the first step toward a fresh kitchen is a lid that never lets odors escape. This simple, consistent barrier makes indoor composting practical and pleasant. One-piece molded construction
Set Up a Cool, Dark Spot to Reduce Indoor Compost Odor
Pick a dark, cool spot for your composter—under the kitchen sink works great.
Keep it away from stoves, radiators, or sunny windows so heat doesn’t speed up odor‑producing microbes.
If you need extra protection, slip the unit into an insulated storage container.
Adequate ventilation helps maintain aerobic decomposition and can further reduce odors by limiting moisture buildup airflow design.
Choose Dark, Cool Location
A cool, dark spot—like under the sink or inside a shaded cabinet—slows microbial activity and cuts down on odor by keeping the composter away from heat vents, stoves, and direct sunlight. Choose a dark location that stays consistently cool; the cooler placement reduces temperature spikes, which directly curtails indoor compost odor. Regular monitoring helps maintain stable humidity levels and supports consistent performance peat-free and sustainable gardening practices.
Avoid Heat Sources
Keeping the composter out of heat sources lets the microbes work steadily instead of ramping up and spiking odors. Place your indoor electric food composter in a cool location away from stoves, radiators, or sunny windows. A shaded spot or dark area under a sink offers stable temperature management, slowing the decomposition rate and curbing odor spikes. Cooler air also promotes moisture reduction, preventing the anaerobic conditions that produce hydrogen sulfide smells. By avoiding heat sources, you keep the internal climate thermostat‑like, which supports odor control and consistent microbial activity. Choose a spot that stays consistently cool and dim, and you’ll notice fewer unpleasant smells while the compost breaks down efficiently. This aligns with the principle that non‑masked, probiotic‑based odor control benefits from steady, cooler conditions to maintain microbial balance Temperature Regulation.
Use Insulated Storage Container
Ever wondered why a simple insulated container can keep your kitchen smelling fresh? By slowing heat buildup and moisture release, an insulated storage container gives your indoor compost a cool, dark spot to sit before you dump it into the electric food composter. This temperature regulation curbs bacterial activity, so odor control improves dramatically. Pair it with regular waste disposal and you’ll see real odor reduction and better composting hygiene. Choose a under‑sink cabinet or a pantry nook away from stoves, and empty the container more often in warm weather for optimal moisture management. The approach aligns with using compact, odor‑reducing bins that emphasize airtight seals and moisture management to maintain kitchen cleanliness. Odor control remains a central feature when selecting supportive containers for indoor composting.
Layer Browns Properly to Absorb Moisture and Cut Indoor Compost Odor
You should sprinkle a generous layer of dry browns—paper, cardboard, or sawdust—right on top of your scraps to soak up excess moisture. Keeping the ratio around two to three parts browns to one part greens lets the carbon‑rich material absorb liquid and block odors before they build up. If the bin smells stronger after you open the lid, just add more browns to restore balance and keep the air fresh. Regularly replace spent browns as needed to maintain ongoing odor control and optimal moisture balance odor control.
Browns on Top
When you spread a thin layer of carbon‑rich browns—like shredded paper, cardboard, dry leaves, or sawdust—over fresh kitchen scraps, the material soaks up excess moisture, blocks odor‑producing gases, and creates tiny air pockets that keep the pile aerobic. This top layer acts as a moisture‑absorbing shield, preventing soggy conditions that fuel smells and fruit‑fly attraction. By consistently adding a light coating after each green addition, you maintain a balanced carbon‑to‑nitrogen ratio, keep the indoor composter fresh, and promote steady, aerobic breakdown. The air pockets formed between the browns and waste also improve airflow, further supporting odor control. Regularly reapply the top layer to support ongoing adsorption, which aligns with how activated charcoal filters work to trap odors in air purification systems carbon source. The use of shredded paper and cardboard as browns also helps recycle household waste while enhancing filtration efficiency. The air pockets formed between the browns and waste also improve airflow, further supporting odor control.
Absorb Moisture Efficiently
A thin, carbon‑rich layer of shredded paper, cardboard, or sawdust placed on top of fresh kitchen scraps acts like a sponge, soaking up excess moisture and keeping the indoor bin dry. You should spread a generous top layer of browns after each load, especially when you add citrus and onion scraps that release extra liquid.
Dry carbon‑rich materials create air pockets, deter flies, and lower anaerobic conditions that fuel foul smells. By sprinkling shredded paper, cardboard, or sawdust over wet bits, you boost moisture absorption and maintain odor control.
Even if you don’t always need browns, they’re essential for longer storage or high‑moisture waste, keeping your indoor compost bin fresh and odor‑free.
Which Kitchen Scraps Keep Indoor Compost Odor at Bay?
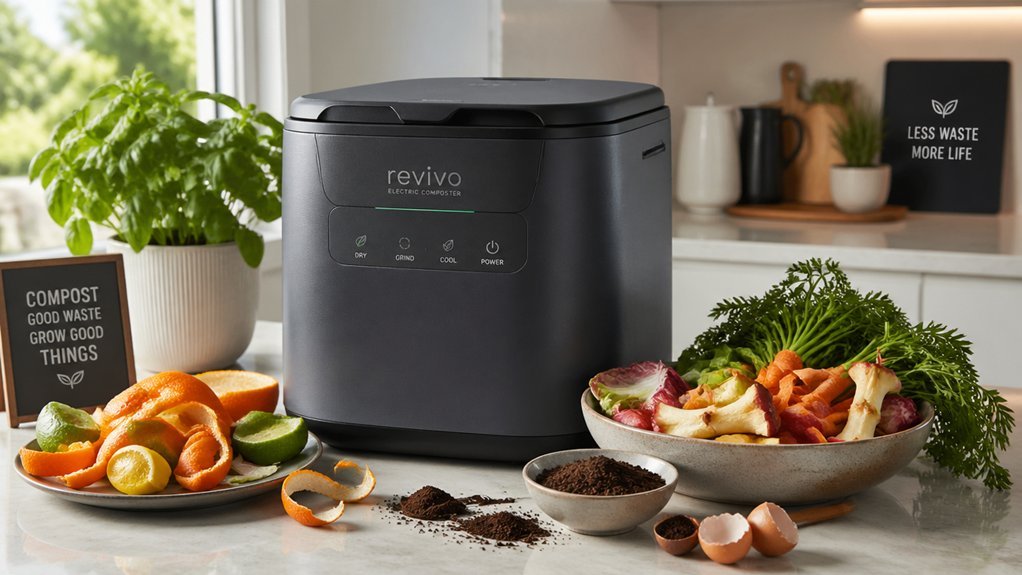
Which kitchen scraps stay fresh without turning your indoor composter into a stinky mess? Stick to plant‑based greens like lettuce, carrot tops, and fruit peels, and pair them with plenty of dry browns. Use Layer‑Bed‑Cap‑Vent to sandwich greens between carbon‑rich layers, which balances moisture and fuels odor control. Add activated charcoal or carbon filters to the cap for extra odor absorption. Avoid meat, dairy, oils, and sauces, and treat fish, onions, garlic, and citrus with extra browns to soak up excess liquid.
- Shredded paper or cardboard (dry browns)
- Dry leaves or sawdust (dry browns)
- Activated charcoal or carbon filter (odor control)
- Layer‑Bed‑Cap‑Vent system (moisture management)
Freeze Scraps to Stop Indoor Compost Odor
Ever wondered how to keep your kitchen smelling fresh while still saving scraps for compost? Freezing scraps in freezer‑safe storage halts decomposition, so indoor compost odor never builds up in your electric composter. Pack a reusable bag or container, seal it tightly, and you get instant moisture control—no soggy browns/top layer to release smells. This method also guarantees meat and dairy safety; the cold stops microbes, letting you store protein‑rich waste without fear.
When you’re ready, transfer the solid, odorless material to an outdoor bin or drop‑off site, timing disposal to match your schedule. By freezing first, you eliminate odor prevention hassles, keep the composter’s interior dry, and simplify the whole composting workflow.
How Often Should You Empty, Rinse, and Freeze‑Thaw Your Bin?
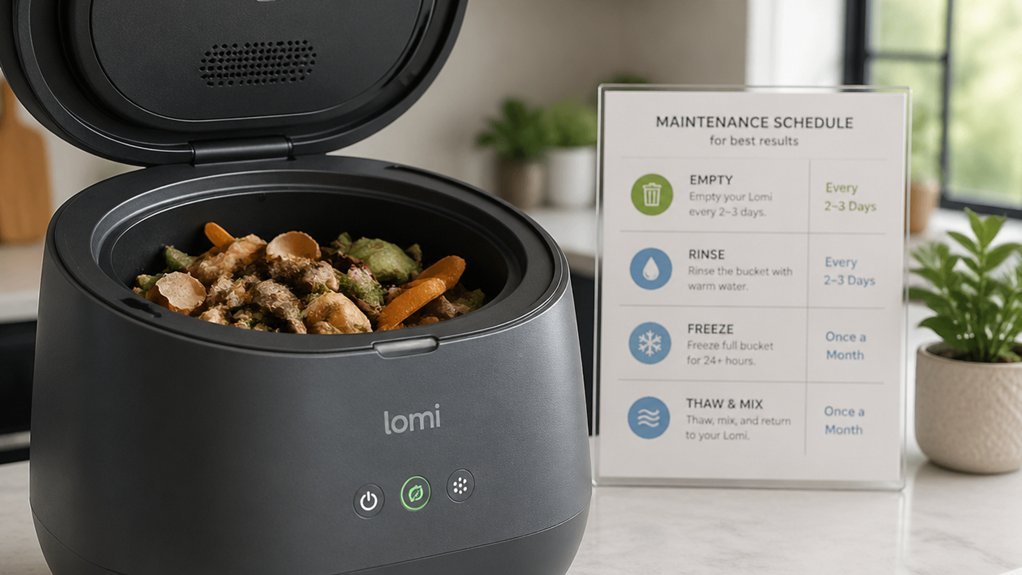
How often should you empty, rinse, and freeze‑thaw your bin? For odor control in your indoor compost bin, follow a tight schedule. In warm weather, empty every 1–2 days; in cooler months, aim for at least weekly; with heavy waste loads, empty every 4–5 days. After each emptying, rinse the bin outside with warm water, soap, and a splash of baking soda, then finish with vinegar or hydrogen peroxide. Perform a deeper rinse weekly. If you can’t empty right away, freeze‑thaw the scraps in a sealed bag to halt decomposition and odor. Regularly check browns balance and moisture management, adding dry browns on top to keep your kitchen composter fresh.
Empty, rinse, and freeze‑thaw regularly: 1–2 days warm, weekly cool, 4–5 days heavy; deep rinse weekly.
- Warm weather: empty 1–2 days
- Cool weather: empty weekly
- Heavy waste: empty 4–5 days
- Freeze‑thaw when immediate emptying isn’t possible –
Troubleshoot Persistent Indoor Compost Odor Quickly
Why does your indoor compost still smell despite regular emptying? Check moisture first. Add extra dry browns to soak up excess liquid, then reassess browns, moisture, and bin emptying cadence. In warm weather, empty every 1–2 days; in cooler months, aim for at least weekly.
Tighten the lid and confirm the vented lid sits correctly—this blocks odor escape and fruit‑fly entry.
Clean the indoor composter with soap and water, using an old sponge to scrub residue, then rinse outside so no scent lingers indoors.
Rely on moisture management rather than filtration alone: layer‑bed‑cap‑vent, cool storage, and a monthly deep clean, including filter checks, keep odor under control.
Add an Activated‑Carbon Filter to Boost Odor‑Control
Even when you keep moisture in check and empty the bin regularly, lingering smells can still sneak out. Adding an activated‑carbon filter gives your indoor electric composter a dedicated odor‑control layer that works alongside moisture management and an airtight lid. The filter’s carbon filtration captures volatile compounds, while browns help absorb excess moisture, extending filter lifespan. Replace the filter before saturation—usually every few weeks—to keep odor absorption strong. Choose a design that fits your unit and allows easy filter replacement.
- Install the filter under the lid for optimal airflow.
- Pair with browns to balance moisture and odor.
- Set a calendar reminder for filter replacement.
- Monitor odor levels; swap when absorption drops.
Frequently Asked Questions
How to Keep Indoor Compost From Smelling?
Seal the lid tightly, add a dry brown layer over scraps, empty it every few days, keep it cool, and sprinkle baking soda or use a charcoal filter when odors linger.
What Not to Put in an Electric Composter?
Don’t put meat, fish, dairy, oils, sauces, plastic, non‑biodegradable waste, or heavily scented items like citrus, onion, and garlic. Stick to plain kitchen scraps and compostable organics to keep odors low.
Do Indoor Composters Smell?
Yes, they can smell if moisture builds up or you overload them, but you’ll keep odors down by balancing greens and browns, adding a dry layer, emptying regularly, and ensuring proper ventilation.
What Is the Best Deodorizer for Compost Bins?
You’ll get the most effective deodorizing by using a replaceable activated‑charcoal filter, like PurifyLogix, combined with regular moisture control, browns layering, and emptying the bin every few days.
In Summary
By sealing the lid, chilling the bin, layering browns, and freezing scraps, you’ll keep odors at bay. Rinse and empty regularly, and add an activated‑carbon filter for extra protection. Follow these steps, and your indoor composter will stay fresh, quiet, and hassle‑free.

Leave a Reply