
Pick a shaded, sheltered spot on your balcony—ideally near a wall or railing—so the bin stays cool and you can watch it easily. Elevate it on bricks or wood blocks, add a protective cover, and drill 6‑10 holes for drainage and airflow, using a leachate tray underneath. Layer greens and browns alternately, keeping them light and airy, and wrap the bin in insulation for winter. Follow these steps and you’ll get a thriving compost system, plus more tips ahead.
Pick the Best Balcony Spot for Your Compost Bin
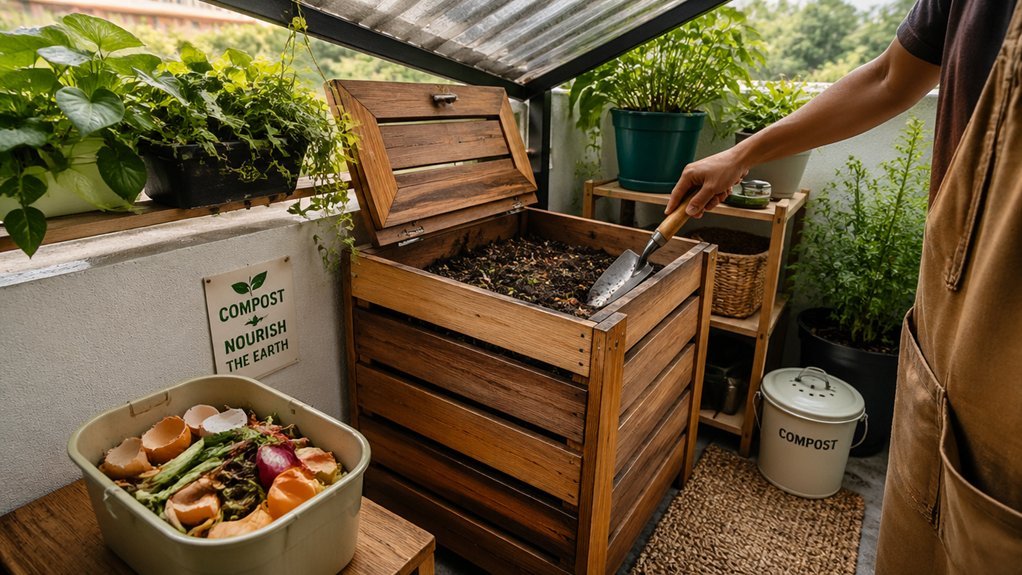
Because a balanced environment is key to healthy compost, start by choosing a shaded, sheltered spot on your balcony that shields the bin from direct sun and extreme temperatures.
Choose a shaded, sheltered balcony spot to protect the compost bin from sun and extreme temperatures.
Pick a balcony spot that offers a shaded area, preferably near a wall or railing, so you can reach the bin easily for monitoring and turning.
Position the container on bricks or wood blocks to boost drainage and airflow, which supports moisture control and odor prevention.
Ensure the location stays out of strong wind and rain to maintain temperature stability and protect the compost from drying out or flooding.
A sheltered cover can add extra protection, while keeping the bin away from heavy foot traffic preserves accessibility and prevents disturbances. air circulation
Prepare the Base of Your Balcony Compost Bin for Drainage & Airflow
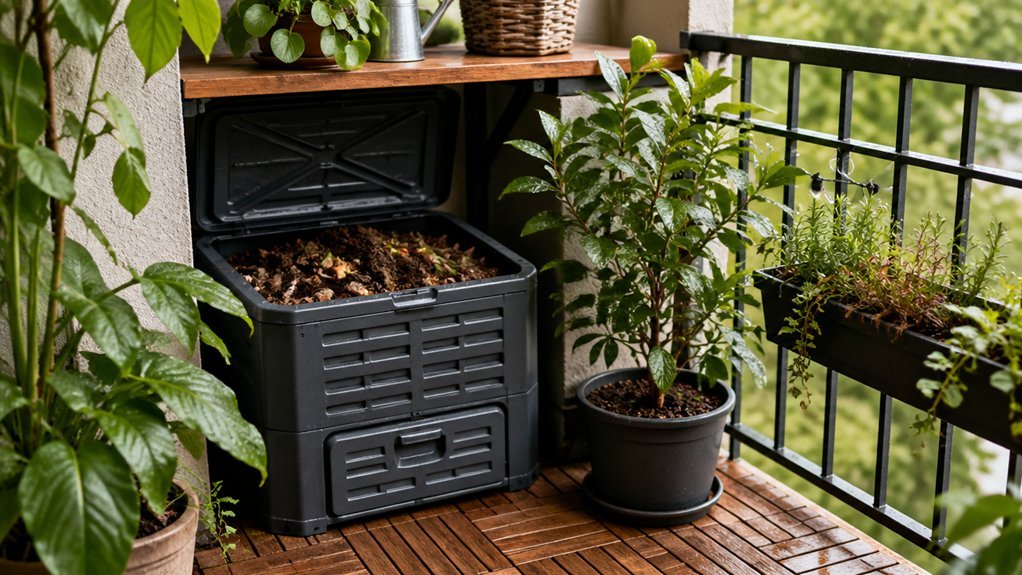
Choosing the right spot gives you a solid foundation, now it’s time to set up the bin’s base for ideal drainage and airflow.
First, drill 6–10 holes in the bottom and sides of your 10‑15‑gallon compost bin; these openings let excess water escape and fresh air circulate, preventing anaerobic pockets.
Next, create an elevated setup by placing the bin on bricks or wood blocks, leaving a gap beneath for airflow and leachate collection.
Slip a leachate tray onto the floor to catch any runoff and protect your balcony surface.
Add a bedding layer of shredded paper, cardboard, or coconut coir; this material boosts aeration, buffers moisture, and supports moisture management.
Finally, monitor the drainage during the first few days, adjusting the bedding or hole size if water pools.
To maintain odor control and ease of maintenance, consider using a ceramic crock with an integrated charcoal filter for lid-based odor management odor control feature.
Layer Greens and Browns for Balanced Moisture
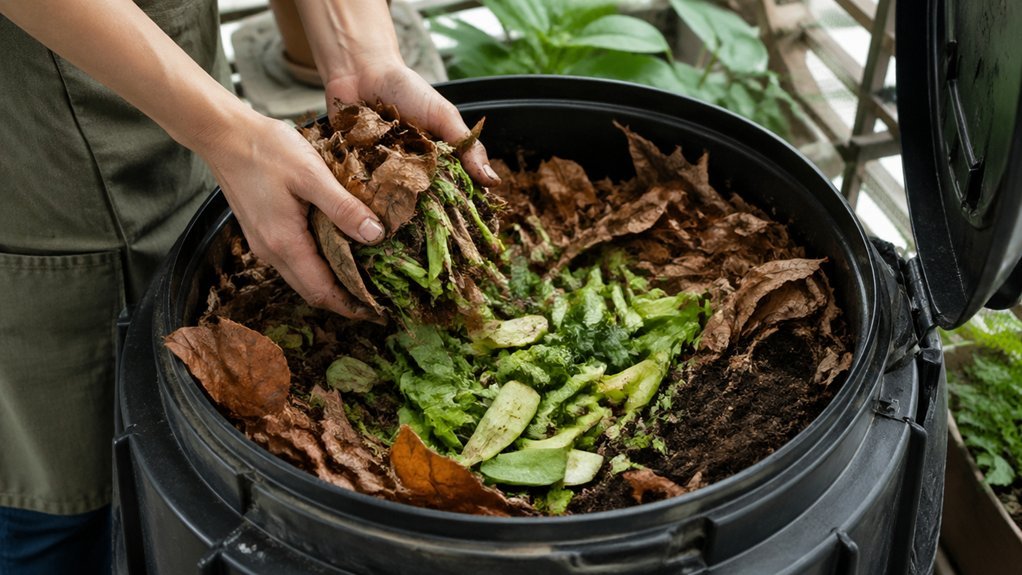
How do you keep your balcony compost lively and odor‑free? Start with a thin 1‑2 cm layer of greens, then cover it with browns of the same thickness. This compost layering creates air pockets for aeration and soaks up excess liquid to maintain moisture balance. Alternate the mixed waste until the bin is full, pressing lightly to avoid compaction. Rotate the layers every few days; this spreads microbes, prevents anaerobic pockets, and boosts decomposition balance. If greens get soggy, add extra browns to absorb moisture and curb slime. A drip tray under the compost bin catches runoff, protecting your balcony floor and supporting odor control. By keeping greens and browns in harmony, your balcony composting stays healthy, fast, and odor‑free. Aeration helps improve airflow and enhances decomposition efficiency, which remains important when using compact balcony systems.
Insulate and Maintain Your Balcony Compost Bin Year‑Round
Keeping the green‑brown rhythm steady isn’t enough when temperatures swing; you also need to insulate and maintain your balcony compost bin year‑round. Wrap your worm bin or Bokashi bin with bubble wrap or an insulation wrap, and place it near a southern‑facing wall or heat source. Move the bin to a garage during extreme cold, keep it out of wind, and use a drip tray for drainage. Elevate the bin on bricks for an air gap that boosts airflow and aeration. Check moisture with a 4‑in‑1 meter and add dry browns when it’s too wet. This routine ensures temperature management, moisture control, and year‑round stability for balcony composting. The use of a sealed, seamless gasket or O‑ring seal on compatible lids, such as Vittles Vault or Gamma Seal designs, can further improve airtightness and prevent odors when containers are kept close to living spaces airtight performance. This combination of insulation, placement, and proper lid sealing helps sustain microbial activity regardless of seasonal shifts.
Frequently Asked Questions
How Do I Compost on My Balcony?
You start by picking a compact worm, Bokashi, or aerobic bin, then layer greens and browns, keep it moist, feed regularly, and place it in a shaded balcony spot for odor‑free compost.
What Are the 5 Mistakes That People Commonly Make When Composting With Worms?
You overwater, feed too fast or in huge piles, add citrus or meat, ignore drainage and aeration, and expose the bin to direct sun or freezing. Those five mistakes ruin worm composting.
What Three Items Should Not Be Placed in a Compost Pile?
You shouldn’t add meat, dairy, or oily foods; citrus peels and onions; or large amounts of fresh grass without enough brown material, because they cause odor, attract pests, and unbalance moisture.
Do Potato Peelings in Compost Attract Rats?
You’ll attract rats if you leave potato peels exposed or oily, but burying them, drying them first, and mixing with browns keeps rodents away, especially in sealed or well‑maintained balcony bins.
In Summary
Now you’ve picked the perfect spot, set up drainage, balanced greens and browns, and insulated for any season, your balcony compost will turn waste into garden gold. Keep the mix moist, stir occasionally, and watch the microbes do their work. In no time you’ll have nutrient‑rich compost ready to boost your plants, all while staying tidy and odor‑free on your balcony.


Leave a Reply