
You can create effective bokashi starters for your tiny home using common materials like coffee grounds, untreated sawdust, or dried leaves instead of traditional wheat bran. Mix your chosen substrate with EM-1 microbial inoculant and unsulfured blackstrap molasses in an airtight container, maintaining 30% moisture content. These space-saving alternatives work just as well as commercial products and let you compost meat and dairy without odors. Understanding the right ratios and techniques will transform your composting journey.
Understanding Basic Bokashi Principles in Limited Spaces
While traditional composting methods require substantial outdoor space, bokashi composting offers an efficient solution for small-space dwellers seeking to reduce their food waste.
You'll find this anaerobic fermentation process particularly suitable for tiny homes and apartments, as it doesn't need outdoor access or complex carbon-to-nitrogen ratios.
The system works by layering your kitchen scraps with bokashi inoculant in an airtight bin that fits neatly under your sink or in a cupboard.
Unlike conventional composting, you can include meat and dairy products without worrying about odors or pests.
The process considerably reduces waste volume while creating nutrient-rich pre-compost and beneficial tea for your plants. The resulting mixture creates a vibrant soil ecosystem that supports strong plant growth and disease resistance.
Whether you're living in a studio apartment or a small house, you can easily adapt bokashi to your available space.
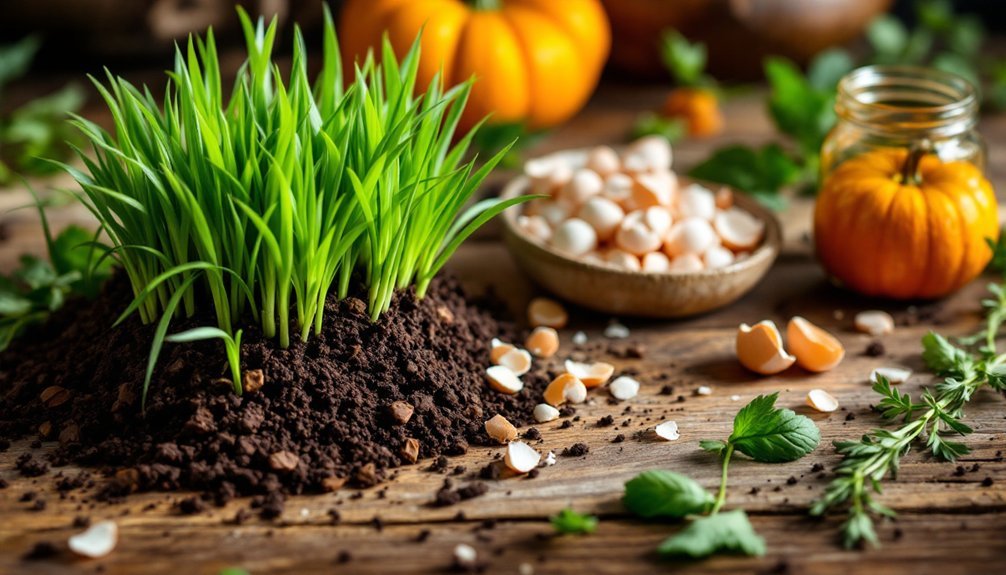
Essential Materials for DIY Bokashi Starters
Creating your own bokashi starter saves money and gives you control over the composting process.
You'll need three essential components: a substrate, microorganisms, and a binding agent. For the substrate, choose wheat bran, rice bran, or sawdust. EM-1 Microbial Inoculant serves as your source of effective microorganisms, while unsulfured blackstrap molasses acts as the binding agent.
Mix these materials with clean water, maintaining a 30% moisture content – the mixture shouldn't drip when squeezed. Add about 1/2 tablespoon of EM-1 per gallon of substrate after combining with molasses. Indoor composting is made easy with this space-efficient method.
You'll need two food-grade plastic buckets with drainage holes and tight-fitting lids to create an anaerobic environment. Let the mixture ferment for several weeks before use.
Coffee Ground Base: A Space-Saving Alternative

For apartment dwellers and urban gardeners seeking an efficient bokashi starter, coffee grounds offer an ideal space-saving alternative to traditional substrates.
You'll find these grounds readily available from local cafes, often for free, making them a cost-effective choice for your composting needs.
To create your coffee-based starter, you'll need to mix the grounds with EM1 and molasses in an airtight container. The 20:1 carbon ratio is essential for proper fermentation of your coffee grounds mixture.
This compact setup requires minimal space, perfect for tiny homes and apartments. The mixture will ferment quickly, producing a nutrient-rich starter packed with nitrogen, phosphorus, and potassium.
Once fermented, you can dry and store the mixture for future use.
The process is virtually odorless and works year-round, allowing you to maintain a sustainable composting system regardless of your living situation.
Sawdust Solutions for Small-Scale Fermentation
When you're selecting sawdust for bokashi starter, choose materials from untreated hardwoods like maple or oak, avoiding chemically processed or pressure-treated wood that could harm beneficial microorganisms.
You'll need to process raw sawdust by screening it to remove large wood chips and guarantee consistent particle size for ideal fermentation. Traditional bokashi starters use wheat bran, but sawdust serves as an excellent carbon-rich alternative.
For the best results in small-scale systems, store your processed sawdust in a dry, covered container until you're ready to create your bokashi mix with EM solution and molasses.
Selecting Quality Wood Sources
Successful bokashi fermentation relies heavily on choosing the right wood sources for your sawdust base material. You'll want to avoid treated woods containing chemicals like copper, arsenic, or chrome, as these can contaminate your compost. Instead, opt for naturally durable options like cypress pine or Japanese cedar. A timber thickness of 19mm is ideal when processing wood into sawdust for fermentation applications.
| Wood Type | Benefits | Best Uses |
|---|---|---|
| Cypress Pine | Termite-resistant, stable | Primary sawdust base |
| Acetylated | Chemical-free, safe | Mixed substrate |
| Japanese Cedar | Long-lasting, natural | Base material |
| Softwoods | Easy to process, abundant | Quick breakdown |
| Hardwoods | Dense, slow-release | Long-term stability |
For the best results, select clean, unprocessed wood that's free from paints or stains. Your sawdust should come from sustainably sourced lumber to promote both environmental responsibility and ideal fermentation conditions.
Processing Raw Sawdust Materials
Raw sawdust processing marks the critical first step in creating effective bokashi starter materials.
You'll need to focus on proper fermentation conditions to break down the cellulose and lignin components in your sawdust. Start by maintaining a temperature of 30°C and pH level of 7.5 for ideal results.
Mix your sawdust with peptone or yeast extract as nitrogen sources, and add effective microorganisms like lactobacillus to accelerate decomposition. The sawdust material contains approximately 60.8% carbon content, making it an excellent base for composting. You'll want to monitor moisture levels carefully, as they directly impact microbial activity.
For your tiny home setup, combine the processed sawdust with molasses and water to create an EM solution.
This mixture will serve as your bokashi starter, helping to break down organic waste while producing nutrient-rich compost for your plants.
Leaf-Based Bokashi Starters for Urban Composting
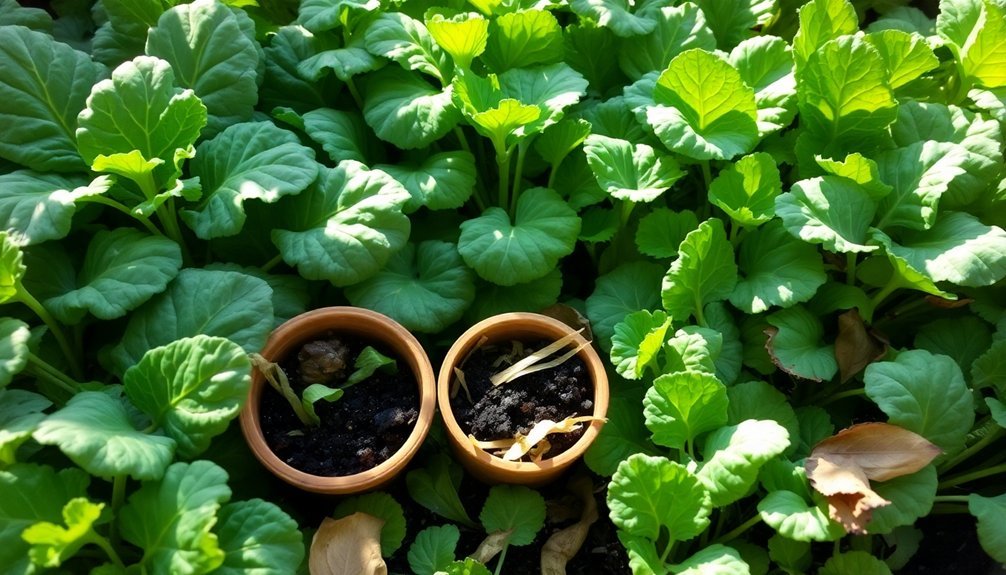
Although traditional composting can be challenging in urban settings, leaf-based Bokashi starters offer an innovative solution for city dwellers looking to reduce organic waste.
You'll find that dry, crumpled leaves serve as an effective carbon source, similar to wheat bran, while greatly reducing your costs compared to commercial products.
In your small urban space, you can easily integrate leaves into the fermentation process due to their natural ability to absorb excess moisture. Like SCD Probiotics Technology, the natural bacteria in decomposing leaves help break down food waste effectively.
The process takes just 2-4 weeks, and you'll produce both nutrient-rich liquid fertilizer and solid pre-compost material.
What's more, you can process meat and dairy waste, which aren't suitable for traditional composting methods.
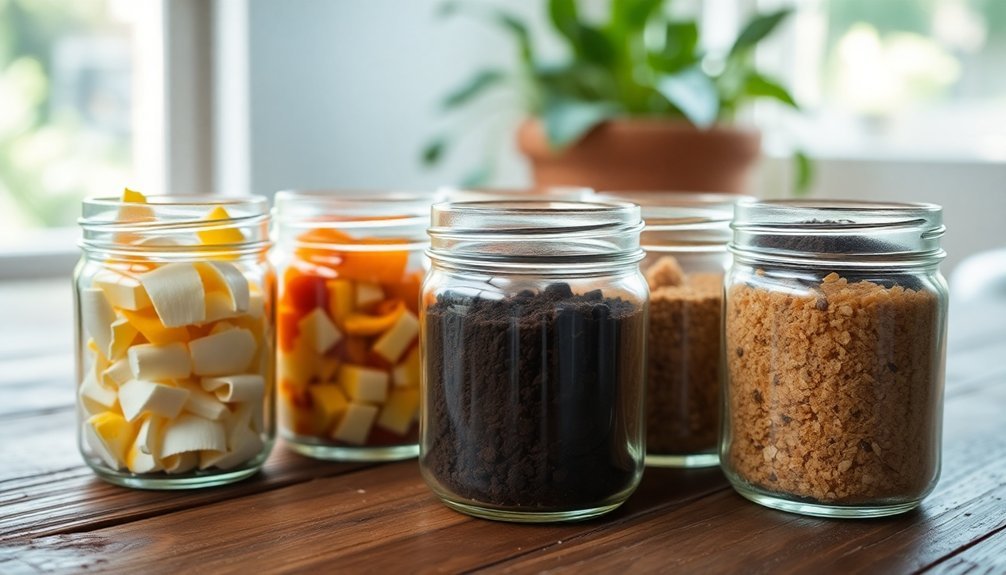
Maximizing Tiny Home Storage With Multi-Purpose Materials
Smart storage in your tiny home starts with choosing containers and materials that serve dual purposes in the kitchen, like using clear mason jars that both store and display dry goods while doubling as measuring cups.
You'll maximize efficiency by combining different container types strategically – nesting bowls can store ingredients while functioning as mixing vessels, and collapsible silicone containers save space when not in use. Consider installing magnetic racks on your refrigerator or walls to keep cooking utensils organized while freeing up drawer space.
When selecting storage materials, opt for lightweight, stackable options that resist moisture and pests while complementing your existing organizational systems.
Dual-Purpose Kitchen Storage Solutions
When space comes at a premium in tiny homes, dual-purpose kitchen storage solutions become essential for maintaining an organized and functional living space.
You'll maximize every inch by installing pull-out shelves and multi-functional drawers with adjustable heights to accommodate various items. Add rotating lazy Susans in corner cabinets for easy access to your cooking supplies.
Make use of vertical space by mounting pot racks on walls or ceilings, and install hooks for frequently used utensils. Use stackable storage bins to maximize vertical space and prevent overcrowding in your pantry area.
Consider a movable island with built-in storage that doubles as extra counter space when needed. Transform your walls into storage zones with narrow shelves for spices and cookbooks.
Don't forget to utilize cabinet doors for additional storage options, and incorporate modular shelving systems that you can reconfigure as your needs change.
Space-Saving Container Combinations
Building on the concept of maximizing kitchen storage, container homes present unique opportunities for creative space utilization throughout the entire living area.
You'll find that combining multiple containers creates versatile layouts that maximize your available space.
Try arranging containers side-by-side to remove interior walls, creating open-concept living areas. For vertical expansion, stack your containers to add a rooftop deck.
Consider an L-shaped layout to define distinct zones efficiently, or create a U-shaped arrangement with a central courtyard for outdoor living space. Adding sliding glass doors can enhance the indoor-outdoor flow and bring in abundant natural light.
Make the most of your container home's interior by installing multi-functional shelving with support beams for books, plants, and tools.
Don't forget to incorporate hidden storage solutions like under-floor drawers and behind-wall units to optimize every square inch of your space.
Compact Material Selection Tips
Maximizing storage in tiny homes requires selecting materials that serve multiple functions while minimizing their footprint.
You'll want to choose items that work efficiently in your bokashi composting system while doubling as practical storage solutions. Ensure your containers can properly collect liquid drainage waste to maintain a clean composting process. Transform everyday containers into composting stations by incorporating these space-saving principles:
- Install wall-mounted shelves above your composting area to store bokashi bran and essential tools.
- Select stackable containers that can work both for composting and storing finished compost.
- Use magnetic strips on walls to hang small gardening tools and measuring equipment.
- Add hidden storage under sinks or stairs for housing extra composting supplies.
- Opt for fold-down tables near your composting station that serve as both prep areas and work surfaces.
Remember to incorporate natural materials like bamboo or wood for sustainable, long-lasting storage solutions that complement your composting setup.
Creating Effective Microbial Solutions at Home
Despite its scientific-sounding name, creating effective microbial solutions at home isn't as complicated as you might think. You'll need a mother culture and unsulfured blackstrap molasses to start your journey into microbial cultivation. The process can multiply your initial solution by 20 times, making it highly cost-effective. Similar to Effective Microorganisms® used in commercial applications, these solutions can help treat household waste efficiently. Monitor your solution's temperature and pH levels to guarantee the best results. While you can't match commercial lab conditions, you can still create effective solutions by following basic principles. Remember that Lactobacillus thrives in both aerobic and anaerobic environments, making it versatile for your composting needs.
| Component | Purpose |
|---|---|
| Mother Culture | Provides initial microbe population |
| Molasses | Feeds beneficial bacteria |
| Lactobacillus | Drives fermentation process |
| pH Control | Maintains ideal conditions |
Space-Efficient Fermentation Techniques
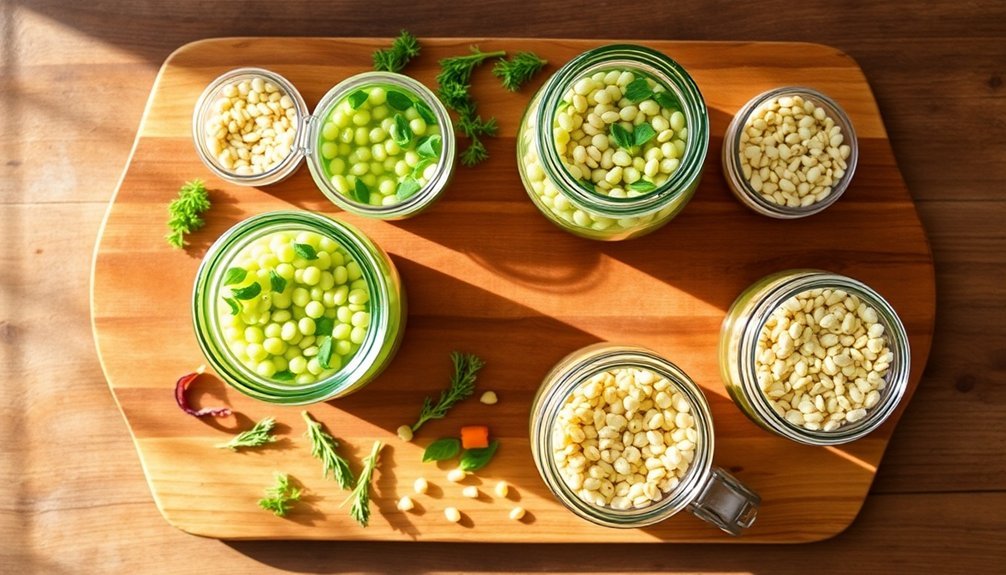
Small spaces needn't limit your fermentation ambitions. You'll find that bokashi fermentation is incredibly space-efficient, making it perfect for tiny homes and apartments.
Living small doesn't mean fermenting small – bokashi composting fits perfectly into any space, from studio apartments to micro-homes.
By controlling temperature, pH, and oxygen levels carefully, you can maximize your fermentation efficiency in minimal space. Building on techniques from closed loop systems, you can create an efficient composting cycle in your tiny home.
For ideal results in small-scale bokashi fermentation, consider these key techniques:
- Use stackable containers to create a vertical fermentation system
- Monitor pH levels with simple test strips to maintain ideal conditions
- Keep your fermentation area between 68-86°F (20-30°C)
- Layer materials thinly to improve microbial distribution
- Add starter solution in small, consistent amounts to guarantee even coverage
Maintaining Bokashi Quality in Compact Settings
When working with bokashi in limited spaces, maintaining high-quality fermentation requires careful attention to key factors like airflow, temperature, and moisture levels.
In your compact setup, choose containers with tight-sealing lids and use plastic barriers to maintain anaerobic conditions. You'll need to monitor the temperature, keeping your bin at room temperature and away from direct sunlight.
For ideal results, layer your food scraps with adequate bokashi bran, using extra for meat and dairy items. Cutting scraps into half-inch pieces will significantly improve the fermentation process.
Drain the liquid regularly to prevent excess moisture, and dilute the resulting tea 1:20 with water for use as fertilizer.
Watch for white mold, which indicates successful fermentation, and avoid opening the bin unnecessarily.
If you notice any blue or green mold or foul odors, adjust your process to maintain better anaerobic conditions.
Troubleshooting Common DIY Starter Issues

Successfully troubleshooting DIY bokashi starters requires identifying and addressing common issues before they derail your composting efforts.
Early detection and swift resolution of bokashi problems keeps your composting system running smoothly and prevents major setbacks.
You'll need to monitor moisture levels, maintain proper fermentation conditions, and guarantee you're using enough bokashi bran to keep the process on track. Since bokashi uses anaerobic bacteria, maintaining an airtight seal is crucial for proper fermentation.
Watch for these key warning signs and solutions:
- Add more bokashi bran if you notice putrid smells or fruit flies
- Drain liquid regularly to prevent excess moisture and rancid odors
- Chop food waste into smaller pieces (½-1 inch) for faster fermentation
- Keep the bin tightly sealed at room temperature for best results
- Remove any moldy food before adding it to prevent blue or black mold growth
If you spot issues early, you can often salvage your bokashi system by adjusting these factors and maintaining proper conditions.
Scaling Your Bokashi System for Growing Needs
Building on your bokashi troubleshooting knowledge, you can expand your system to handle larger volumes of waste through smart scaling strategies.
Start by shifting from small kitchen containers to larger bins in temperature-controlled spaces like your basement or heated garage. You'll want to establish a two-tier system: use small containers for daily collection, then transfer waste to bigger fermentation bins.
When scaling up, focus on proper drainage by incorporating landscape cloth and nursery pots into your design.
For cost-effective expansion, replace traditional bokashi bran with readily available materials like coffee chaff or sawdust. Mix these with EM-1 and molasses to create your own inoculant.
You can maintain year-round operations with minimal labor while producing both rich fermented compost and valuable liquid fertilizer for your growing needs.
Frequently Asked Questions
Can I Use Bokashi Liquid as a Direct Fertilizer for Houseplants?
You can't use bokashi liquid directly on houseplants as it's too concentrated and acidic. You'll need to dilute it with water (1:100 to 1:200 ratio) before applying it to your plants' soil.
How Long Can I Store Unused DIY Bokashi Starter Mix?
You can store your unused bokashi starter mix for up to one year when it's properly dried and kept in an airtight container. Keep it in a cool, dry place away from direct sunlight.
Will Bokashi Composting Attract Pests to My Tiny Home?
No, if you maintain your bokashi system properly with sealed containers, you won't attract pests. The anaerobic fermentation process and acidic environment actually deter pests, keeping your composting area clean and pest-free.
Can I Use Bokashi in a Shared Living Space Without Odor Issues?
Yes, you can use bokashi in shared spaces without odor concerns. Just make certain you drain liquid regularly, keep the bin tightly sealed, and bury fermented materials promptly. It's virtually odorless during fermentation.
What Happens if My Bokashi Bin Freezes During Winter Storage?
If your Bokashi bin freezes, the fermentation process will pause, but it won't destroy the microorganisms. They'll become dormant and resume activity when temperatures warm up. Just keep your bin insulated to prevent freezing.
In Summary
You'll find DIY bokashi starter alternatives make composting achievable even in the smallest spaces. Start with readily available materials like coffee grounds, sawdust, or leaves, and adjust your system as needed. Don't let space constraints stop you from reducing waste – your tiny home bokashi setup can grow alongside your composting goals. Keep experimenting with different materials until you've found what works best for your unique situation.


Leave a Reply