
Start your fermentation journey with clean, sanitized glass or ceramic containers and quality salt without additives. You'll need basic kitchen tools, weights to keep ingredients submerged, and monitoring devices like pH strips. Select fresh, unblemished produce and create a 3-5% salt brine solution. Keep your ferments at 65-85°F, fully submerged, and watch for bubbles as a sign of success. Learn these fundamentals, and you'll reveal the secrets to transforming ordinary vegetables into probiotic-rich foods.
Essential Equipment for Starting Your Fermentation Journey

Three core pieces of equipment form the foundation of any home fermentation setup: weights to keep ingredients submerged, basic kitchen tools for preparation, and monitoring devices to track the process.
For weights, you'll need items that keep your fermenting ingredients below the brine. While specialized fermentation weights work best, you can use water-filled jars or plastic bags as alternatives. Sea salt or non-iodized salt is essential for creating an effective brine solution.
Your preparation toolkit should include a sharp knife, cutting board, and grater – though a food processor can speed things up if you have one.
Sharp tools like knives, cutting boards, and graters form the basic prep arsenal – modern appliances simply make the process faster.
To monitor your ferments properly, you'll want to invest in an airlock system to release CO2 while keeping oxygen out. pH strips help you track acidity levels, and a thermometer guarantees you're maintaining ideal temperatures.
Don't forget to label your ferments with dates for proper tracking.
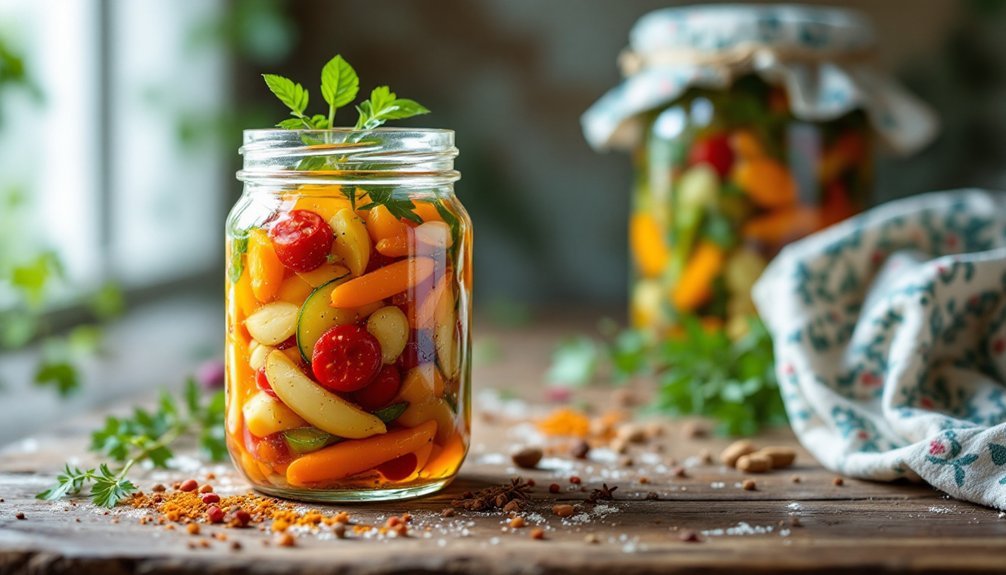
Selecting the Right Containers and Storage Vessels
Choosing the right container forms the cornerstone of successful fermentation.
You'll want to start with glass or ceramic vessels, as they're non-reactive and allow you to monitor your ferments easily. Mason jars are perfect for beginners, offering various sizes for different batch needs. A standard Mason jar can hold 2 to 2.5 pounds of vegetables for fermentation.
Don't forget about proper lids – opt for wide-mouth plastic ones that allow gases to escape. If you're serious about fermentation, consider investing in airlocks or pickle pipes to manage gas release while keeping contaminants out.
You'll also need weights to keep your ingredients submerged under the brine.
For storage, keep your ferments in a cool space to control fermentation speed, and label everything with dates.
When transferring to long-term storage, use smaller containers to minimize air exposure and maintain freshness.
Choosing Fresh Ingredients and Quality Salt
When starting your fermentation journey, you'll want to select the freshest seasonal produce available, focusing on vegetables that maintain their crisp texture and natural vibrancy.
Your ingredients' quality directly impacts the fermentation process, as fresh produce contains higher levels of beneficial enzymes and natural bacteria that contribute to successful fermentation. The recommended salt concentration range for successful fermentation is between 2% to 4% by weight of vegetables.
The most critical ingredient decision you'll make is choosing the right salt – opt for pure, additive-free varieties like sea salt or kosher salt, which promote proper fermentation without unwanted chemical interference.
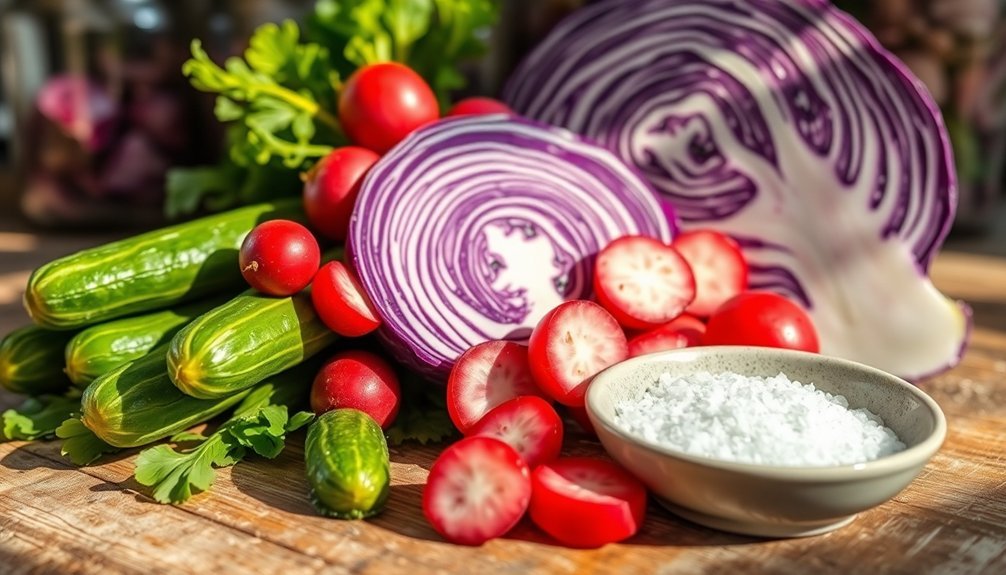
Select Crisp Seasonal Produce
Fresh, high-quality produce forms the foundation of successful fermentation projects. When selecting vegetables, choose crisp, unblemished items that feel firm to the touch.
You'll want to avoid produce with cuts, bruises, or signs of pest damage, as these can introduce harmful bacteria into your ferments. Damaged areas can be salvaged by cutting away blemishes carefully before fermentation.
Take advantage of seasonal availability to get the best results. Spring's radishes and asparagus, summer's cucumbers and tomatoes, and autumn's cabbage and carrots are perfect for fermentation when they're at peak freshness.
Don't wash your produce until you're ready to ferment, as the natural bacteria on the skin help with the process.
Remember that fresh produce creates better-tasting ferments and provides more nutrients.
You'll achieve ideal results by handling your vegetables gently and storing them properly in the refrigerator until you're ready to begin.
Salt Quality Matters Most
The three essential pillars of successful fermentation are quality salt, fresh produce, and proper technique – with salt being the most vital.
You'll need to choose salt that's free from anti-caking agents and iodine, as these additives can interfere with the fermentation process and produce off-flavors.
Your best options are pickling salt, unrefined sea salt, or pure rock salt. These varieties provide consistent weight and purity, which are important for controlling fermentation and achieving the right brine concentration. Lactic acid bacteria thrive best in this pure salt environment, converting vegetable sugars into beneficial acids.
While pink Himalayan salt can work, verify it's additive-free. Don't use table salt or iodized varieties, as they'll compromise your results.
For most vegetables, you'll want to maintain a 2% salt concentration, though specific recipes like kimchi (2-3%) and olives (10%) require different amounts.
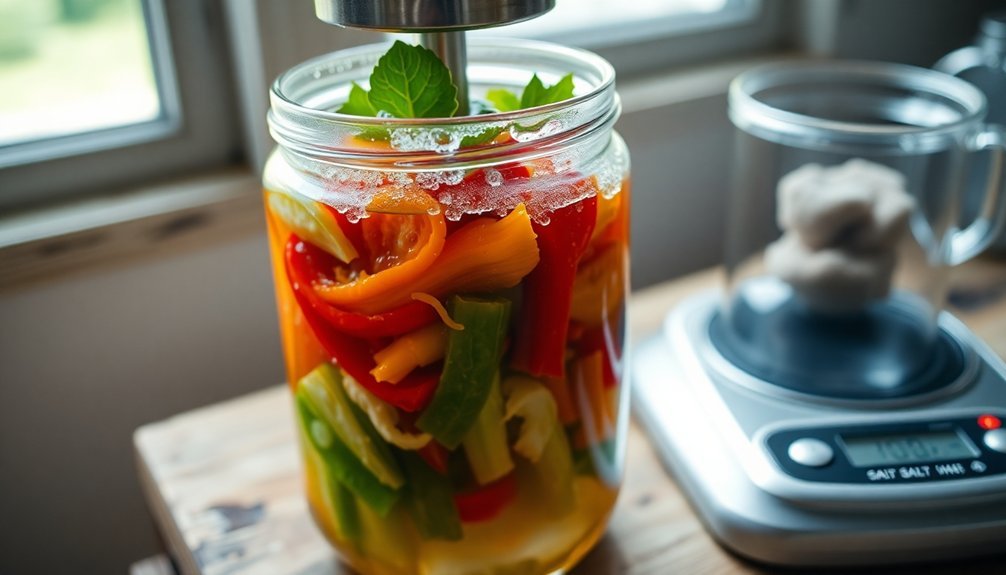
Creating the Perfect Brine Solution
Creating a perfect brine solution stands at the heart of successful fermentation, where salt concentration determines both the speed and quality of your results. For best fermentation, you'll want to aim for a salt ratio between 3% and 5% of your total ingredient weight. Lower concentrations around 3% will speed up fermentation, while higher amounts slow it down.
To get started, weigh your vegetables and water together, then calculate the salt needed as a percentage of that total. You'll need to use pure, additive-free salt like pickling salt, sea salt, or pink Himalayan salt – avoid iodized varieties. Regular testing of your ferment will help ensure the pH stays below 4.6 for safe consumption.
Mix your salt directly in the fermentation vessel using cool water, ensuring all vegetables are completely submerged. This direct mixing method prevents under-salting and creates the ideal environment for beneficial bacteria to thrive.
Temperature Control in Your Living Space
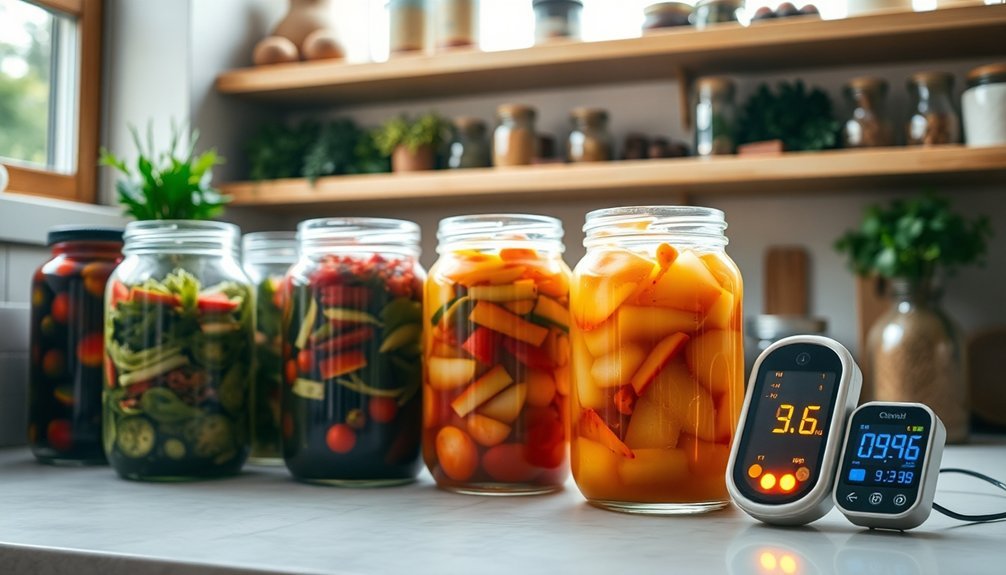
Successfully controlling temperature during fermentation requires careful monitoring and the right equipment for your living space.
Precise temperature control in fermentation comes down to choosing the right monitoring tools and adapting them to your environment.
You'll need to choose between basic temperature control devices like thermocouples or thermistors, or invest in advanced systems like the HakkoBako Pro for precise management.
Place your temperature sensors strategically – either in the air or submerged in your fermentation mixture.
Submerged sensors provide more accurate readings, though you can use adhesive-strip thermometers on fermenter walls for basic monitoring.
Remember that the center of your fermenter will typically be warmer than its edges. During active fermentation, yeast generates heat, creating temperature gradients throughout your mixture.
For energy efficiency, consider using a converted refrigerator with proper insulation.
You can maintain stable temperatures while keeping energy costs down.
If you're planning multiple ferments, a propylene glycol chiller might be worth the investment.
Maintaining Cleanliness and Sanitization
Your fermentation success starts with clean, sanitized equipment, and you'll want to use non-abrasive tools like soft cloths along with appropriate cleaners such as PBW or B-Brite.
After cleaning, you can sanitize your equipment using either boiling water or a no-rinse sanitizer like Star San, making sure to cover all surfaces thoroughly.
Plastic fermentation vessels are particularly vulnerable to scratches and gouges that can compromise your brew quality.
Remember to store your clean equipment in a covered area and inspect it regularly for scratches or damage that could harbor unwanted bacteria.
Proper Equipment Cleaning Methods
While fermentation can transform ordinary ingredients into delightful foods, maintaining pristine equipment is vital for safe and successful results.
Start by removing visible debris with a soft sponge or brush, being extra careful with plastic containers to avoid scratches that can harbor bacteria. Good hygiene prevents contamination and promotes the growth of desired microorganisms while avoiding competition from unwanted ones.
For thorough cleaning, use PBW or food-grade dish soap to dissolve organic residues. Don't use bleach on plastic equipment, as it's difficult to rinse completely.
Always wear gloves and protective gear when handling cleaning solutions. After washing, rinse thoroughly with cold water to remove all soap residue, then let your equipment air dry or use a clean cloth.
Store everything in a clean, dry place to prevent contamination. Remember to clean your tools both before and after each fermentation project to guarantee consistent results.
Basic Sanitization Best Practices
Proper sanitization stands as the cornerstone of successful fermentation projects.
You'll need to choose the right sanitization method based on your specific ferment: boiling water works well for glass and metal containers, while commercial sanitizers are ideal for beer and wine equipment.
Before starting any fermentation, wash your hands thoroughly and clean all work surfaces. Remember to keep your hair pulled back during the fermentation process to prevent contamination.
You'll want to avoid using chlorinated water for your final rinse, as it can interfere with the fermentation process.
For long-term ferments like sauerkraut or sensitive cultures like beer, pay extra attention to sanitization to prevent unwanted bacteria and mold growth.
Keep different ferments separate to avoid cross-contamination, and check your fermentations daily for any signs of spoilage.
Store your sanitized equipment properly to maintain cleanliness throughout the process.
Proper Weighing and Submerging Techniques
Three key components make successful fermentation possible: weights, submersion methods, and consistent monitoring.
You'll need to keep your vegetables fully submerged in brine to create the perfect anaerobic environment for fermentation while preventing spoilage and contamination.
- Choose non-reactive weights like glass fermentation weights, boiled rocks, or lead-free marbles wrapped in cheesecloth.
- Place a cabbage leaf barrier on top of your vegetables before adding weights to guarantee even distribution.
- Monitor your setup daily to confirm everything stays below the brine line, adjusting weight as needed.
Don't skimp on properly weighing down your ferments. Small glass tea light holders can serve as effective and affordable weights for your fermentation projects.
If you're using a large crock, combine a plate with additional weights, or try nested jars filled with water for smaller batches.
Remember that insufficient weight leads to uneven fermentation and potential mold growth.
Signs of Successful Fermentation
You'll know your fermentation is on track when you spot bubbles forming in the brine and notice active microbial growth creating a cloudy appearance.
A natural sour aroma will develop over time, replacing the initial salty smell with tangy, vinegar-like notes that shouldn't be overwhelming or unpleasant. Daily taste testing will help you monitor the progression of fermentation and determine when your vegetables are ready for cold storage.
As fermentation progresses, you'll observe gradual color changes in your vegetables, often becoming slightly duller or lighter than their original hues.
Bubbles and Active Growth
When your fermentation project is thriving, you'll notice telltale signs of microbial activity, with bubbles being the most visible indicator. These bubbles form as lactic acid bacteria consume sugars and release carbon dioxide, creating a natural carbonation effect in your brine.
You'll see more bubble activity in warmer temperatures, while cooler conditions will slow the process.
To track your fermentation's progress effectively:
- Check for bubble formation daily, noting their frequency and size
- Watch for changes in brine clarity, which typically becomes cloudy as beneficial bacteria multiply
- Monitor the water level, as it may fluctuate due to the ongoing fermentation process
For best results, use non-iodized salt and chlorine-free water, as these additives can inhibit bacterial growth and reduce bubble formation. Regular tasting of your ferment should begin after several days to detect the development of a subtle sour taste.
Keep your ferments at a consistent temperature for predictable results.
Natural Sour Aroma
Beyond the visual cues of bubbling, your nose serves as a reliable guide to successful fermentation. You'll notice a distinctly sour, vinegar-like aroma that's characteristic of properly fermenting foods, especially in vegetables like cabbage and other cruciferous varieties.
While the smell might seem strong at first, you'll learn to distinguish between normal fermentation odors and signs of spoilage. A pleasant, tangy scent indicates success, but if you detect anything resembling rotting food, it's time to investigate further. Regular monitoring may reveal a bleach-like odor, which is a clear indicator of spoilage and means the batch should be discarded.
The intensity of these aromas is strongest when you first open your ferment due to trapped gases, and it'll typically mellow over time.
Keep your ferments at 65-72°F (18-22°C) for ideal results. Remember, you'll gradually become more comfortable with these strong aromas as you gain experience with fermentation.
Visual Color Changes
Color changes during fermentation serve as reliable indicators of a successful process. You'll notice distinct visual alterations as beneficial microorganisms break down your food's components. These changes help you monitor the fermentation's progress and determine when your product is ready for consumption.
- Watch for vegetables turning from bright to muted colors in lacto-fermentation – cabbage shifting from vibrant green to a softer, translucent hue indicates active fermentation.
- Look for fruit-based ferments developing deeper, richer tones as sugars convert and new compounds form. Look for rising small bubbles during fruit fermentation, which indicates active yeast converting sugars.
- Monitor kombucha's shift from light tea color to a darker amber shade, signaling the SCOBY's active fermentation.
Keep in mind that color changes should always accompany other positive signs like proper aroma and bubble formation to confirm successful fermentation.
Common Troubleshooting and Safety Checks
While indoor fermentation can be a rewarding process, understanding common issues and safety checks will help you prevent spoilage and assure success. You'll need to monitor pH levels carefully, keeping them below 4.6 to prevent pathogen growth. Watch for signs of unwanted growth and maintain proper temperature control between 65-85°F.
| Issue | Solution |
|---|---|
| Kahm yeast | Skim off surface, check brine coverage |
| Foaming | Remove excess foam, assure proper headspace |
| Mold growth | Discard if colored, improve air control |
| Mushy texture | Strengthen brine, lower temperature |
| Off-odors | Test pH, discard if suspicious |
Remember to use clean, non-reactive equipment and keep all ingredients submerged in brine. If you notice bright-colored molds or detect unusual smells, it's better to start fresh rather than risk contamination.
Storing and Preserving Your Fermented Foods
Proper storage techniques make the difference between short-lived and long-lasting fermented foods.
Mastering storage methods is essential – it determines whether your fermented creations will quickly spoil or remain preserved for months to come.
You'll want to keep your ferments in cool conditions between 32°F and 50°F, away from light, and always submerged in brine. Glass containers work best, as metal can react with fermented foods, and you'll need to guarantee they're properly sanitized before use.
- Store your ferments in a dark refrigerator, root cellar, or cold pantry to slow down fermentation and extend shelf life.
- Keep brine levels topped off with a 2-5% salt solution, using weights to keep food submerged.
- Check regularly for signs of spoilage and maintain airtight seals on your containers.
For long-term storage, you can freeze your ferments in multiple layers to prevent freezer burn, though refrigeration is typically sufficient for several months of storage.
Frequently Asked Questions
Can I Ferment Food if I Have Pets in My Kitchen?
You can ferment food with pets, but you'll need to keep them out of the kitchen during preparation. Maintain separate spaces, practice good hygiene, and guarantee all fermentation equipment is securely covered and properly stored.
How Do Different Seasonal Changes Affect Indoor Fermentation Processes?
You'll need to adjust your fermentation times as seasons change. In summer, your ferments will work faster and need closer monitoring, while winter's cooler temperatures mean you'll need longer fermentation periods indoors.
What Vegetables Should Never Be Fermented Together?
You shouldn't mix strong-flavored vegetables like onions and hot peppers with mild ones like cabbage, as they'll overpower them. Also, avoid combining soft vegetables with firm ones, as they'll ferment at different rates.
Is It Safe to Ferment Foods While Pregnant?
You shouldn't ferment foods while pregnant due to risks of harmful bacteria. Instead, opt for commercially prepared fermented products from reliable sources. If you want probiotics, consider supplements or pasteurized yogurt after consulting your doctor.
Can I Use Tap Water for Fermentation, or Is Filtered Necessary?
You'll get better results using filtered water since tap water's chlorine can inhibit fermentation. If you must use tap water, let it sit out overnight to reduce chlorine levels before using it.
In Summary
You're now equipped with the fundamentals of indoor food fermentation. Don't let minor setbacks discourage you – embrace the learning process and trust your senses. Start with simple projects like sauerkraut or pickles, then expand your repertoire as you gain confidence. Remember to maintain cleanliness, monitor temperatures, and keep detailed notes. Your journey into fermentation will reward you with delicious, probiotic-rich foods.


Leave a Reply